Today I have a fun Charlie room update for you – a new, bigger bed, with a DIY IKEA no-sew headboard. This time around I’m trying to involve the kids in their projects as much as physically (and for me, mentally) possible – while keeping it positive. I want to do some more DIY’s with them, but they need to be fairly basic and I know they need to actually enjoy the process. So we came up with something really simple to make that involved, well, a staple gun (the new trigger pull version that is admittedly very fun). Tuft & Needle had reached out about a social partnership and I love their mattresses (we have them in the kid’s bunk room at the mountain house which I actually need to shoot as I never have). Technically Brian and I didn’t need a new mattress (although after laying on this one I’m very jealous, it’s extremely comfortable). But Charlie needed both a proper bed and a new mattress as we wanted to upgrade his to a Queen (not because he needed one but more because his room is big enough to be a second guest room which we are going to need this summer as families with multiple kids will be staying here). I know that couples can technically sleep in full beds, but as an enthusiastic King bed sleeper, I figured at least a queen would be nice to provide. Here’s where we last landed when we showed you his room a few weeks ago:
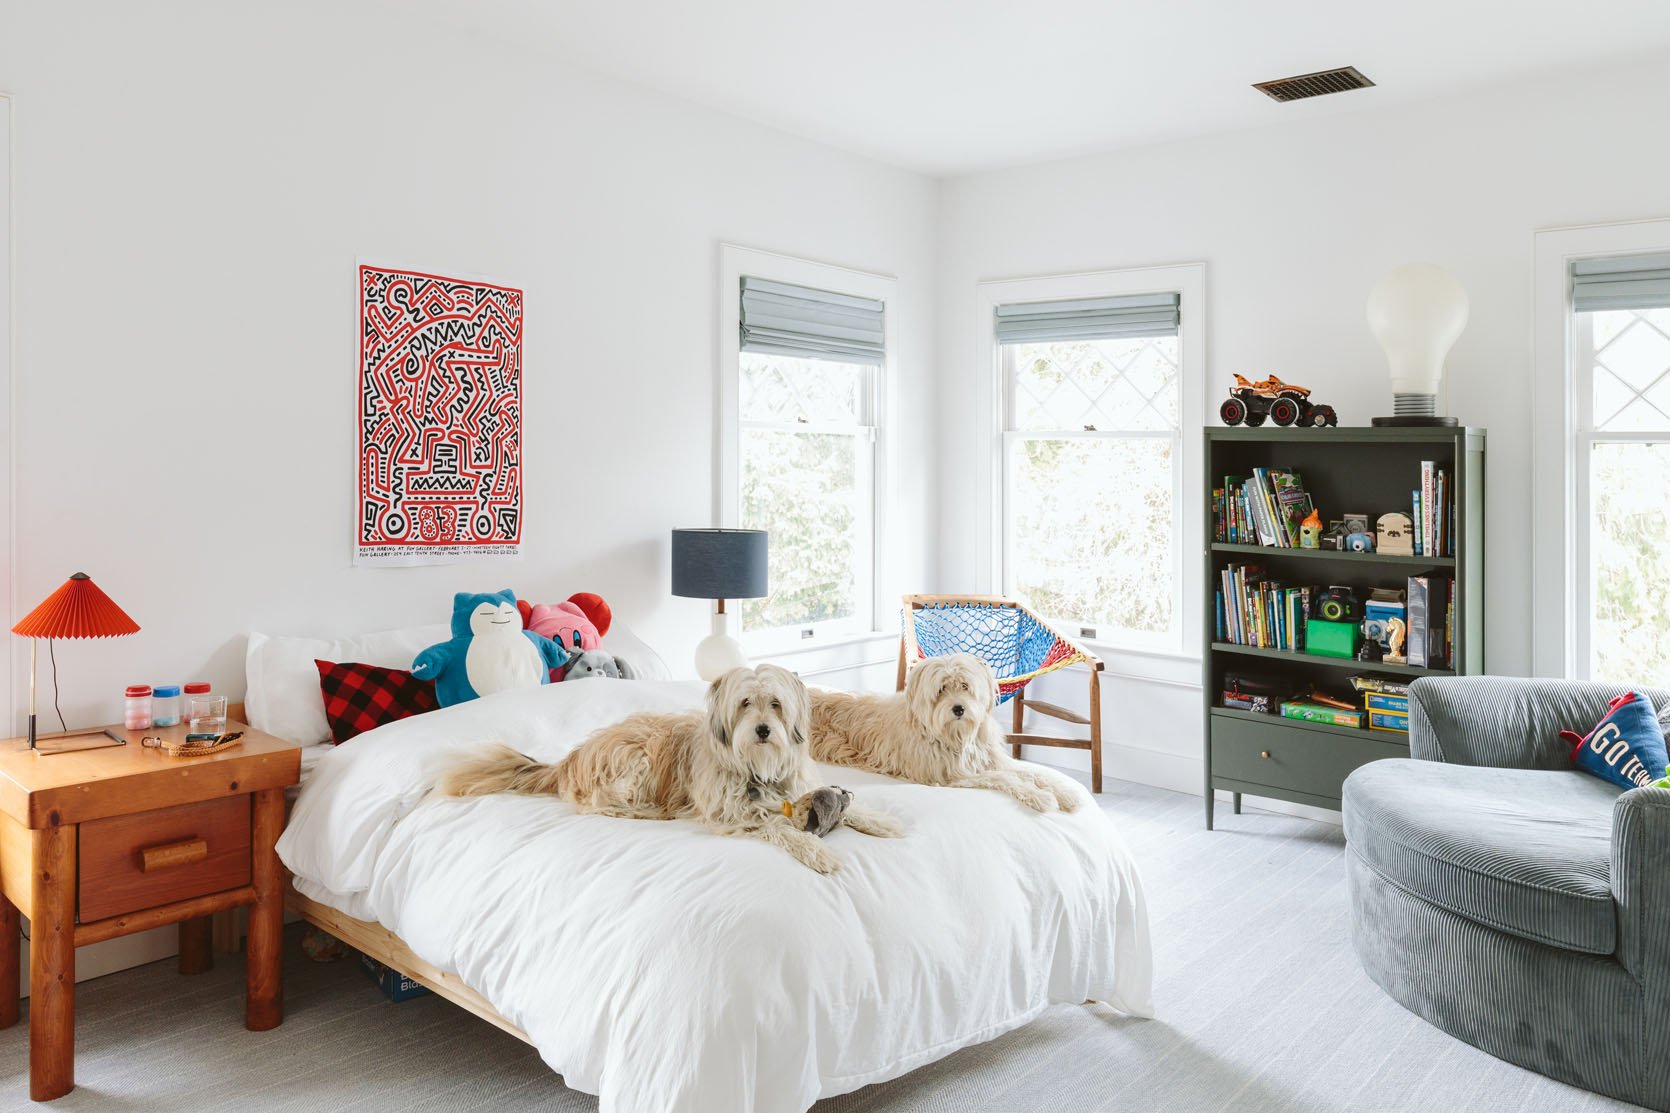
This room now won’t be shot for the magazine (it’s just not very close and we have so many rooms to shoot) which is fine by me because I want to do a Banyan Bridges-style mural but Racheal is so busy with her show, Artfully Designed, that she won’t be able to help me til fall. But in order to keep moving we hacked this bed to give him a proper headboard (and Kaitlin took home this old frame and mattress to her daughter for her big girl bed.)
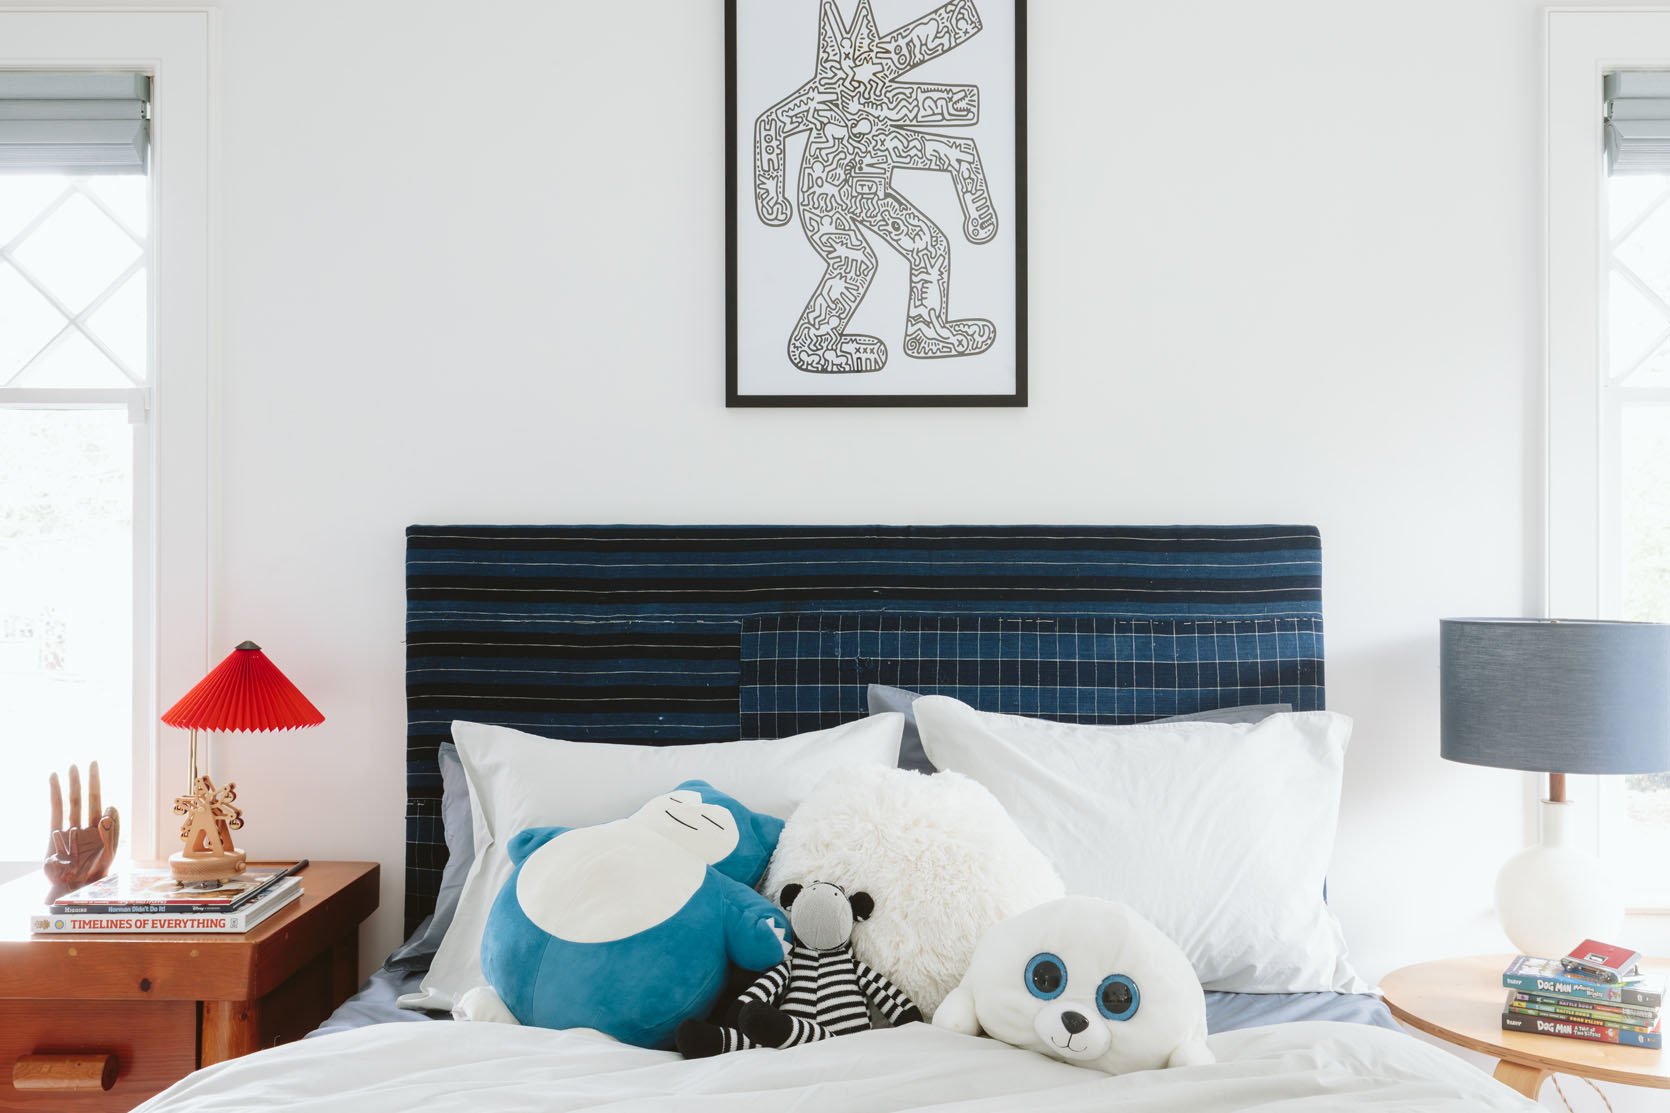
This DIY won’t break the internet (like Brady’s DIY headboard that we all still talk about) but it’s a vintage plaid that I love, over a simple IKEA frame that looks cute and does the job and simple enough that Charlie was able to help me with it (sorry, he helped the day before Kaitlin came over to shoot so no photos of him, but he is in the reel).
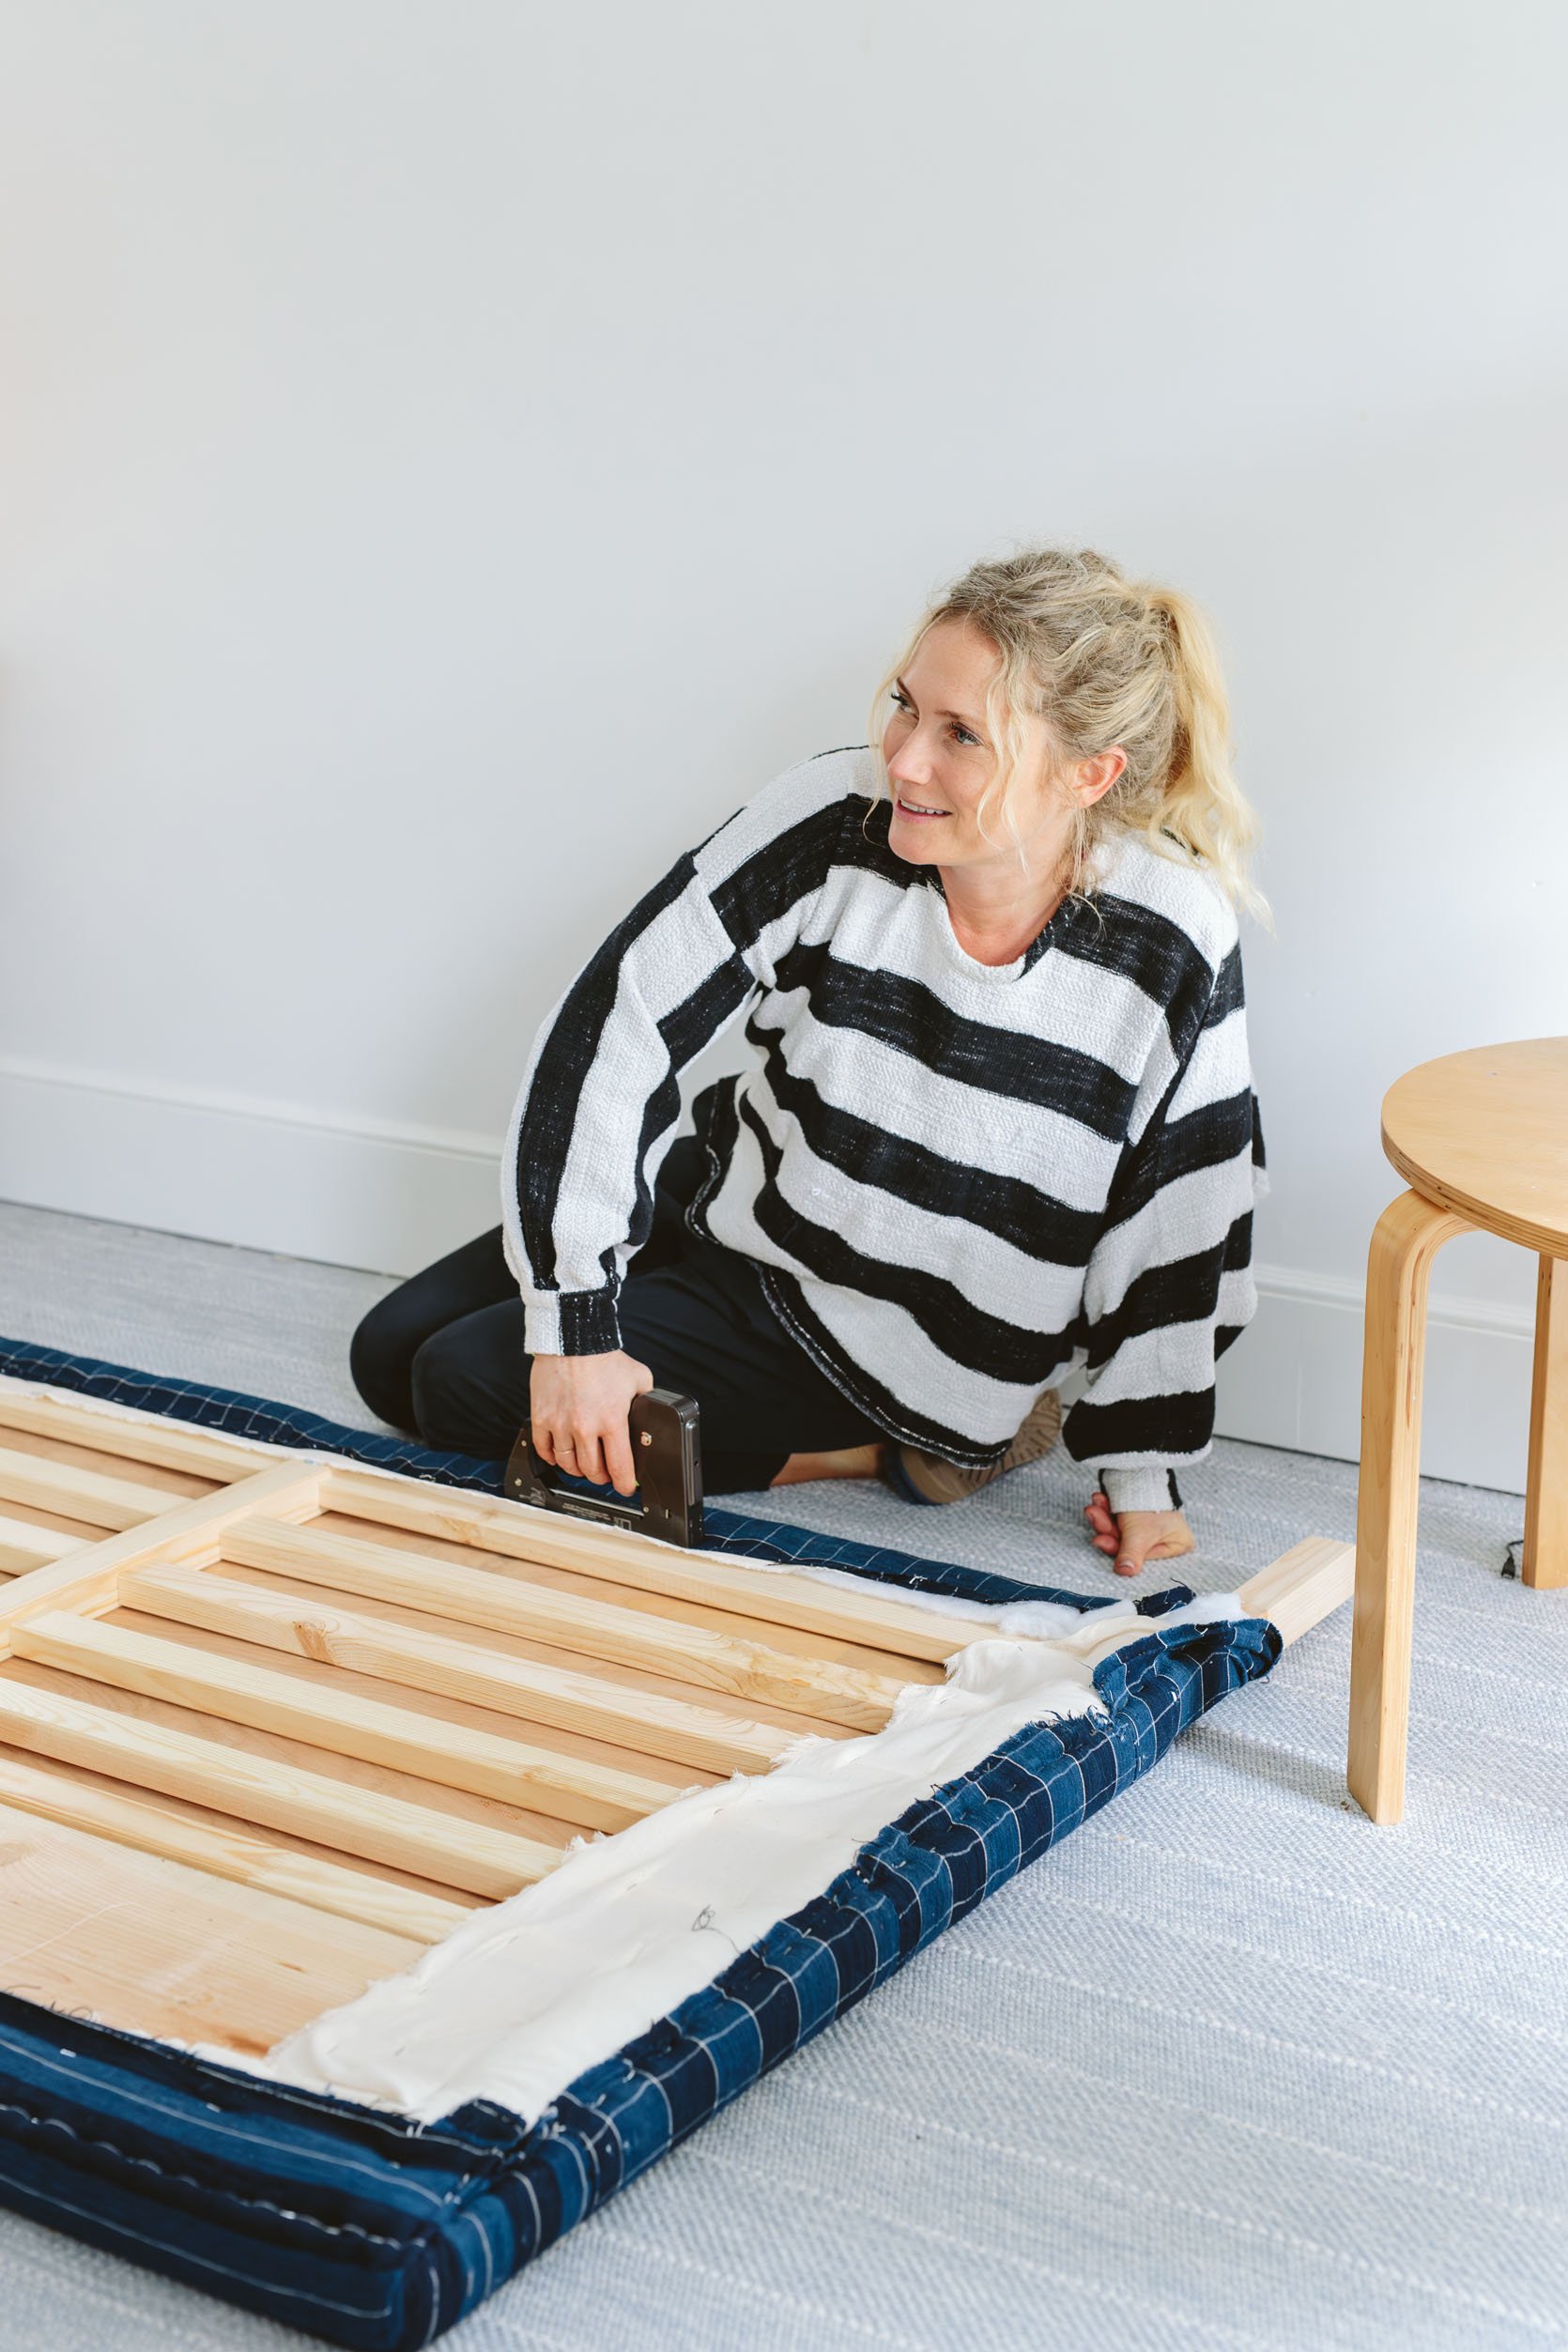
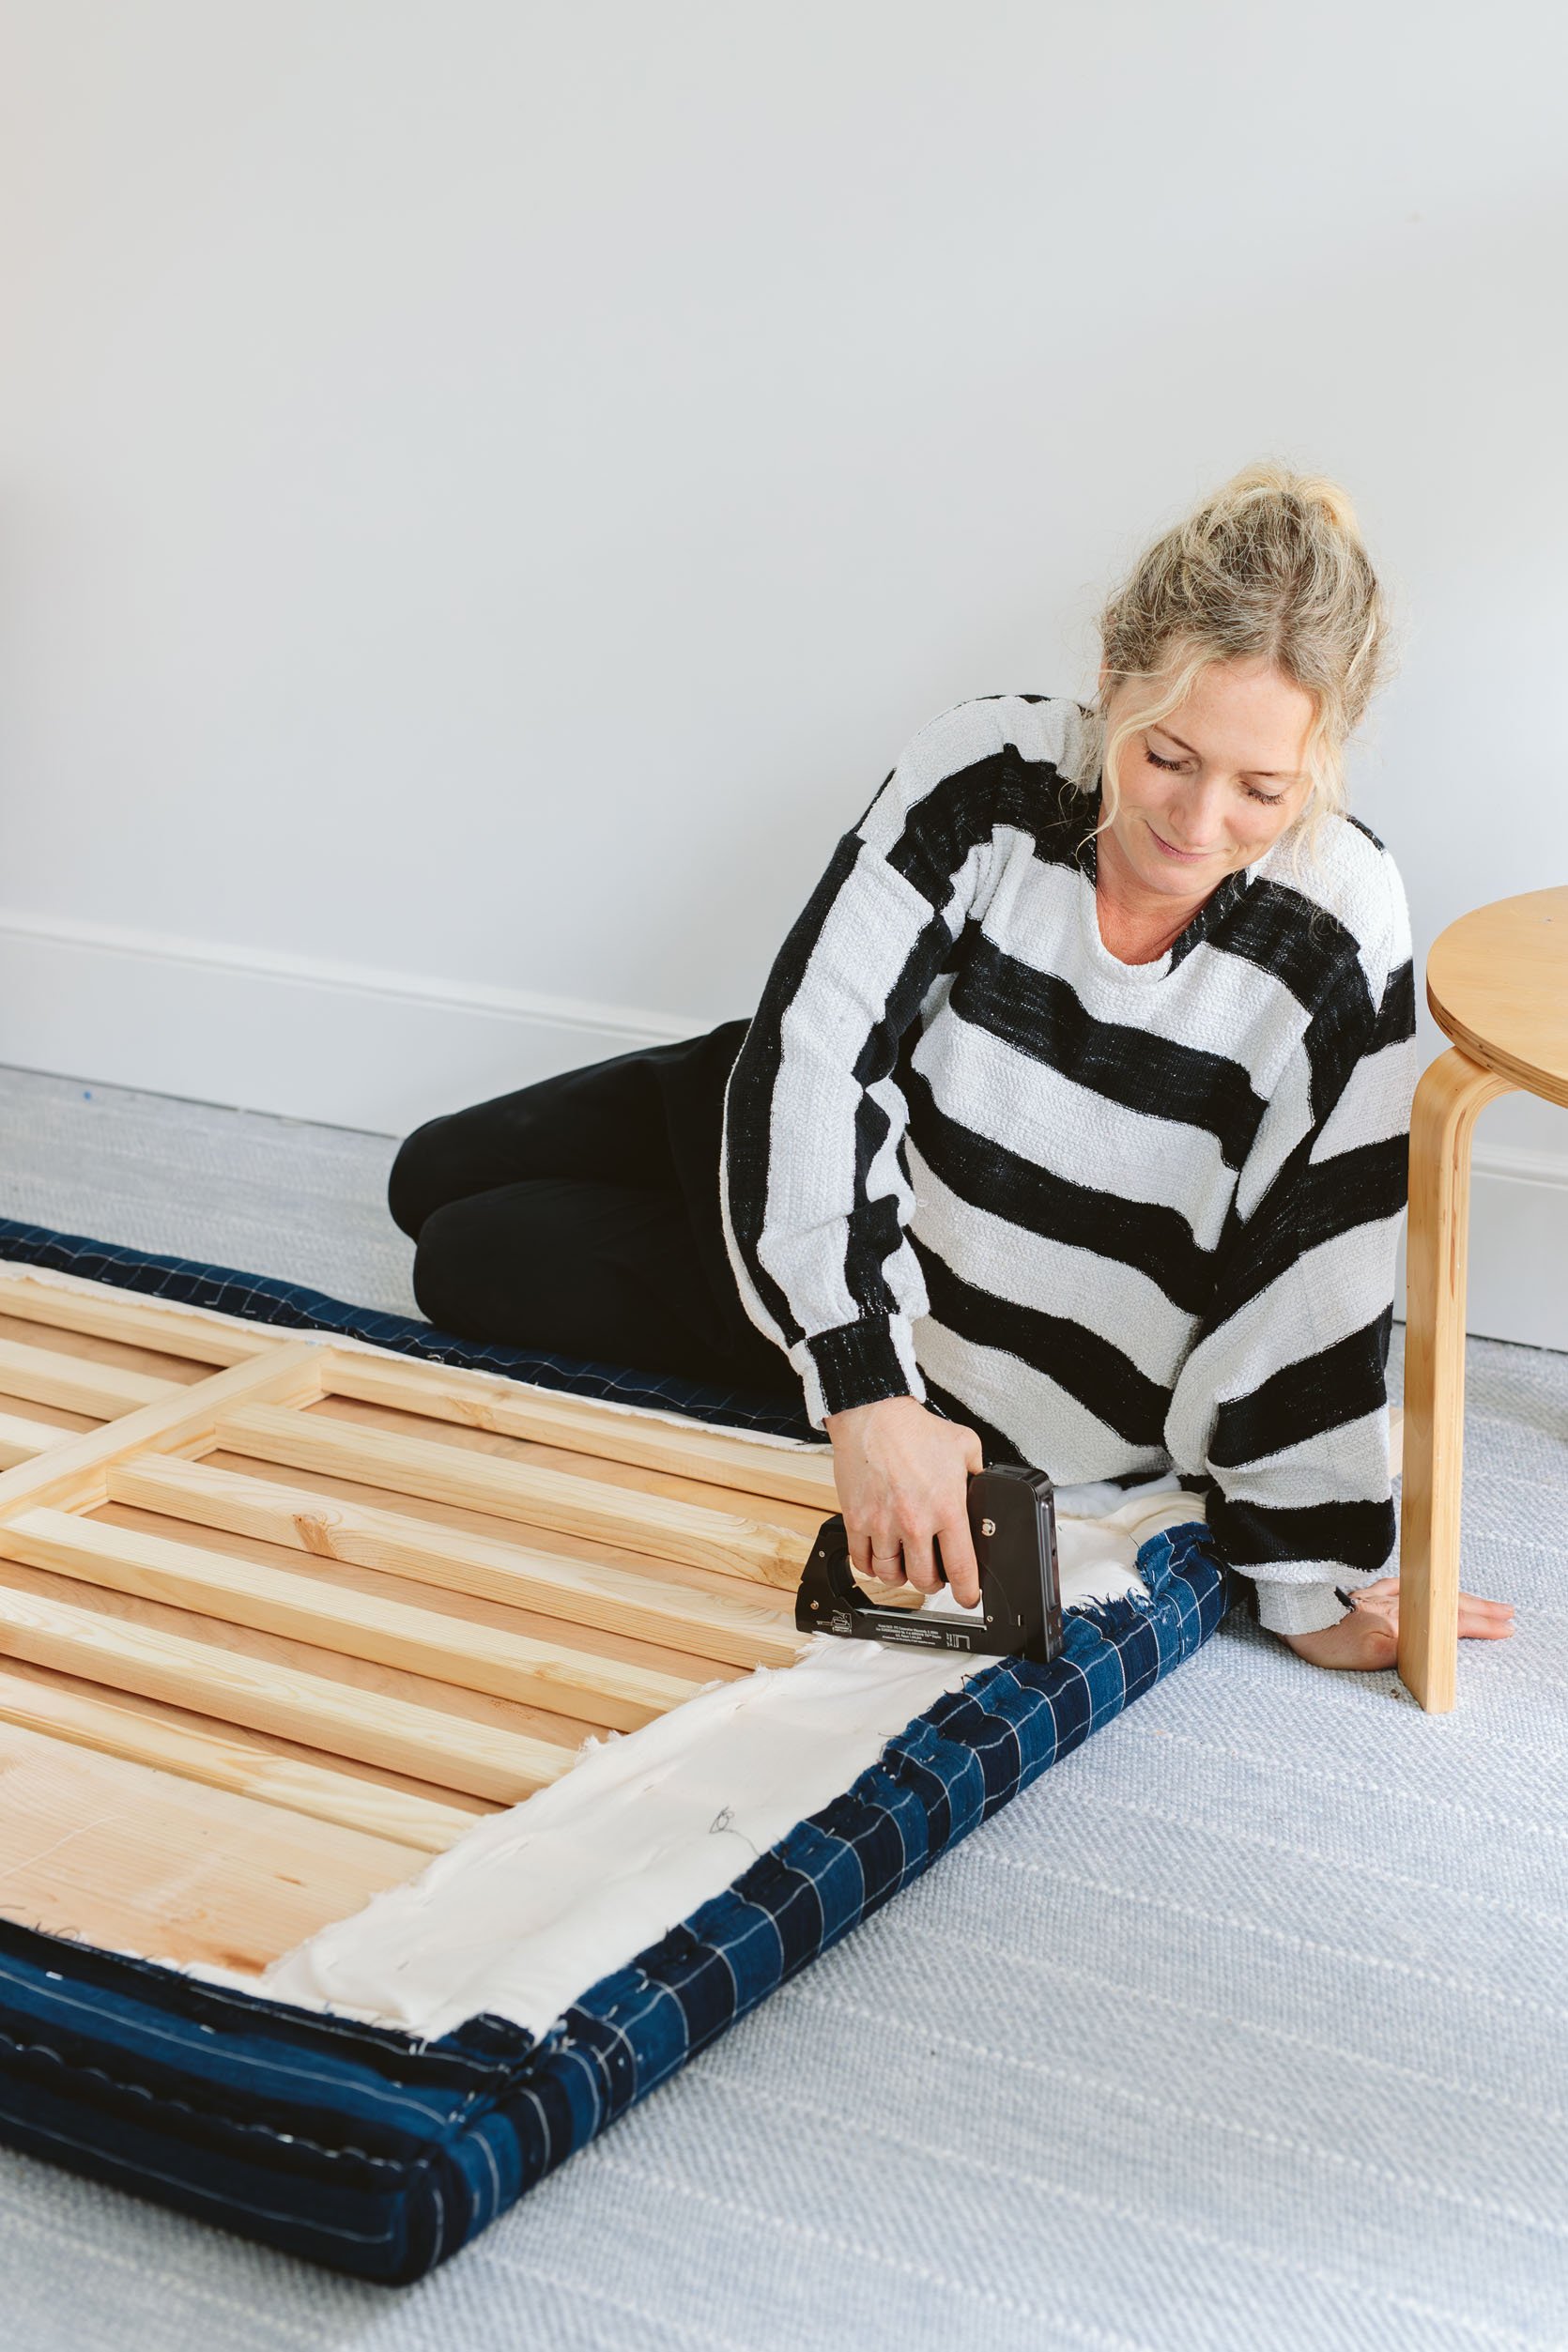
We bought this bed from IKEA – attracted to the pine sides and how easy it would be to hack. Realizing we wanted it taller we then added a foot with a 1x12x6 piece of lumber, secured with some straight/flat braces. We then wrapped two layers of batting using a staple gun, a 9 year old boys dream diy tool.
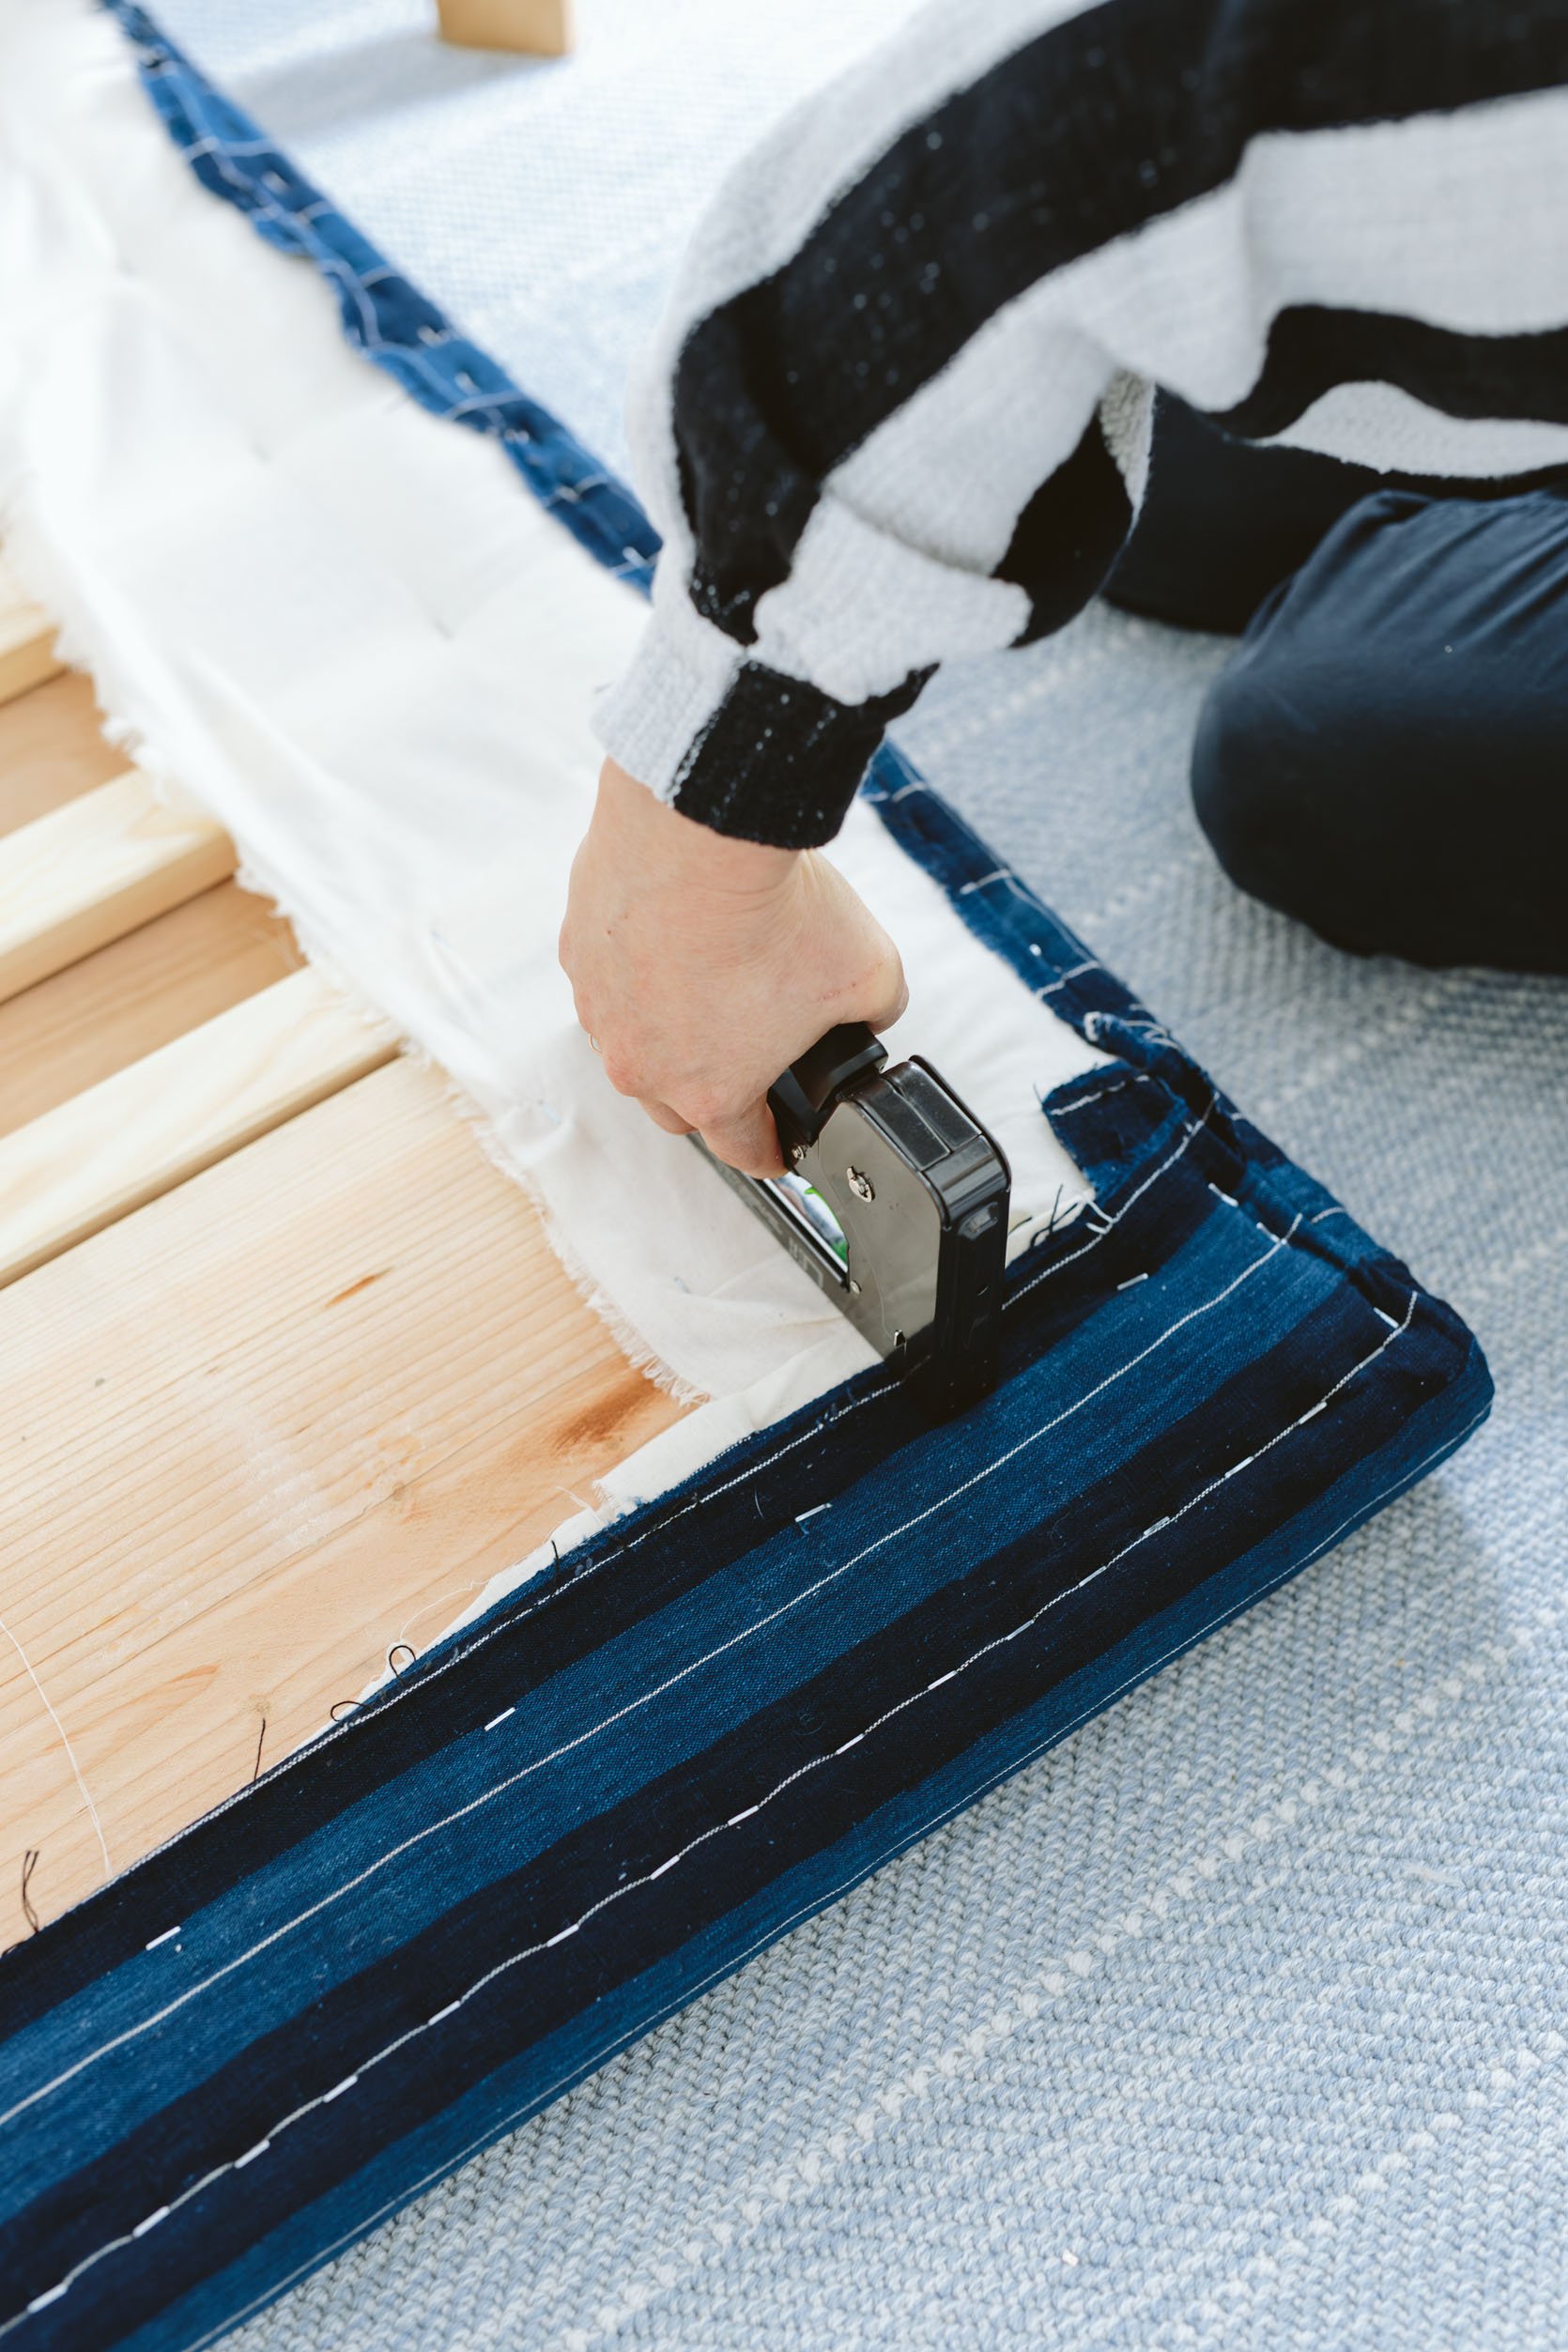
We thought about playing with the shape but figured once we get a playful mural up on the walls something more linear was safer.
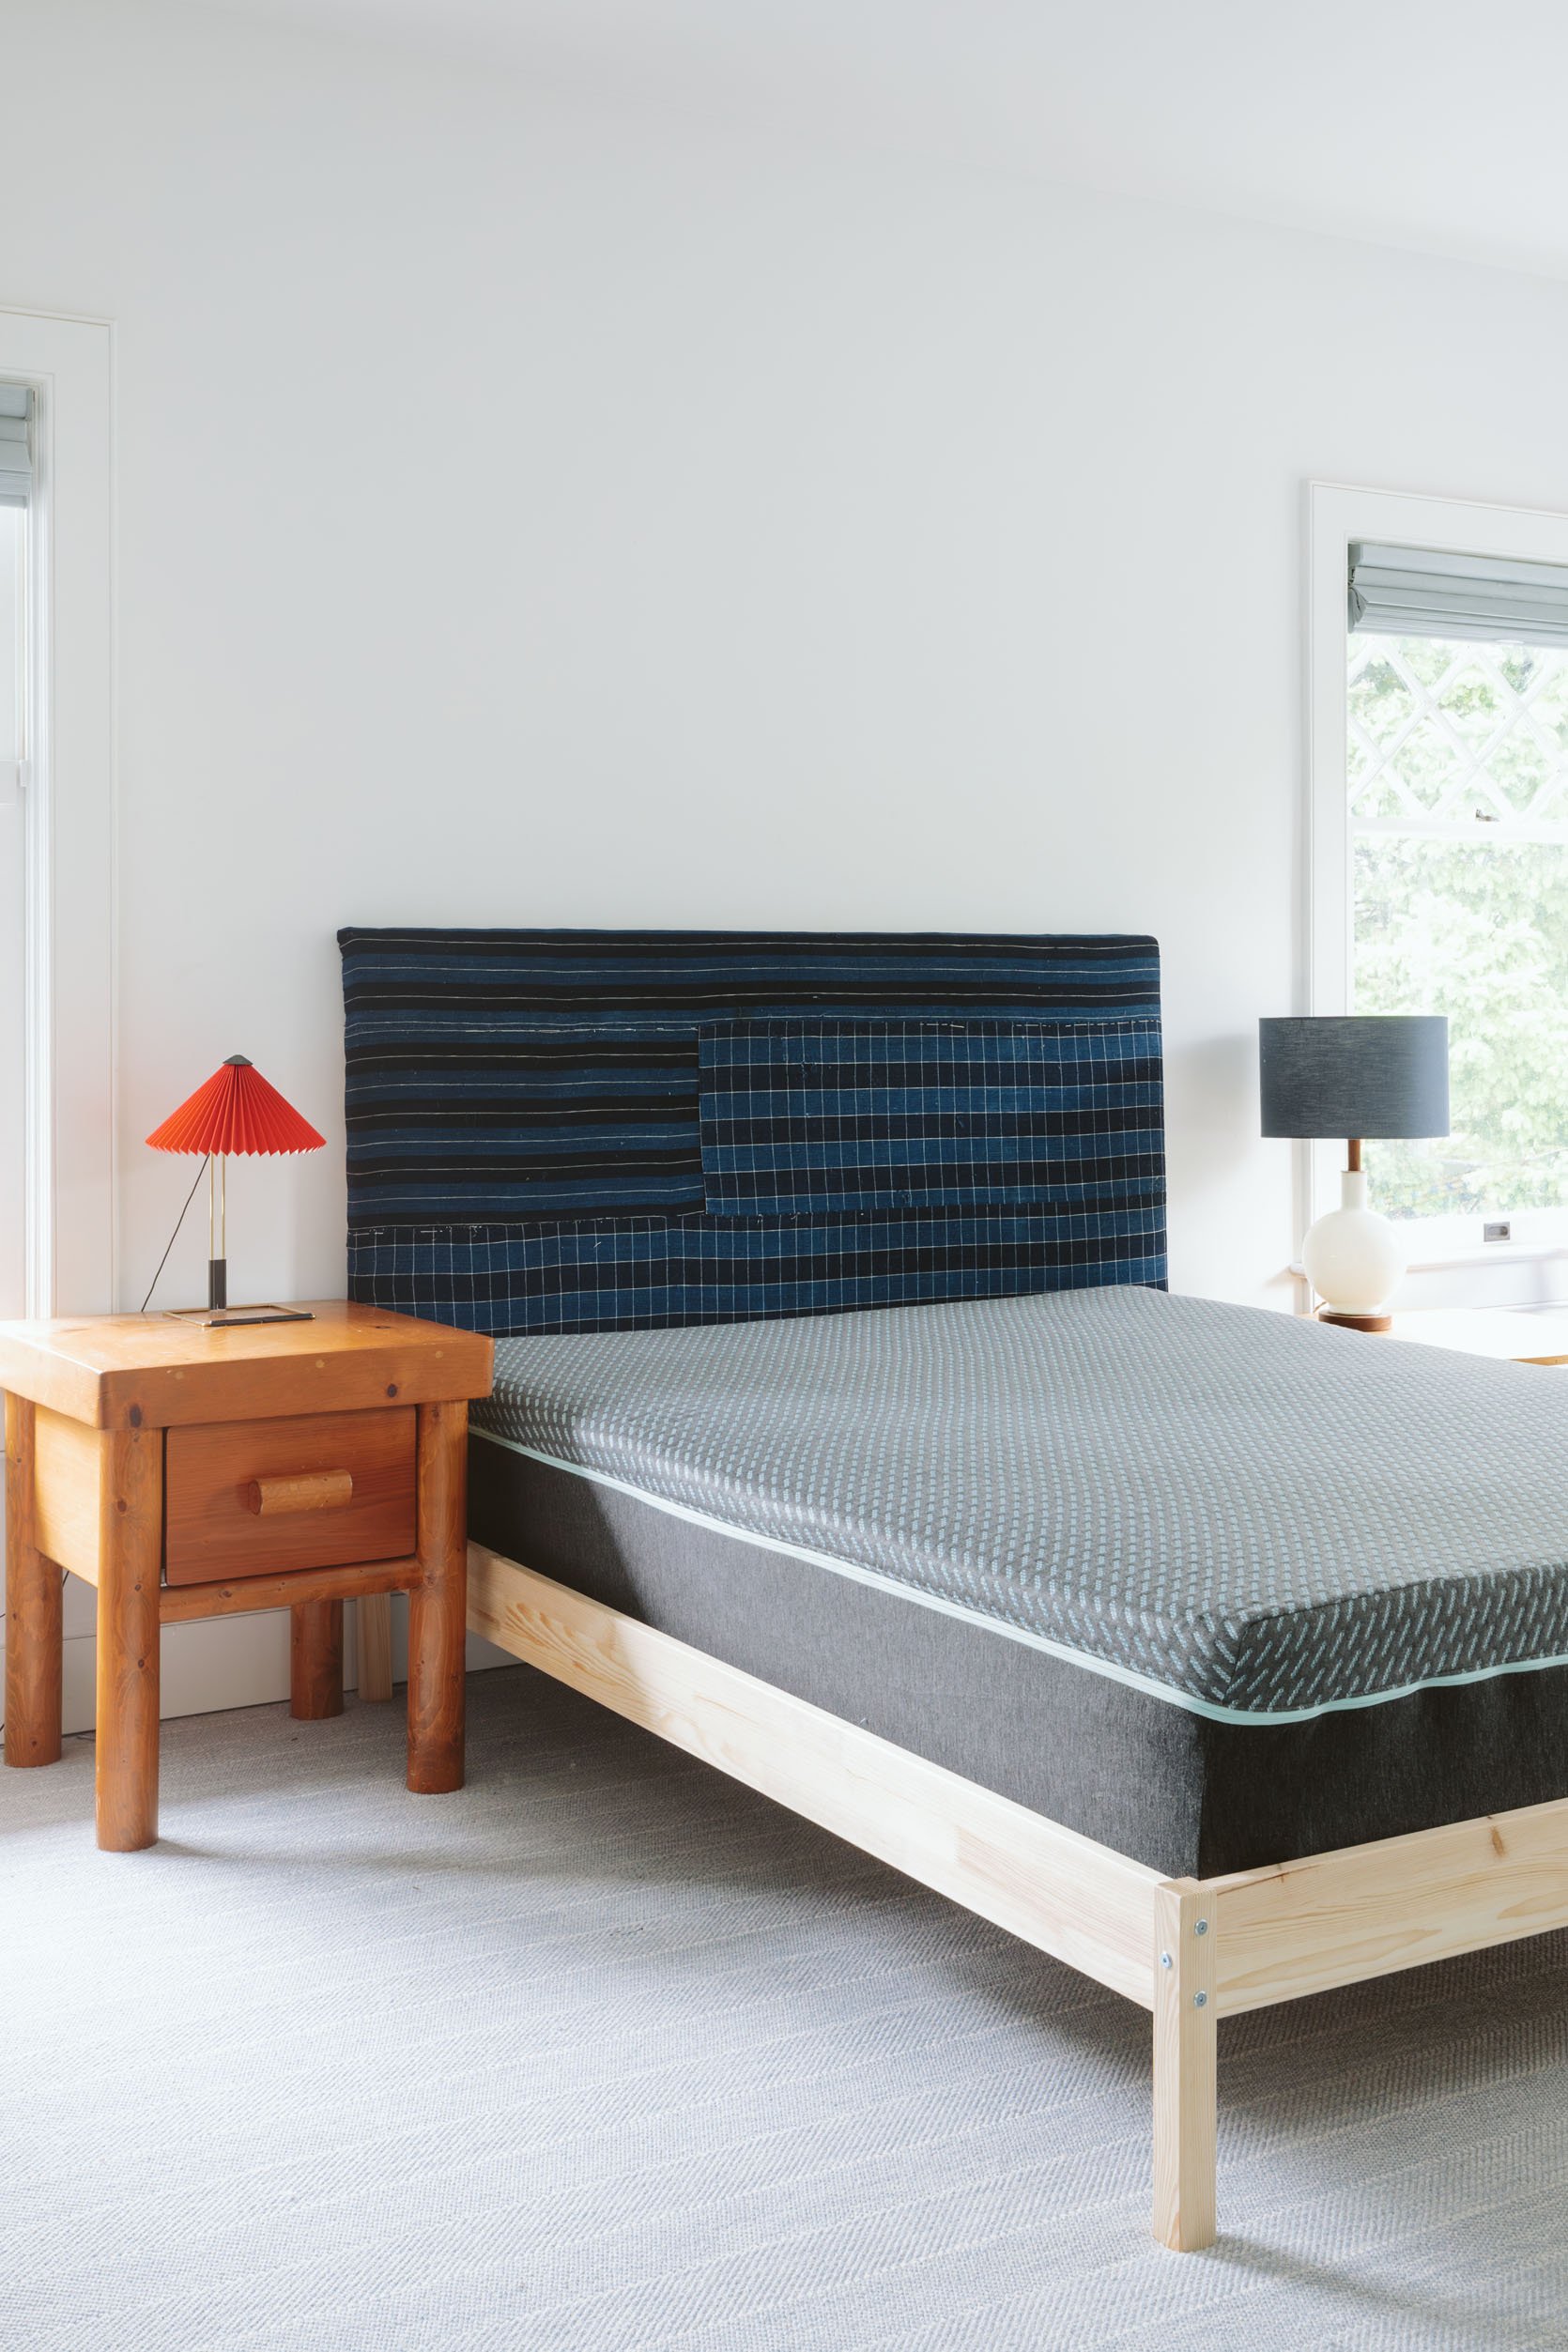
This post isn’t sponsored by Tuft & Needle, but in case you are in the market this is their new mint hybrid mattress which has both springs and their patented foam technology and is EXTREMELY comfortable. I love a softer mattress and this one is really really good.
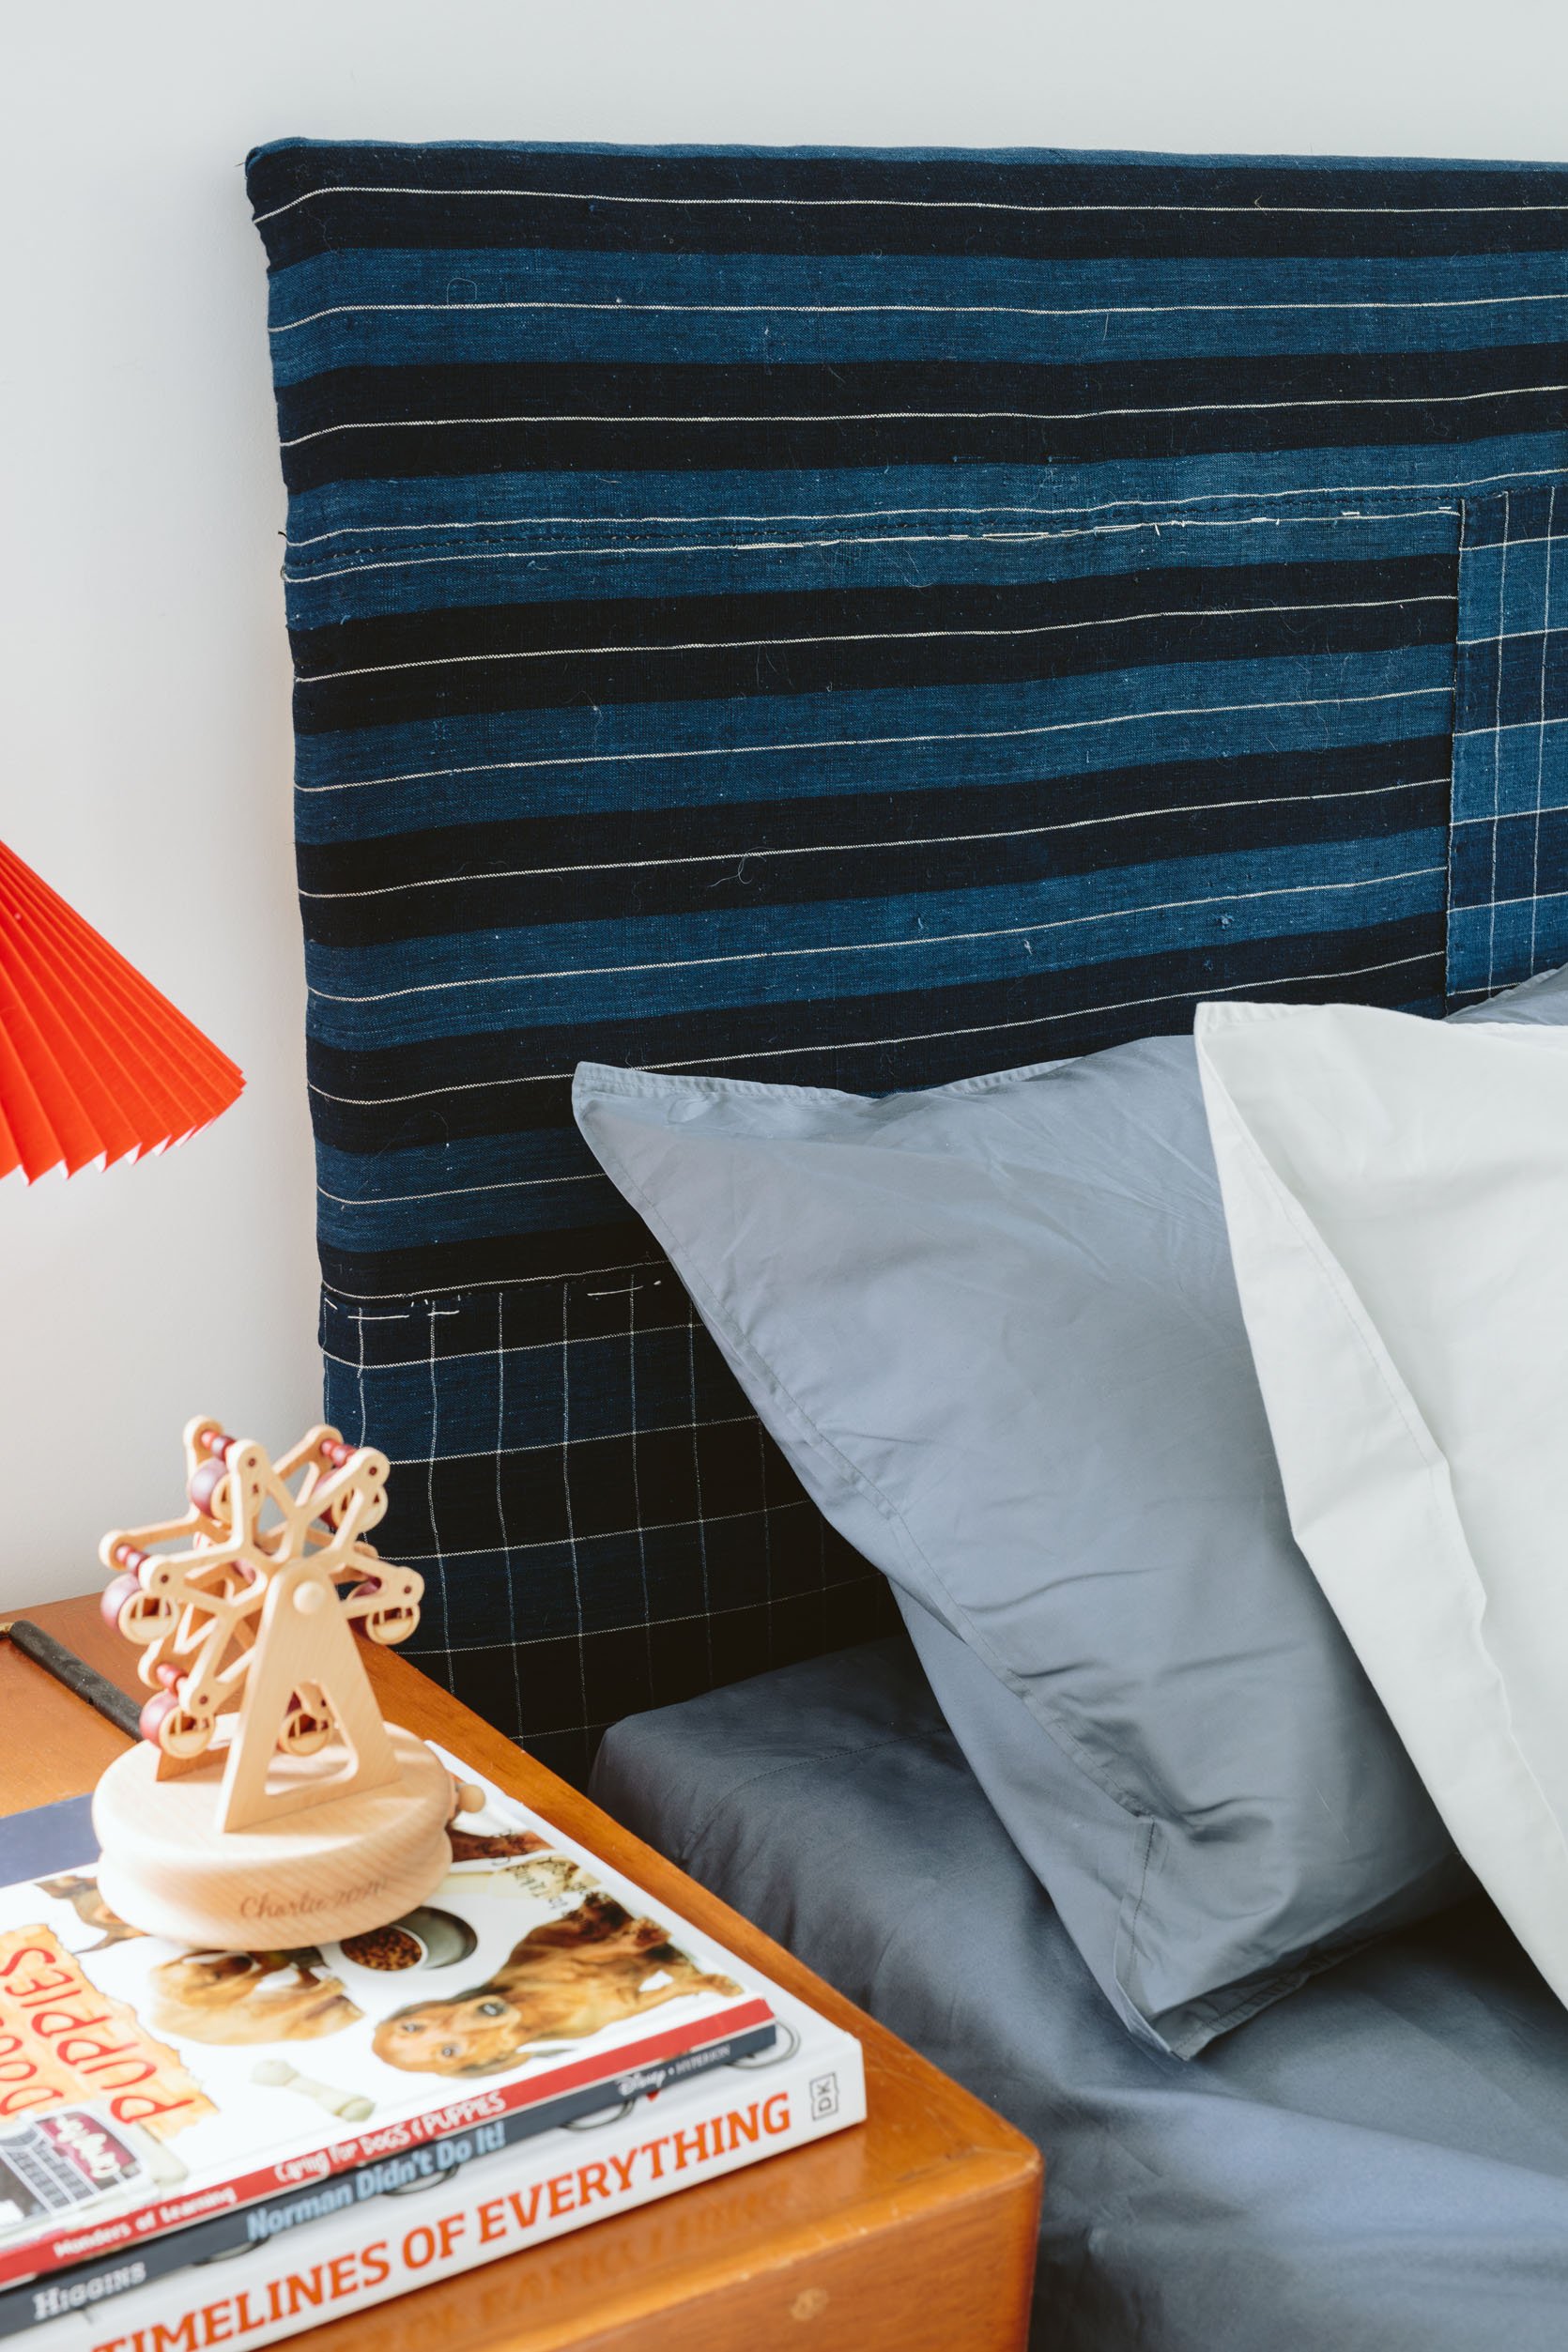
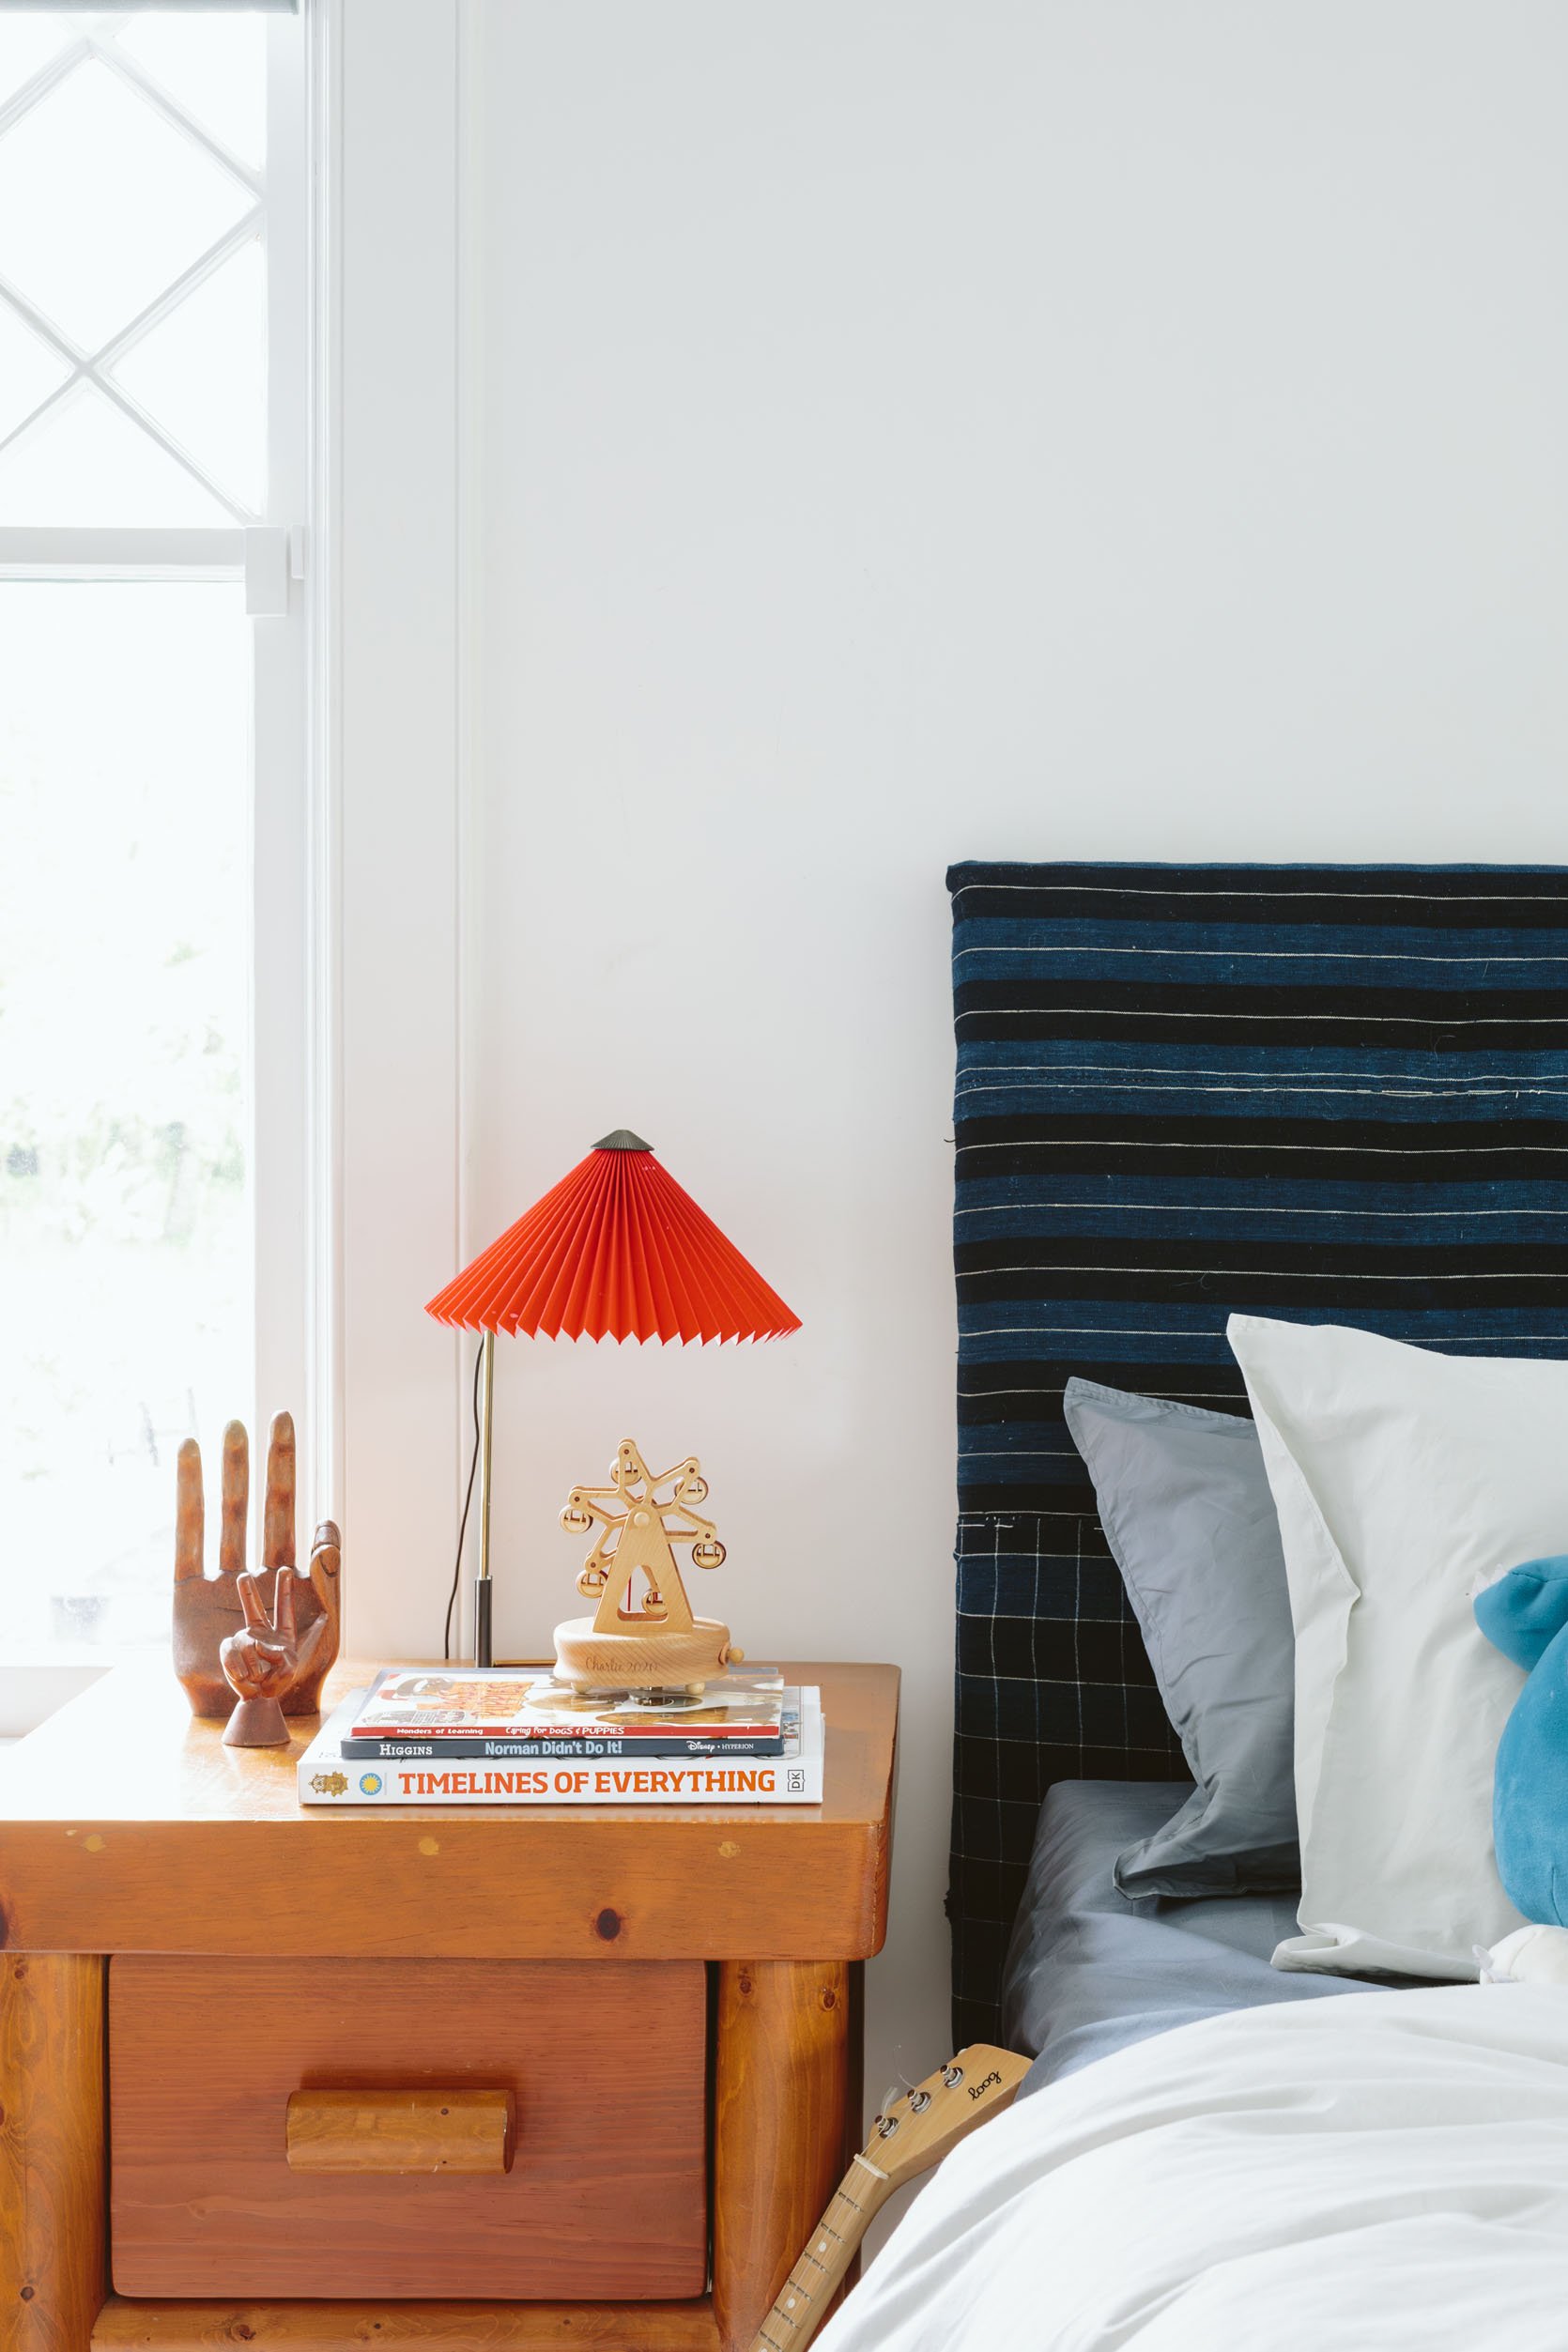
The fabric is one of my quilted Japanese Boro plaids that I love, and this one was dark and really pulled your eye in a good way.
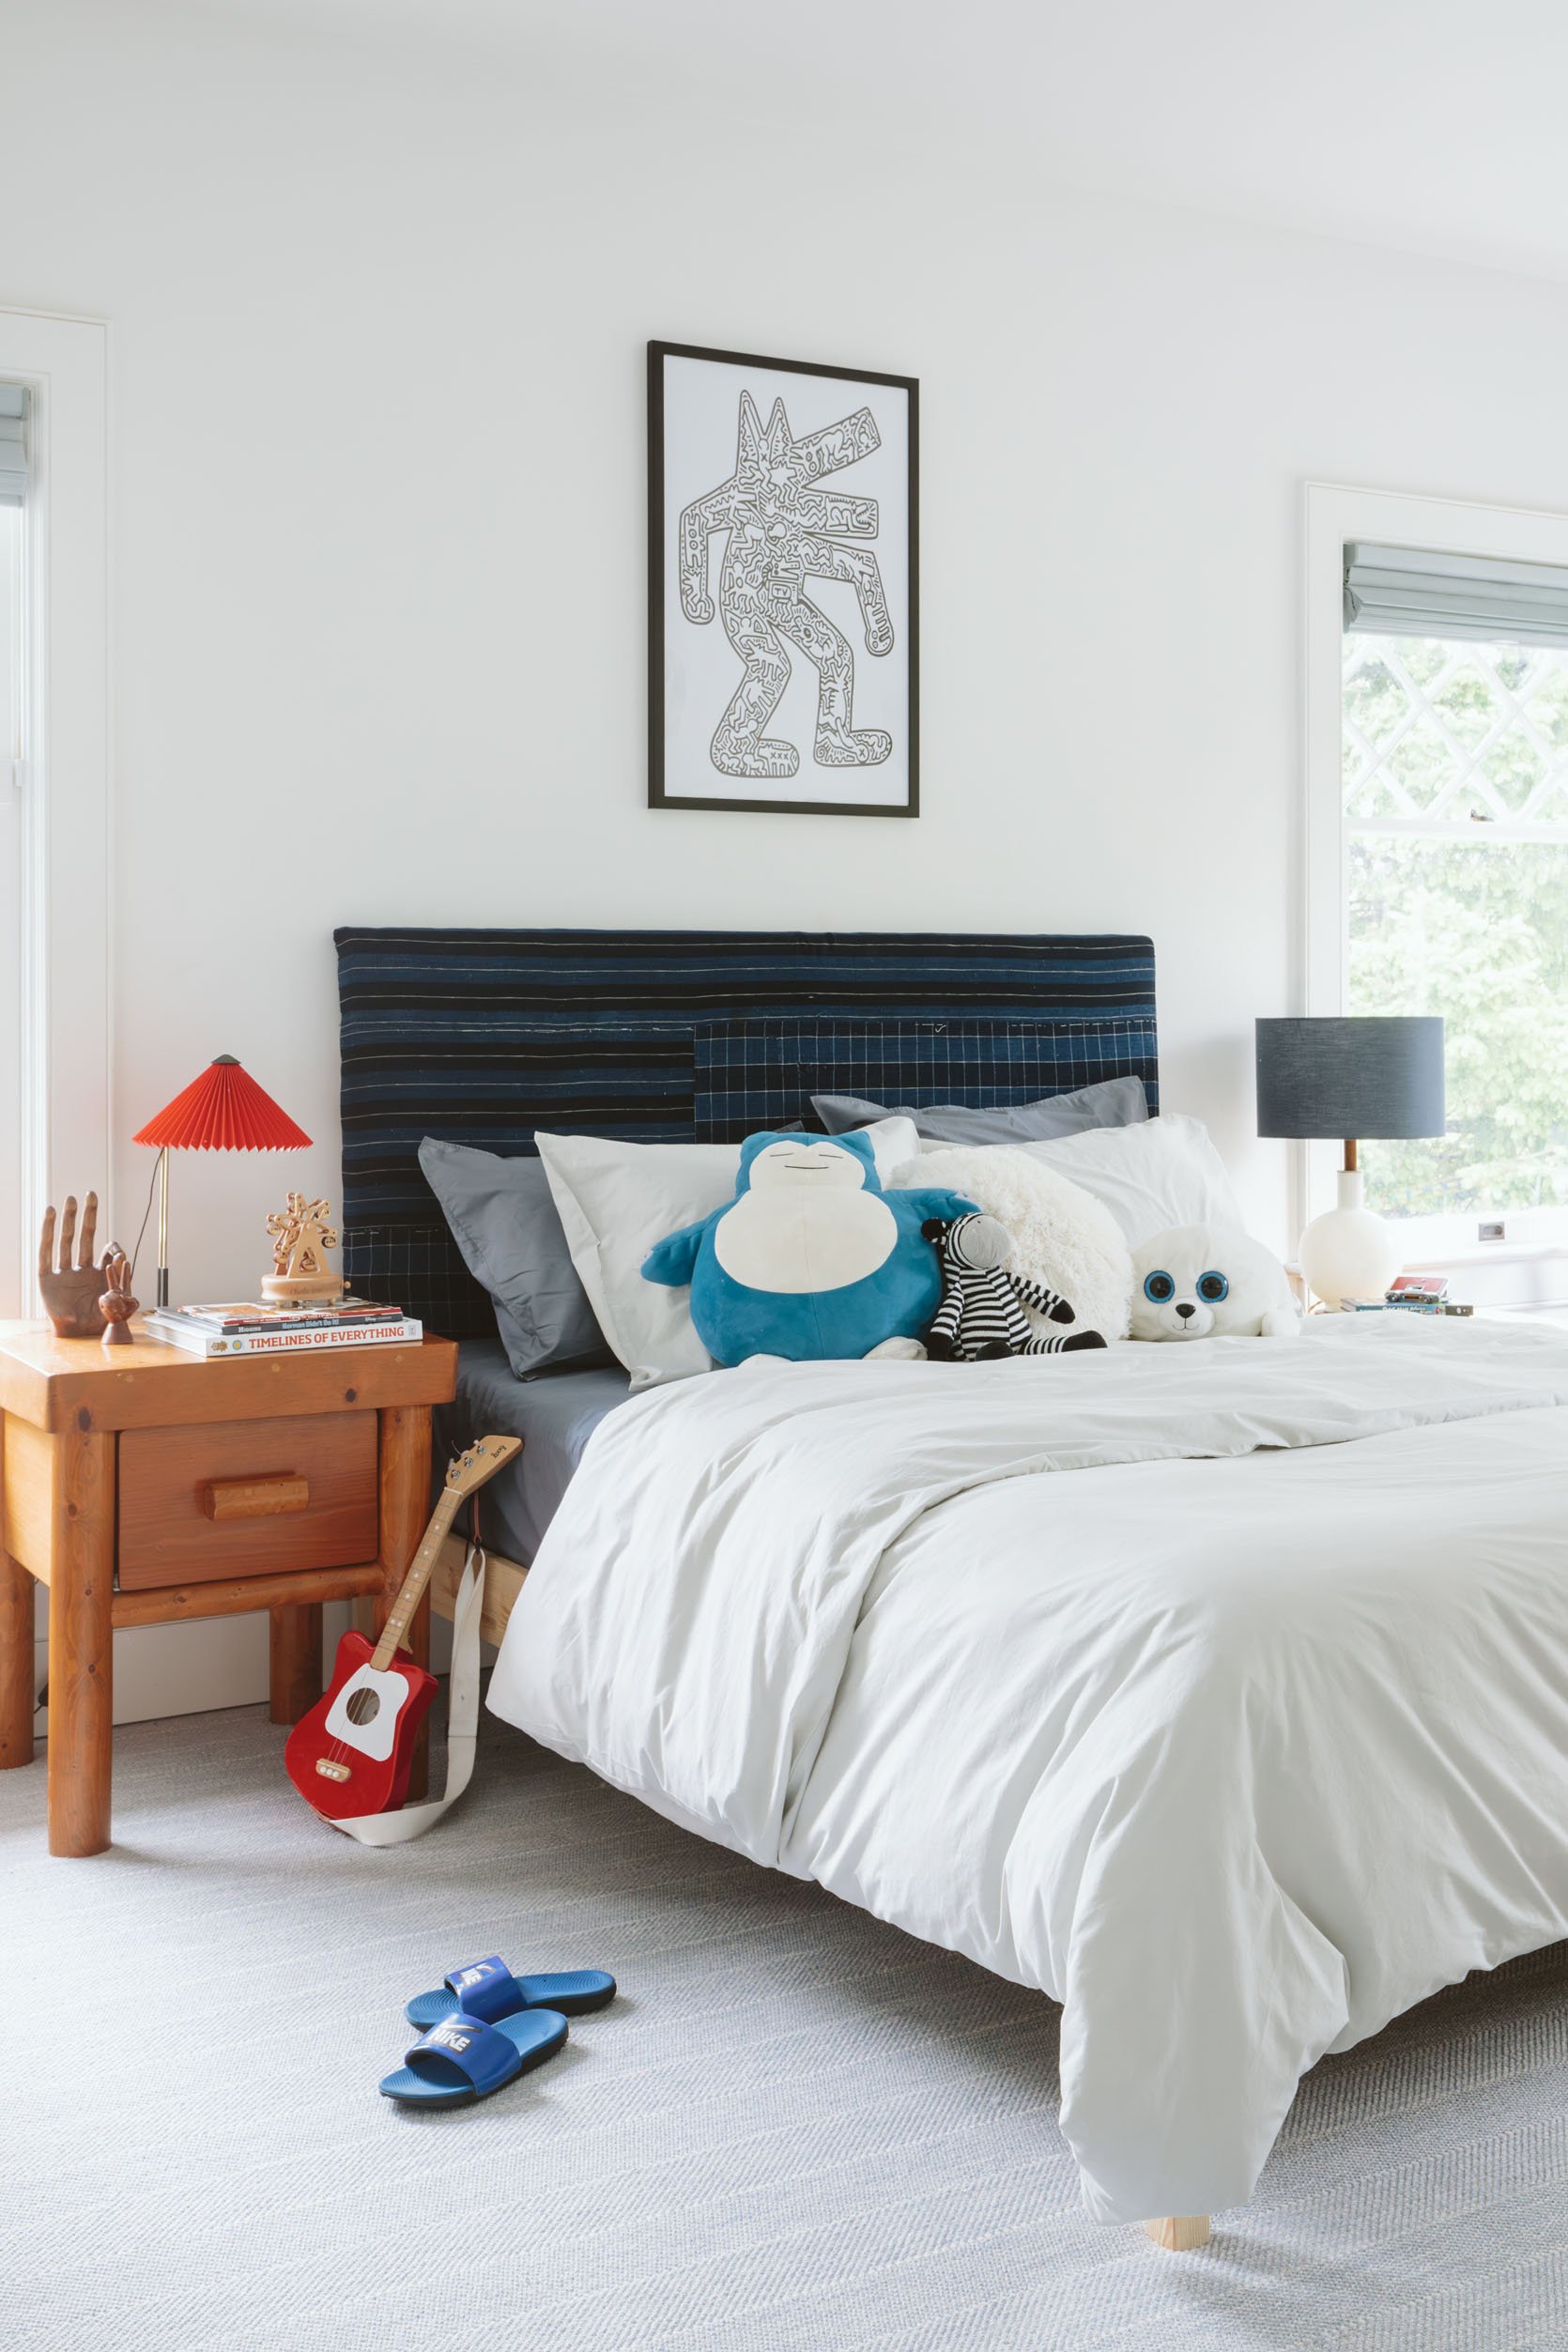
There you go! It took a day of gathering stuff and a day for Gretchen and I to do – with Charlie’s staple gunning help of course. The bed itself wasn’t that easy to put together but it is SOLID.
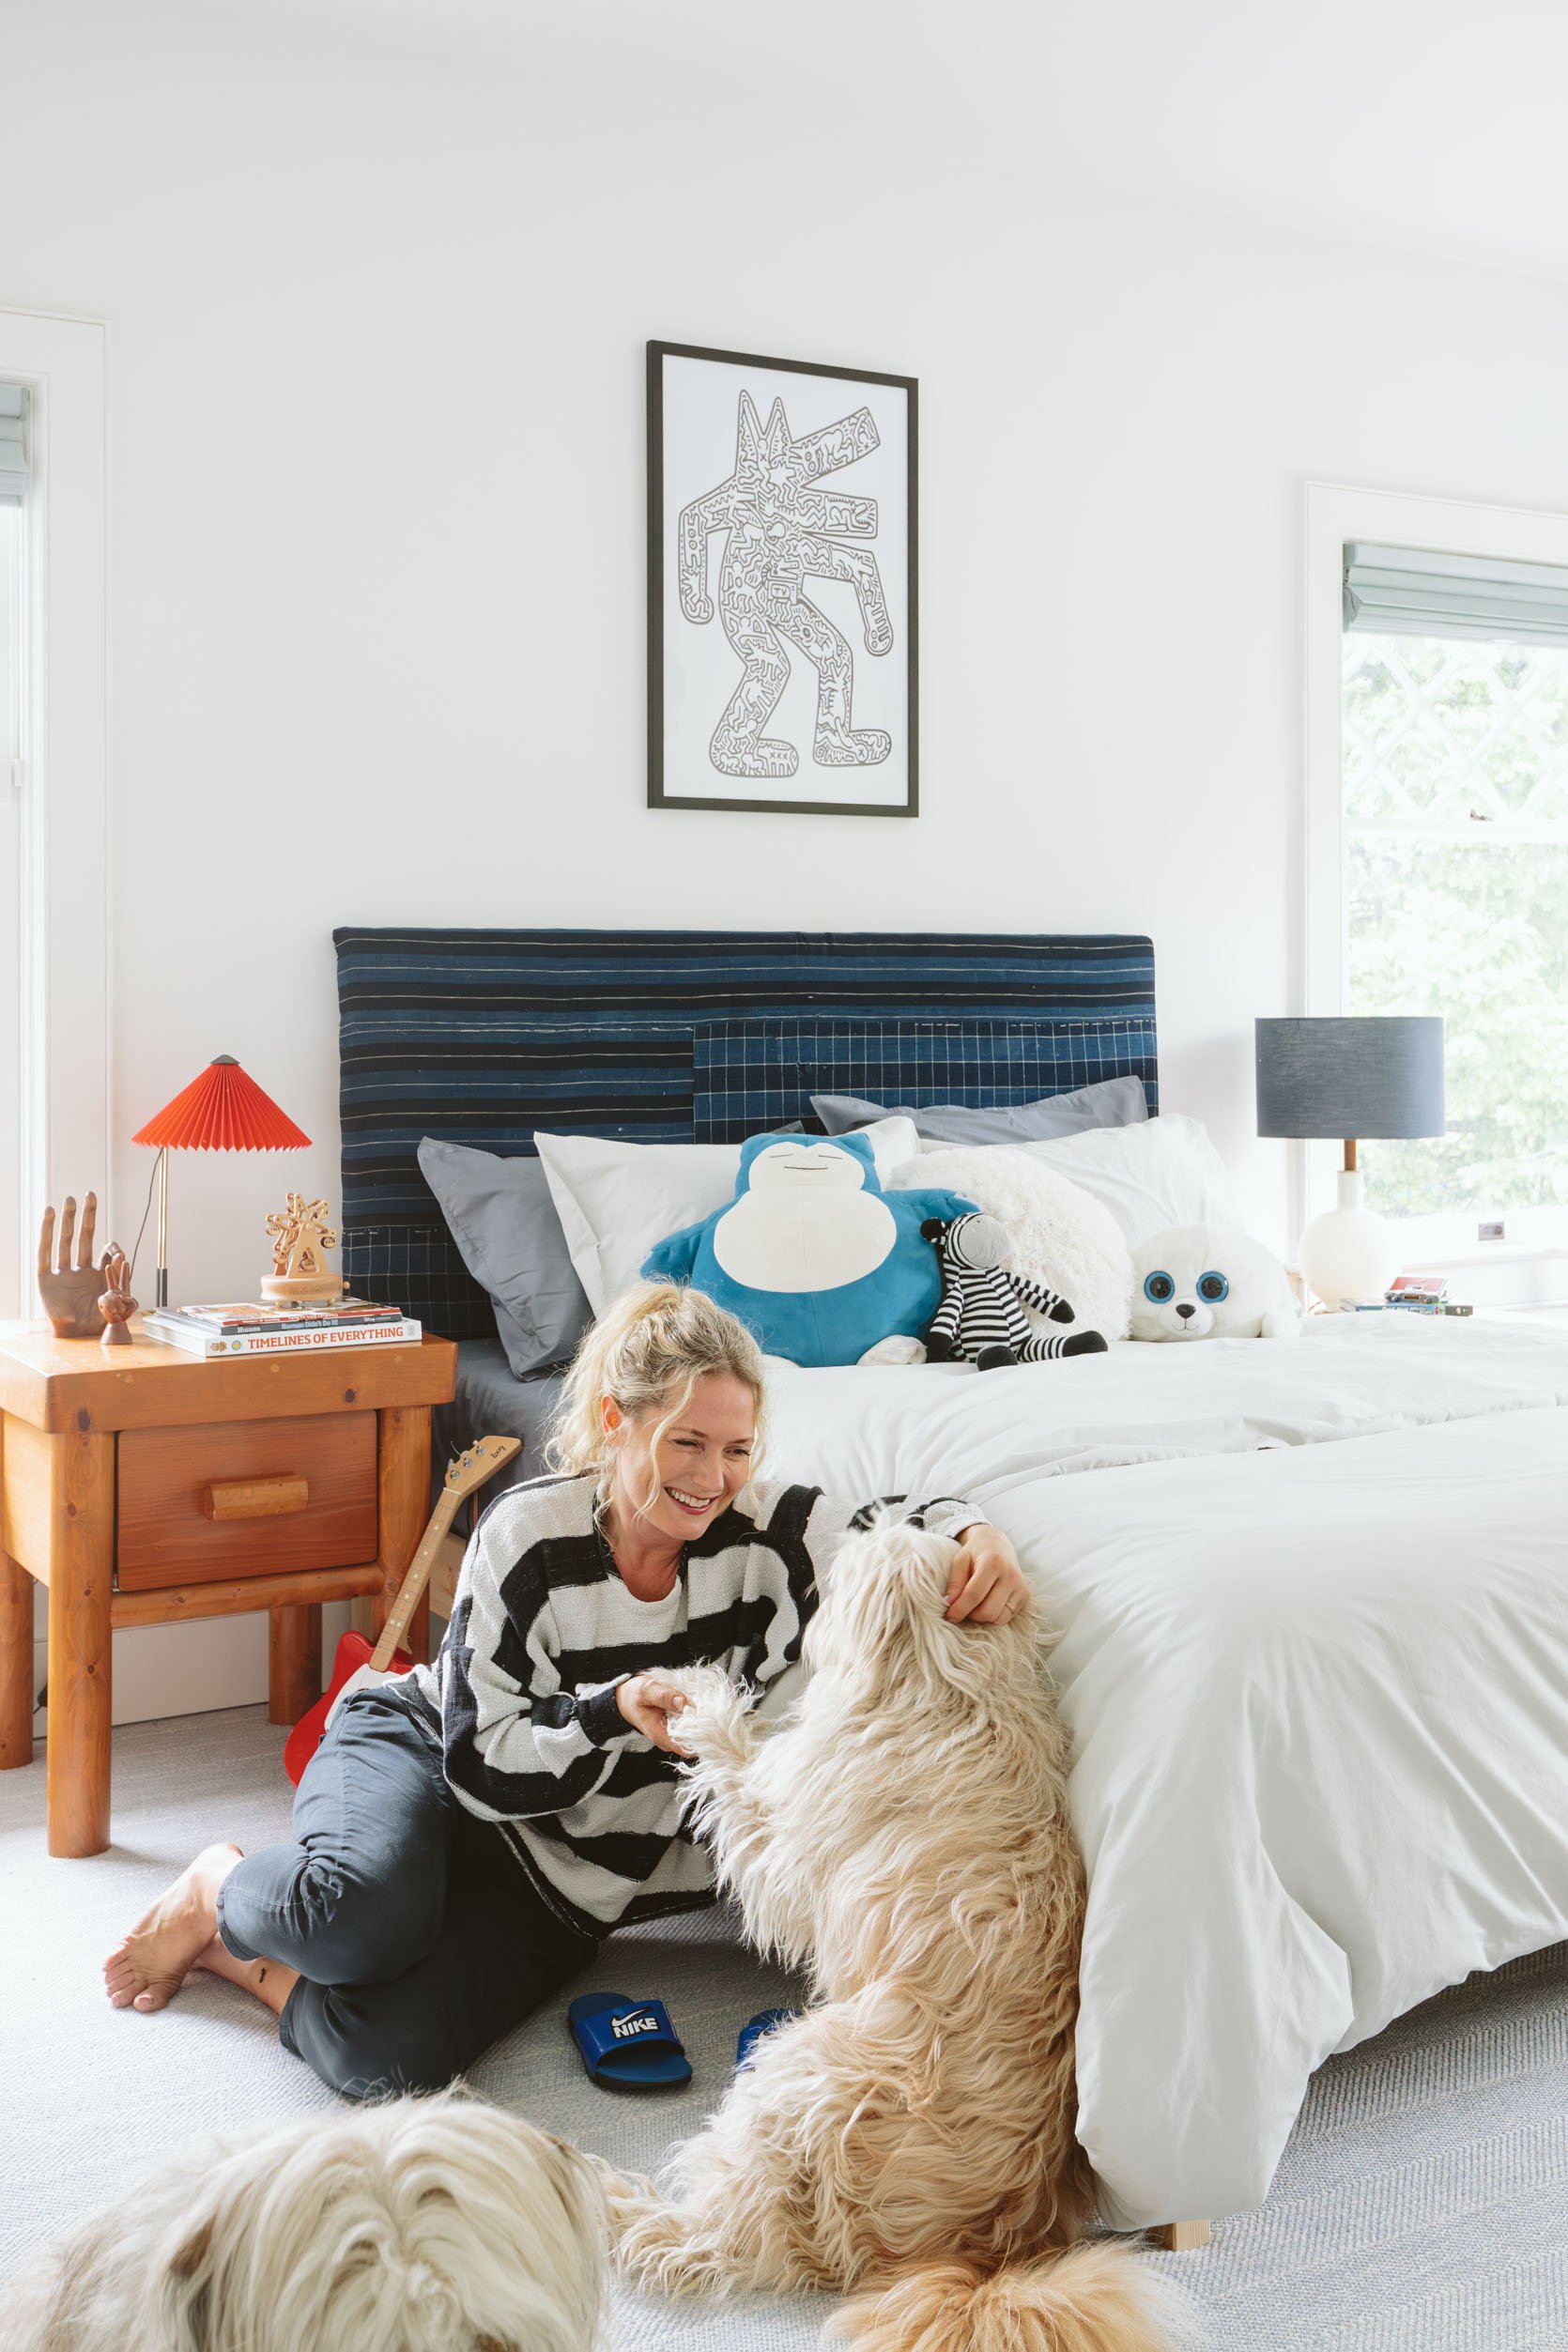
Y’all these pups will NOT allow for a photo shoot without them. They follow me around all day and I can’t not put them in shots (which I love because it adds “life” and keeps my kids for the most part off the internet :))
I still need to figure out if I want to strip or paint that nightstand (and the matching chair) or leave its 1970s orange, which honestly does kinda work in here. Thoughts??!!
Resources:
Window Treatments: Decorview
Carpet: Stark Carpet
Wall Color: Extra White by Sherwin-Williams
Outlet Covers: Rejuvenation
*Photos by Kaitlin Green
THIS POST WAS ORIGINALLY PUBLISHED HERE.


