It’s no secret that I’m a fan of good, natural wood paneling. In fact, I talk so much about my love of natural-toned wood, I’m fairly certain Google just automatically redirects any search inquiries about it straight to my site (I wish). Before diving into the nitty-gritty of the ceilings in this home, let me remind you of how we transformed the mountain house ceiling. Does walnut blasting ring any bells? If you don’t recall or weren’t a reader during those days, we learned so much from that process, including just how many different media types could be used to “blast” the wood down to its natural grain. We ended up going the walnut route (which looked weird TBH, so we redid the tongue and groove), but there’s silica sand, corn cob, ice and baking soda, each with its own intensity.

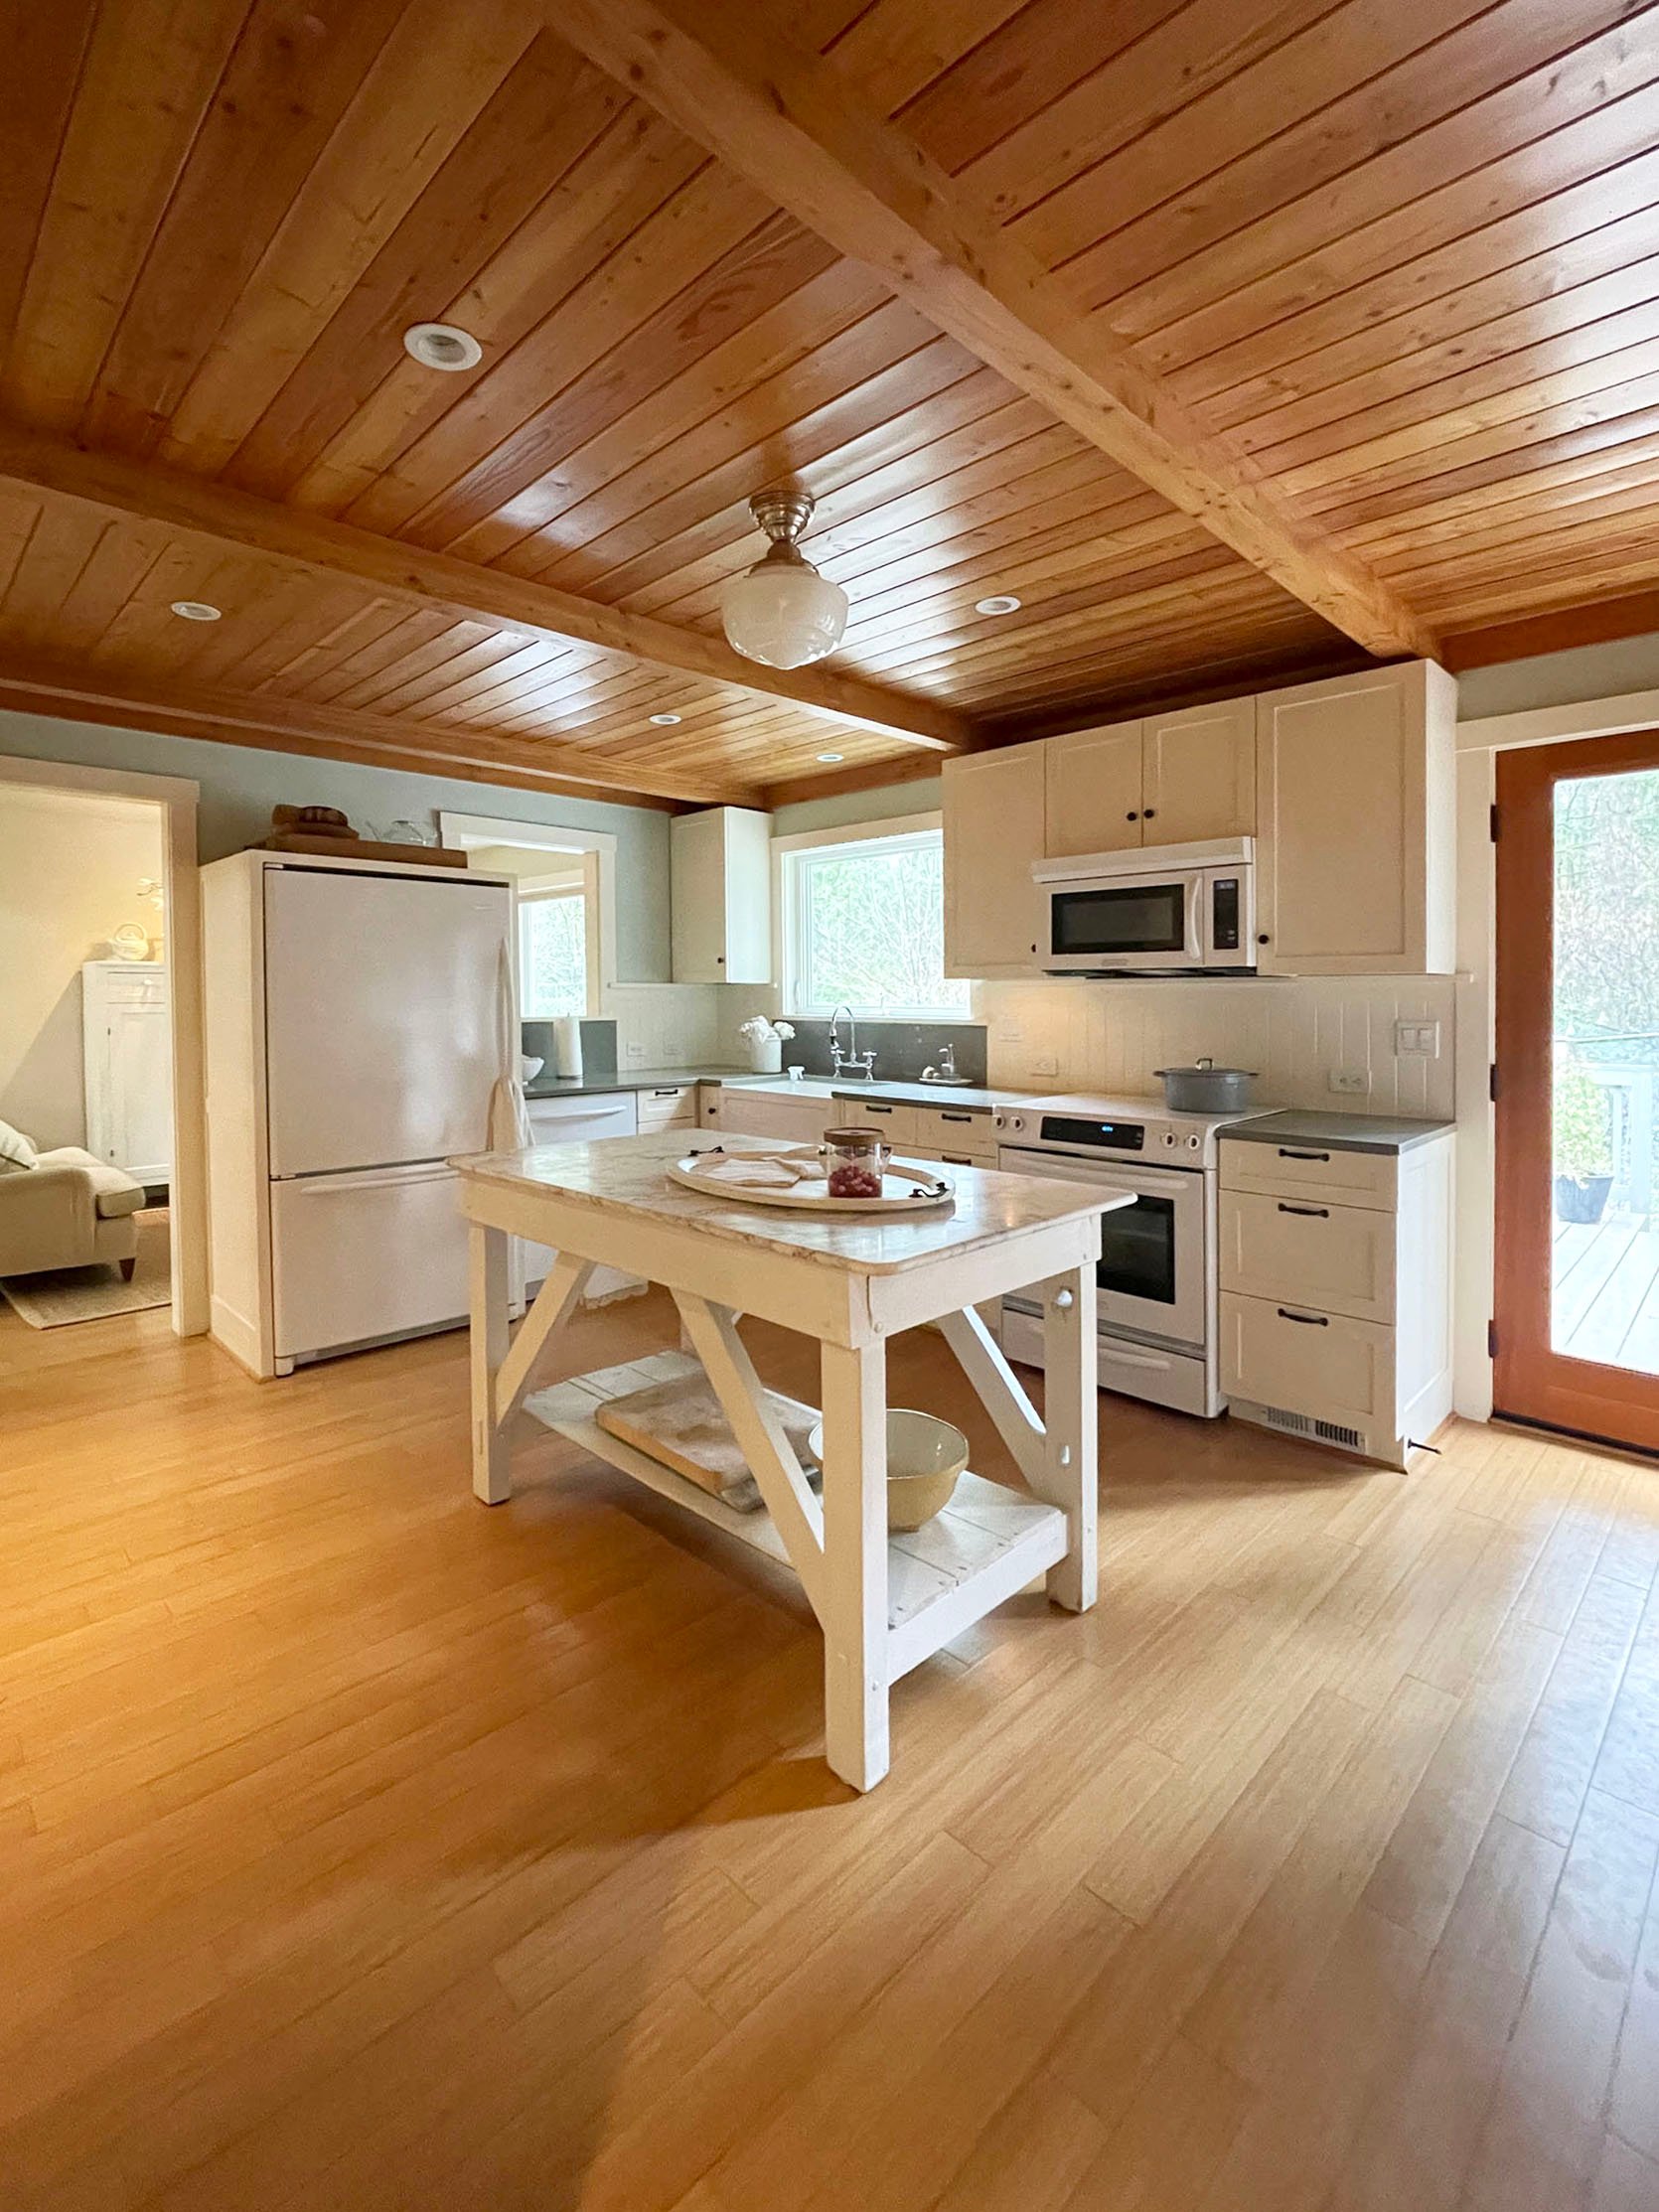
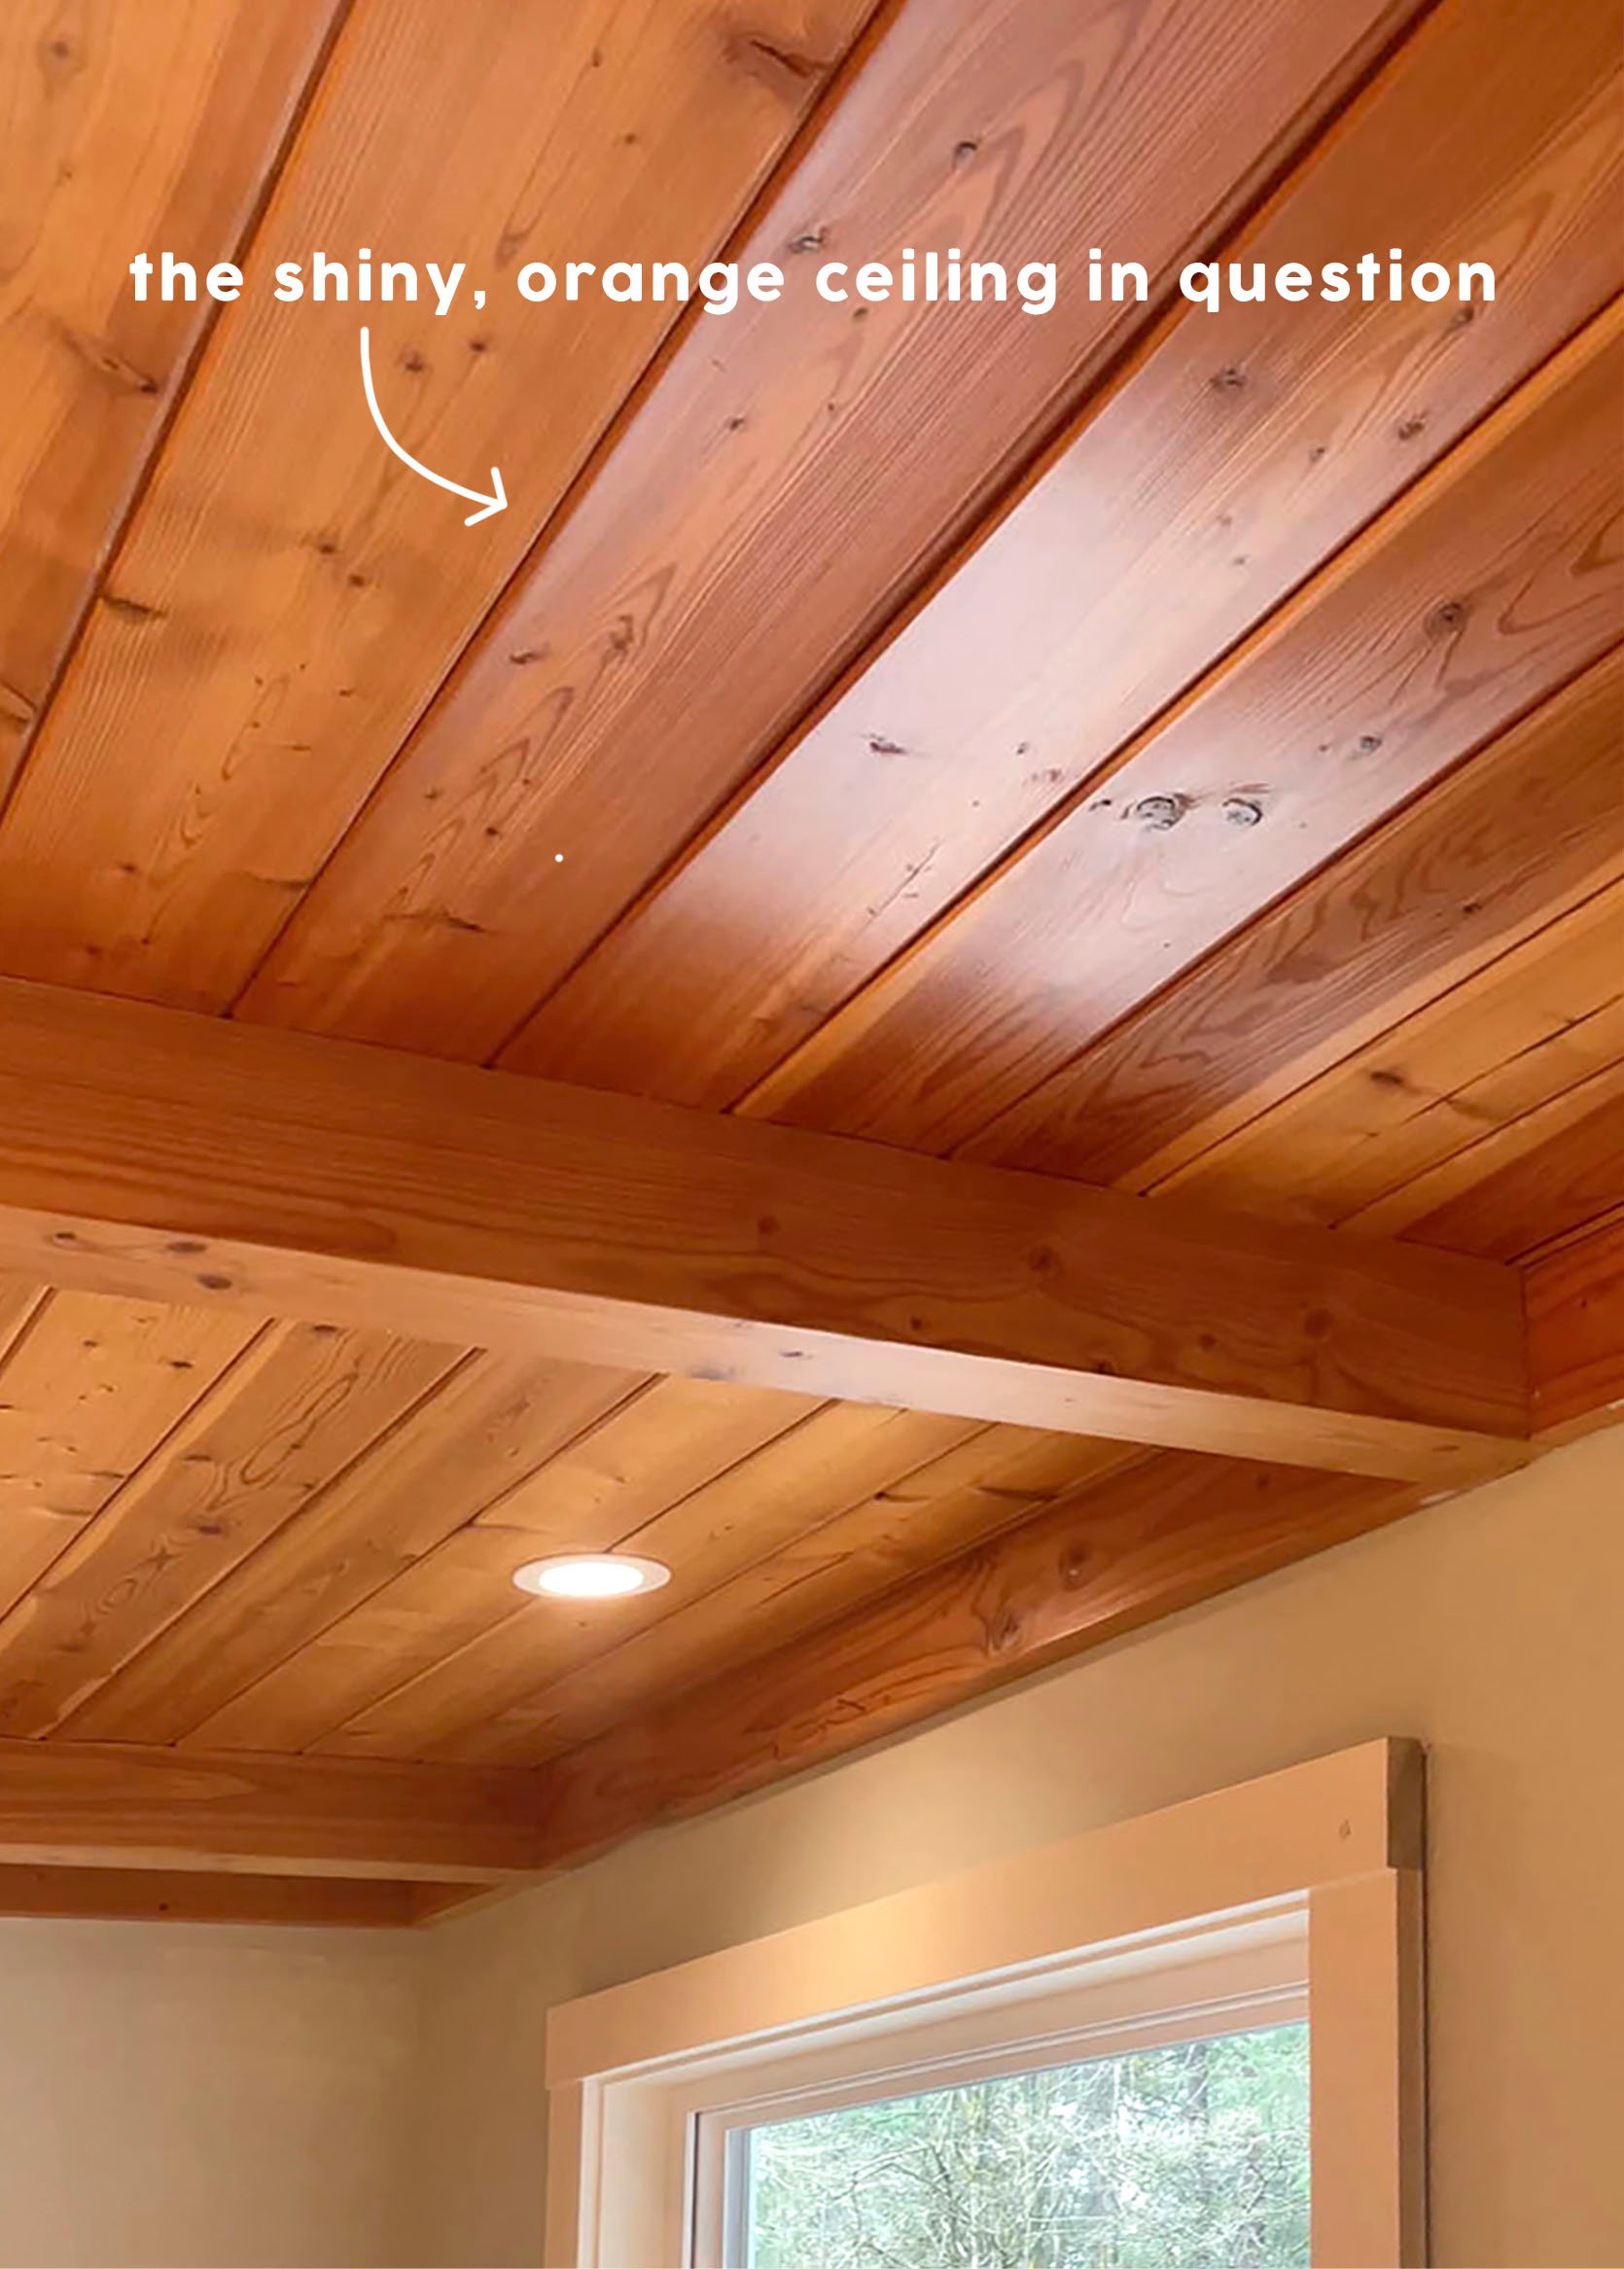
In case you missed yesterday’s post, I introduced a very fun seven-week, no-reno kitchen remodel we did for a reader here in Portland. The space was great but needed some refreshing…the ceiling being one of the big ticket items. As it’s been about five years since we shot walnut shells at the mountain house ceiling, a new blasting technique popped up on my radar and I was eager to try to give it a go. The ceilings here reminded me of one of my less successful spraytans – orange, shiny and not natural at all. They were much, MUCH shinier in person TBH. These wood ceilings needed a 2023 revamp to find to their natural, nicely tanned, non-orange state. We were going for a happy, sweet vintage-inspired kitchen, and those shiny planks needed to go.
As you may remember, a small part of me was disappointed in the texture we were left with at the mountain house after walnut blasting (it looked both pink and orange). My hope was that with a different technique, the blasting process would leave less evidence behind (aka too much texture). Ideally, the look we were going for here was pretty similar to my original vision for the mountain house–a softer, lighter-toned raw wood that felt updated yet timeless.
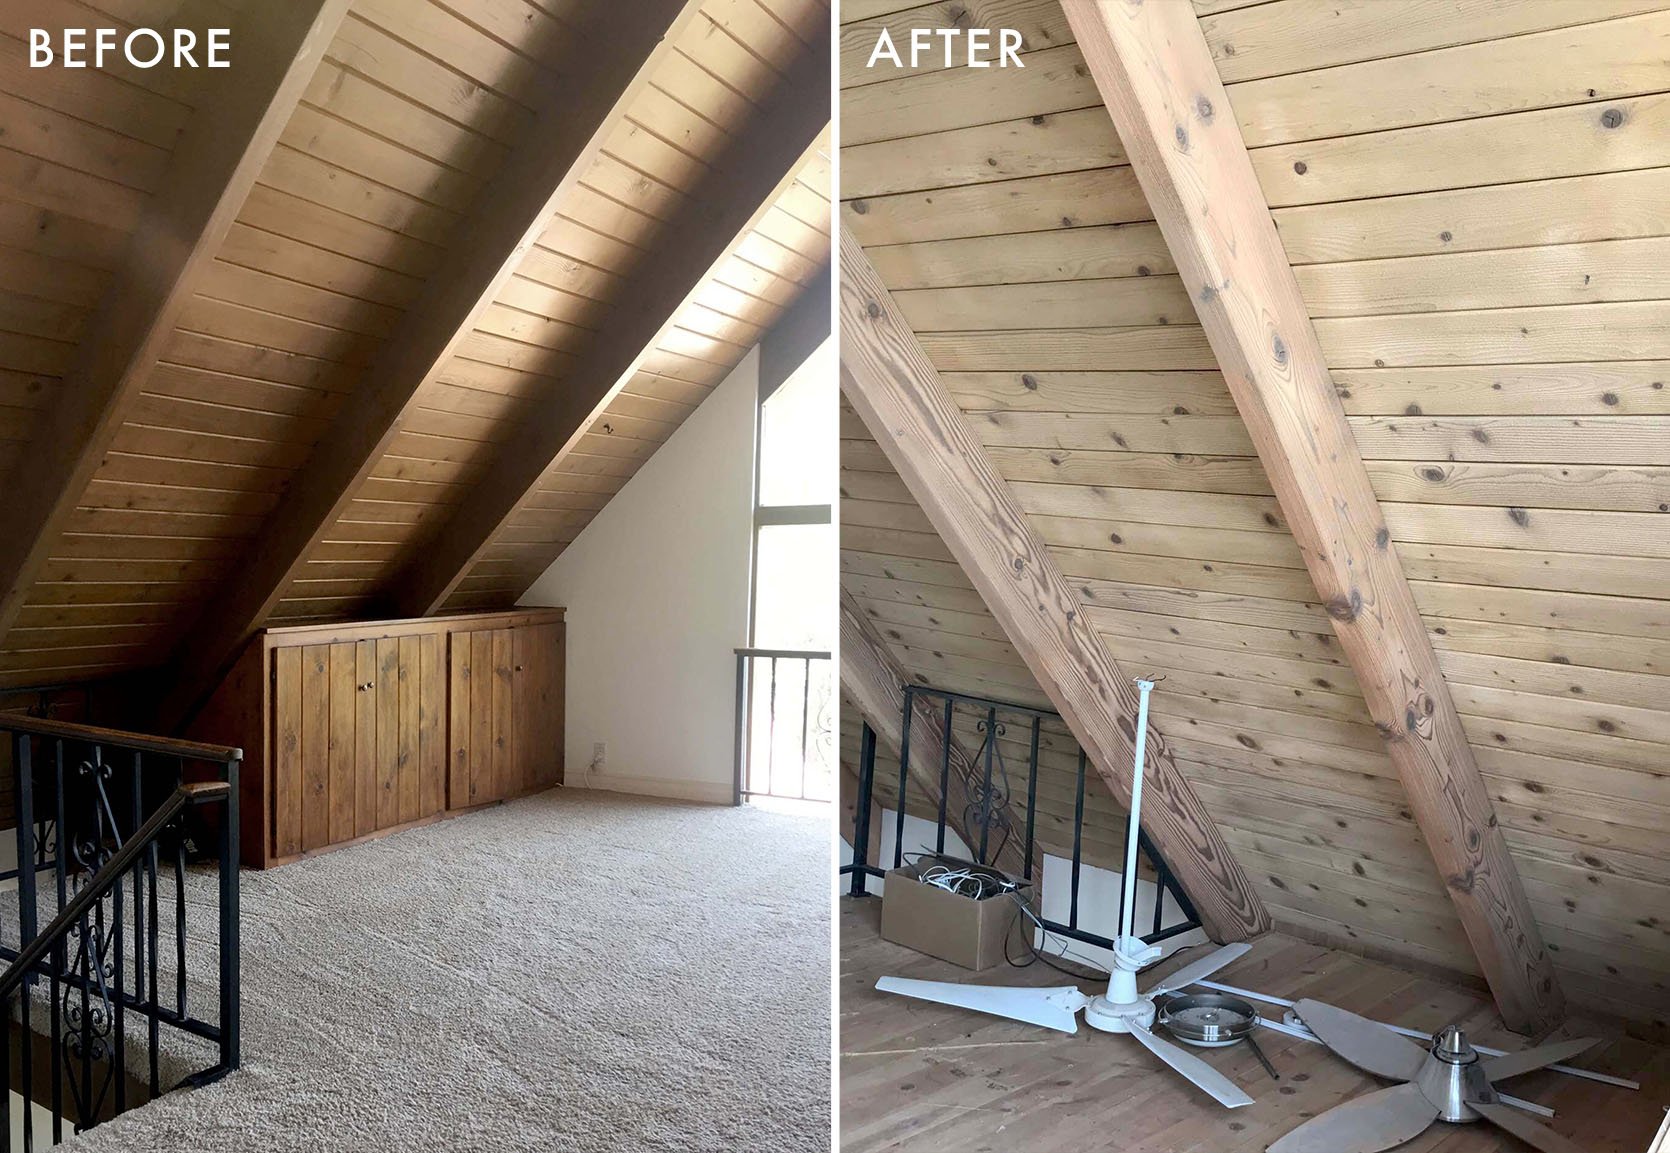
The goal for this kitchen ceiling was to remove the lacquer finish and with it (hopefully) the orange tone of the wood. As I said, the ceiling had great bones, with tongue-and-groove paneling and some solid beams, but in order for it to mesh well with our new design direction and color palette, the gloss just HAD to go.
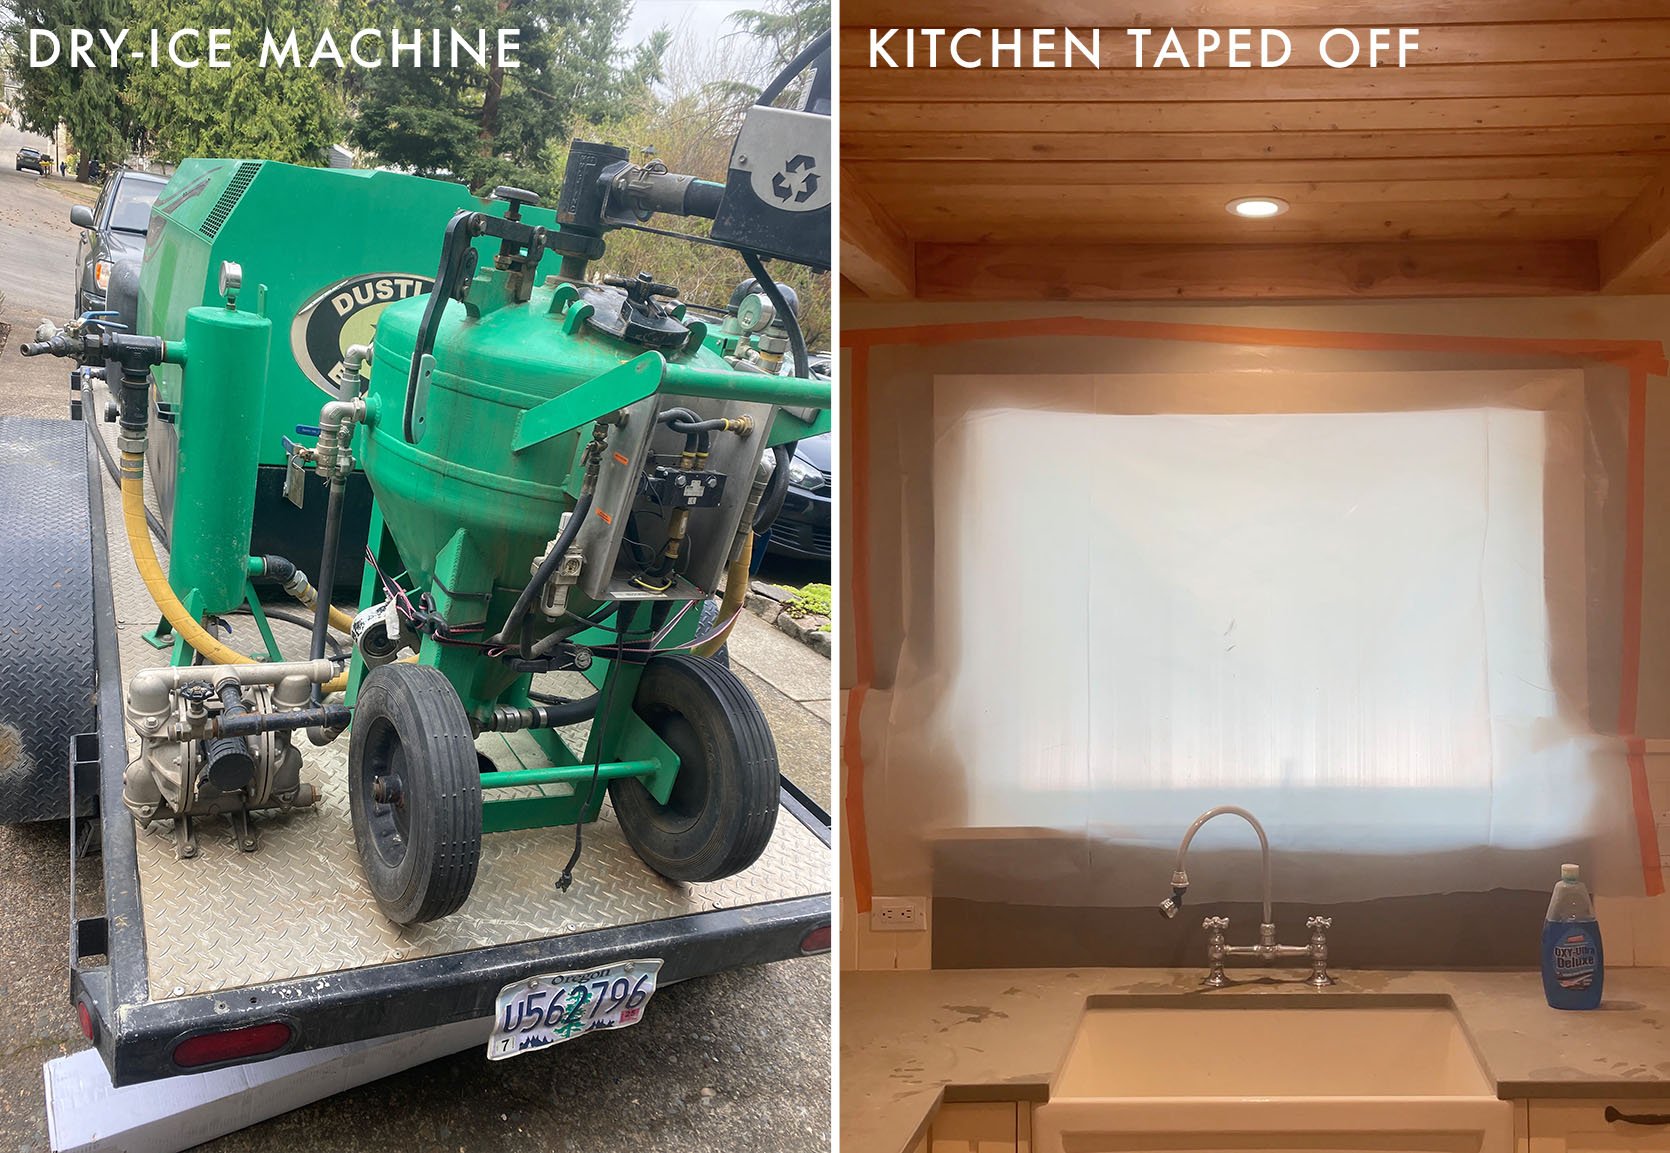
From my research, dry-ice blasting seemed like it would fit the bill. It’s non-toxic and *claims* to be nonabrasive (more on that later) or at least gentler than most of the options out there. It leaves virtually no mess either, which is always something to consider when working in someone else’s home. The machine is definitely loud like it was with walnut blasting and despite it not leaving much of a trace in terms of debris, the area still had to be taped off and covered in plastic for protection. In general, dry-ice blasting is mostly used for pressurized cleaning, but almost all of the companies we reached out to assured us it would be a great choice to remove the finish on this wood ceiling. This was not me just guessing, the pros suggested this.
So I had my team contact a few companies to gather some quotes and a better understanding of the process. Costs were pretty similar across the board for this roughly 300-square-foot room, all coming in at around $4,000. The process requires a lot of equipment and securing the right amount of dry ice or liquid CO2 depending on the machine. Thankfully this amount was doable within the project budget, but it’s definitely a little spendy for a room this size.
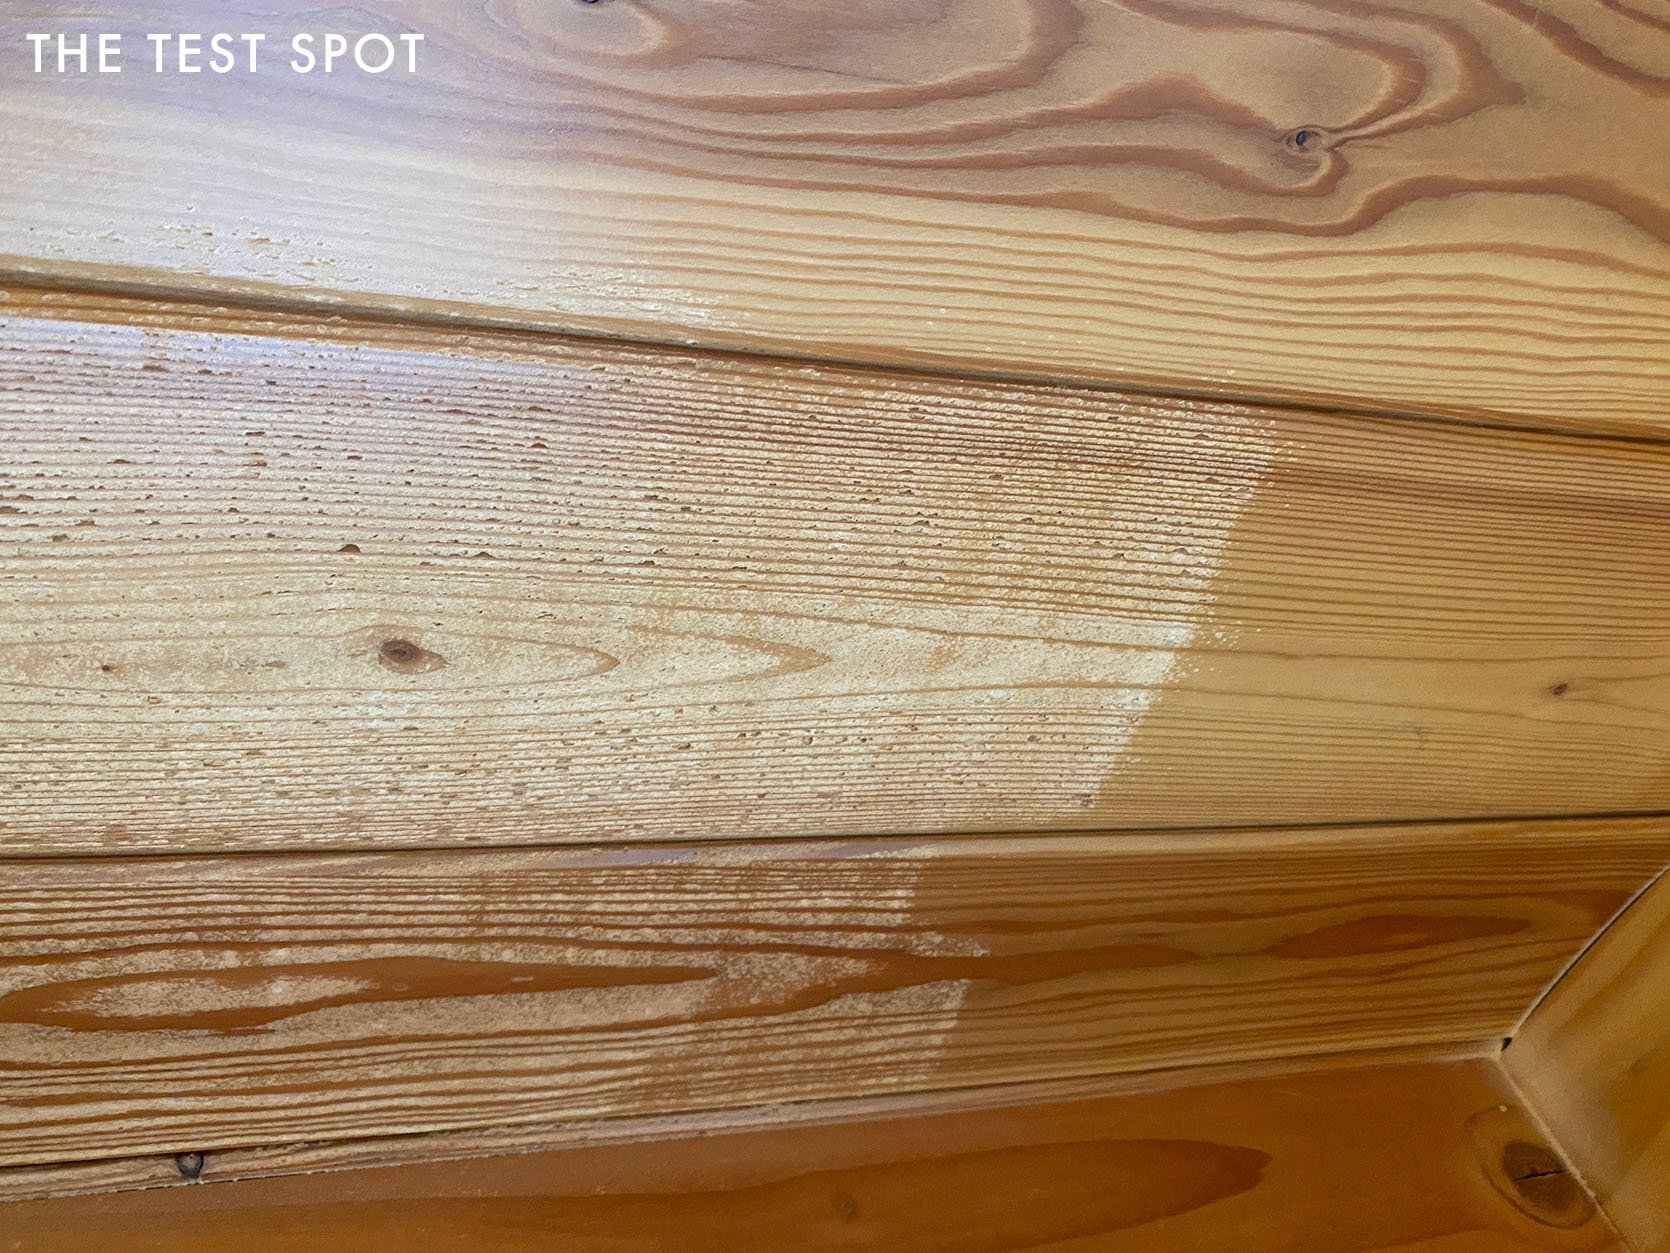
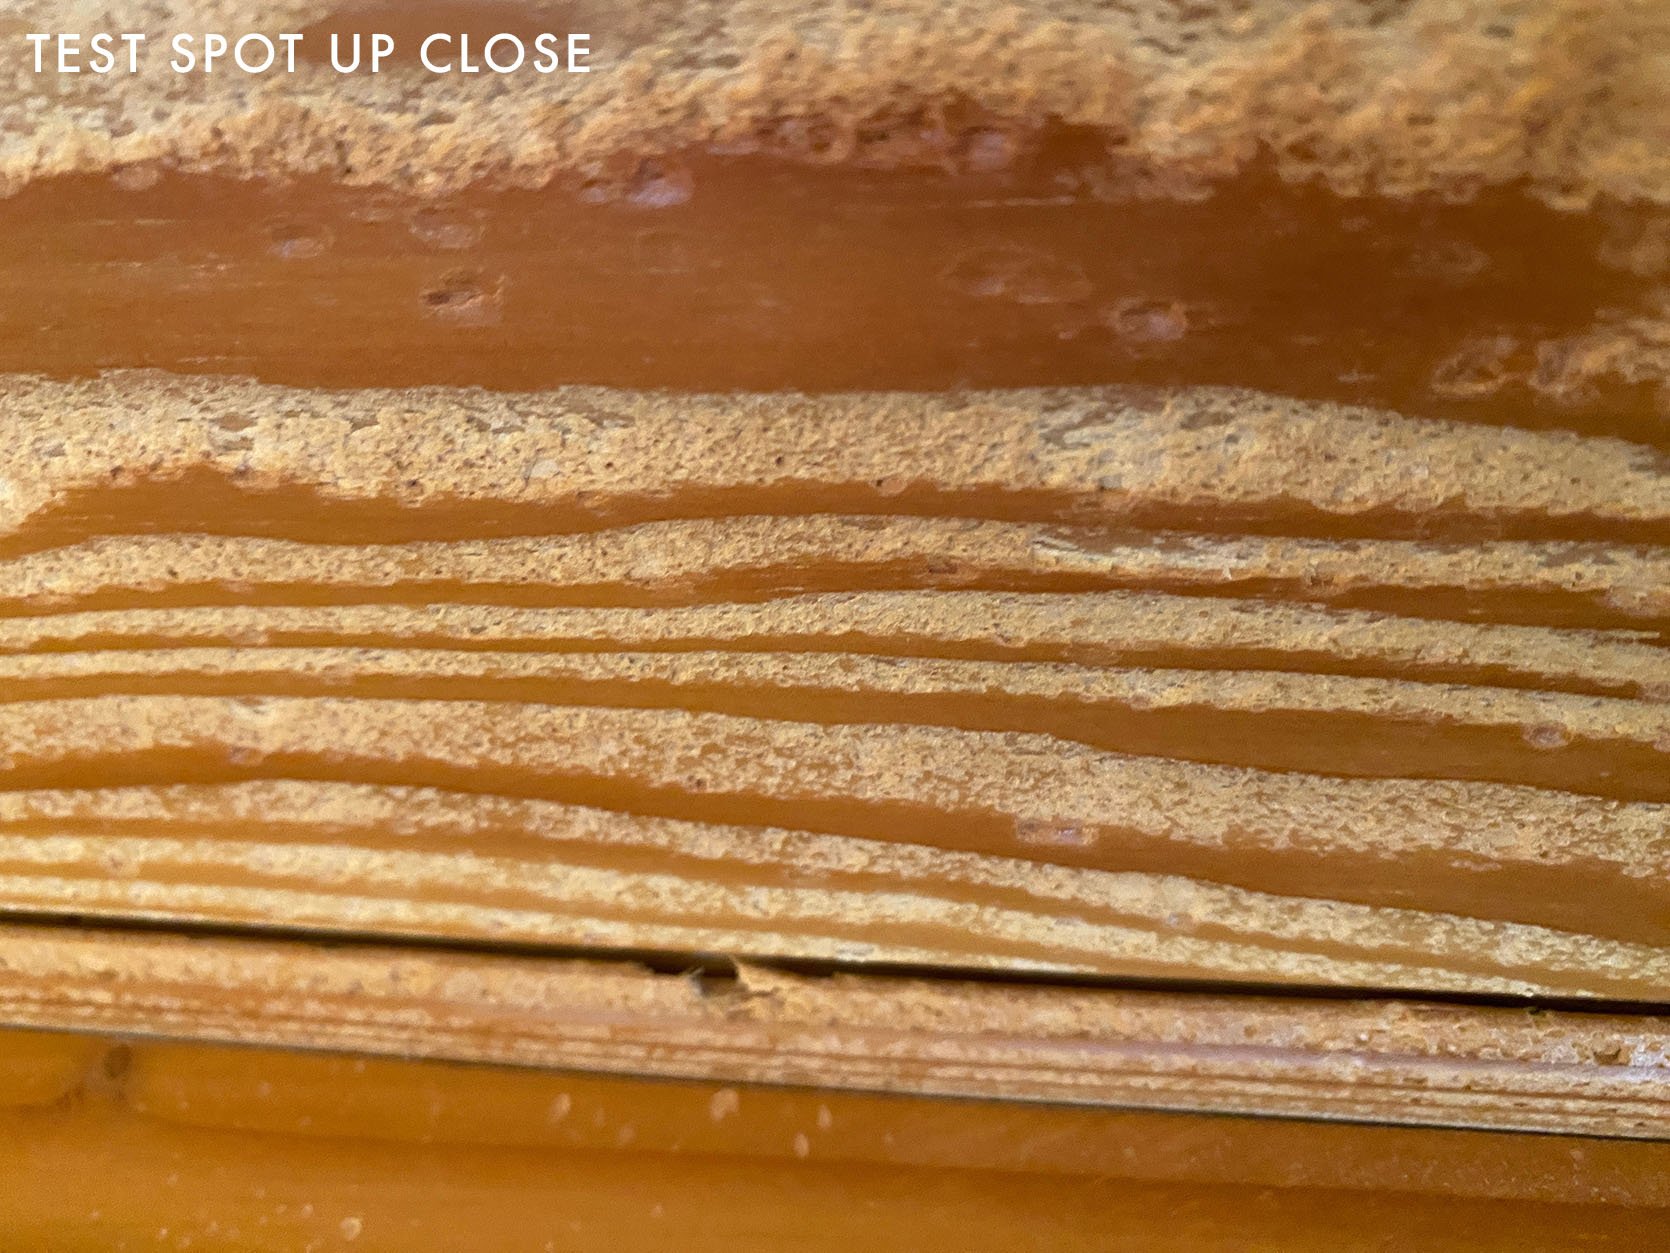
The crew we hired was confident in their process yet still opted to do a test spot before diving all the way in. And let’s just say, there was some major troubleshooting. The first pass of dry ice had no problem removing the gloss, but it also removed chunks of wood that ended up looking like termites had a woody brunch with bottomless mimosas, and then bolted. We were left with tiny holes and an uneven surface that, while no longer shiny, gave us a brand new problem to deal with. Was dry ice even the right choice for this?! What happened to NONabrasive?? We wanted a smooth, matte, even finish. Not this.
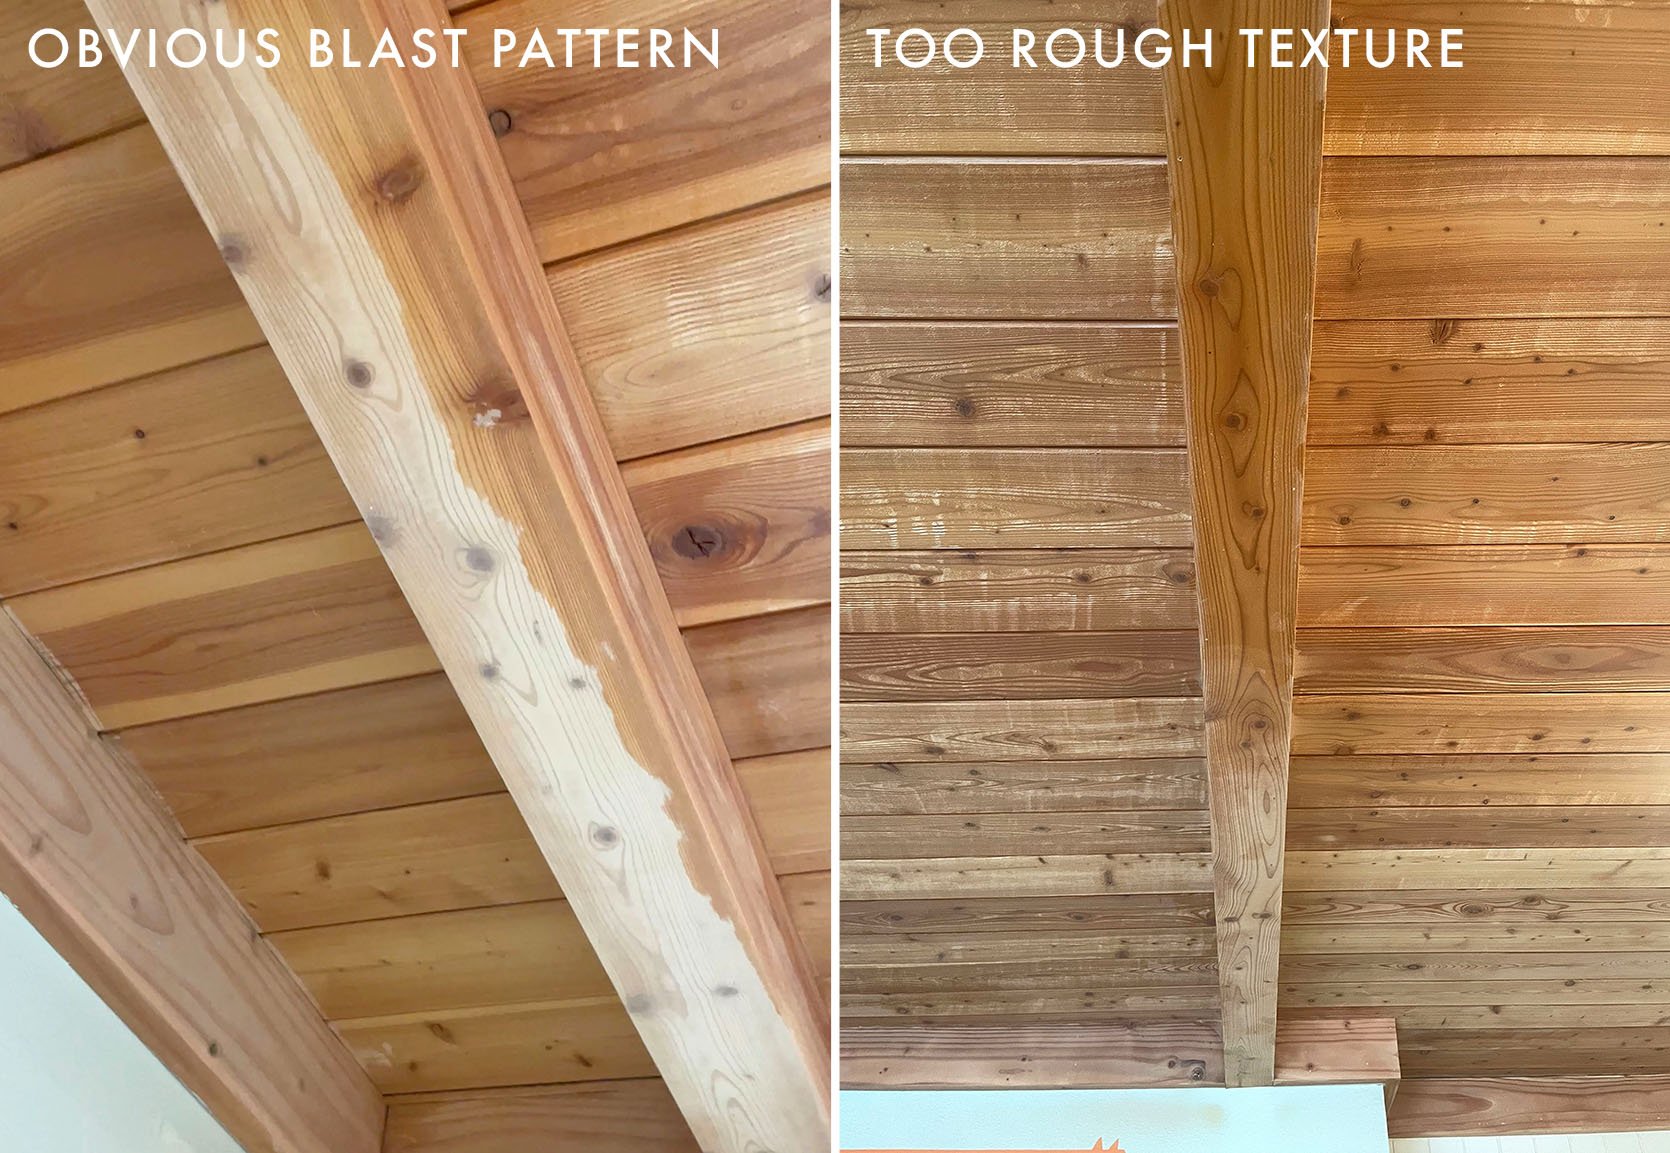
After the guys assured us it was a matter of gauging the right amount of pressure and nozzle configuration, they came back the next day with a new approach. It looked better, but not great. While the blasting could successfully get into the grooves, it was all feeling uneven, and was weirdly hard to tell where they had blasted and where they hadn’t. Maybe it was the lighting or the residue, but whatever it was, it was kind of a bummer. Plus, with too much blasting, we’d have the same problem as before—a too-rough surface, or worse, no surface to work with at all if it was worn down too much. We needed to finish the job with something gentler that would even everything out.
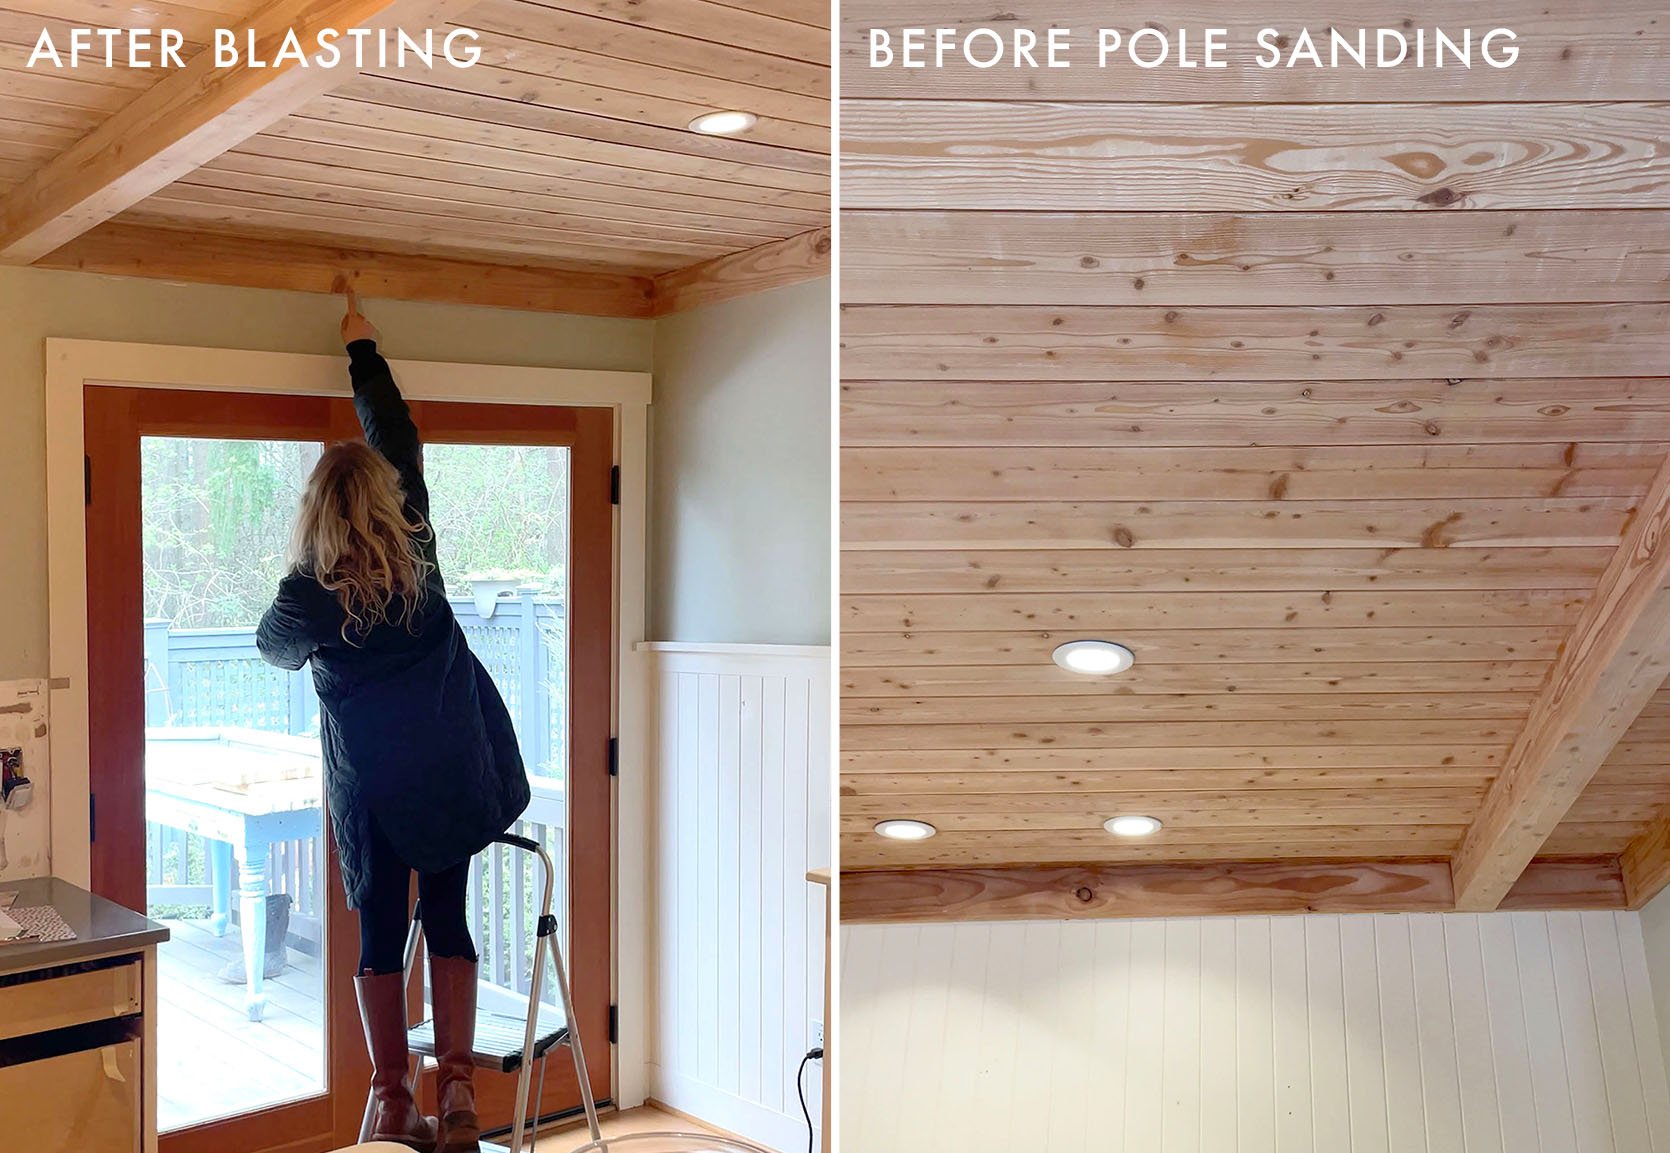
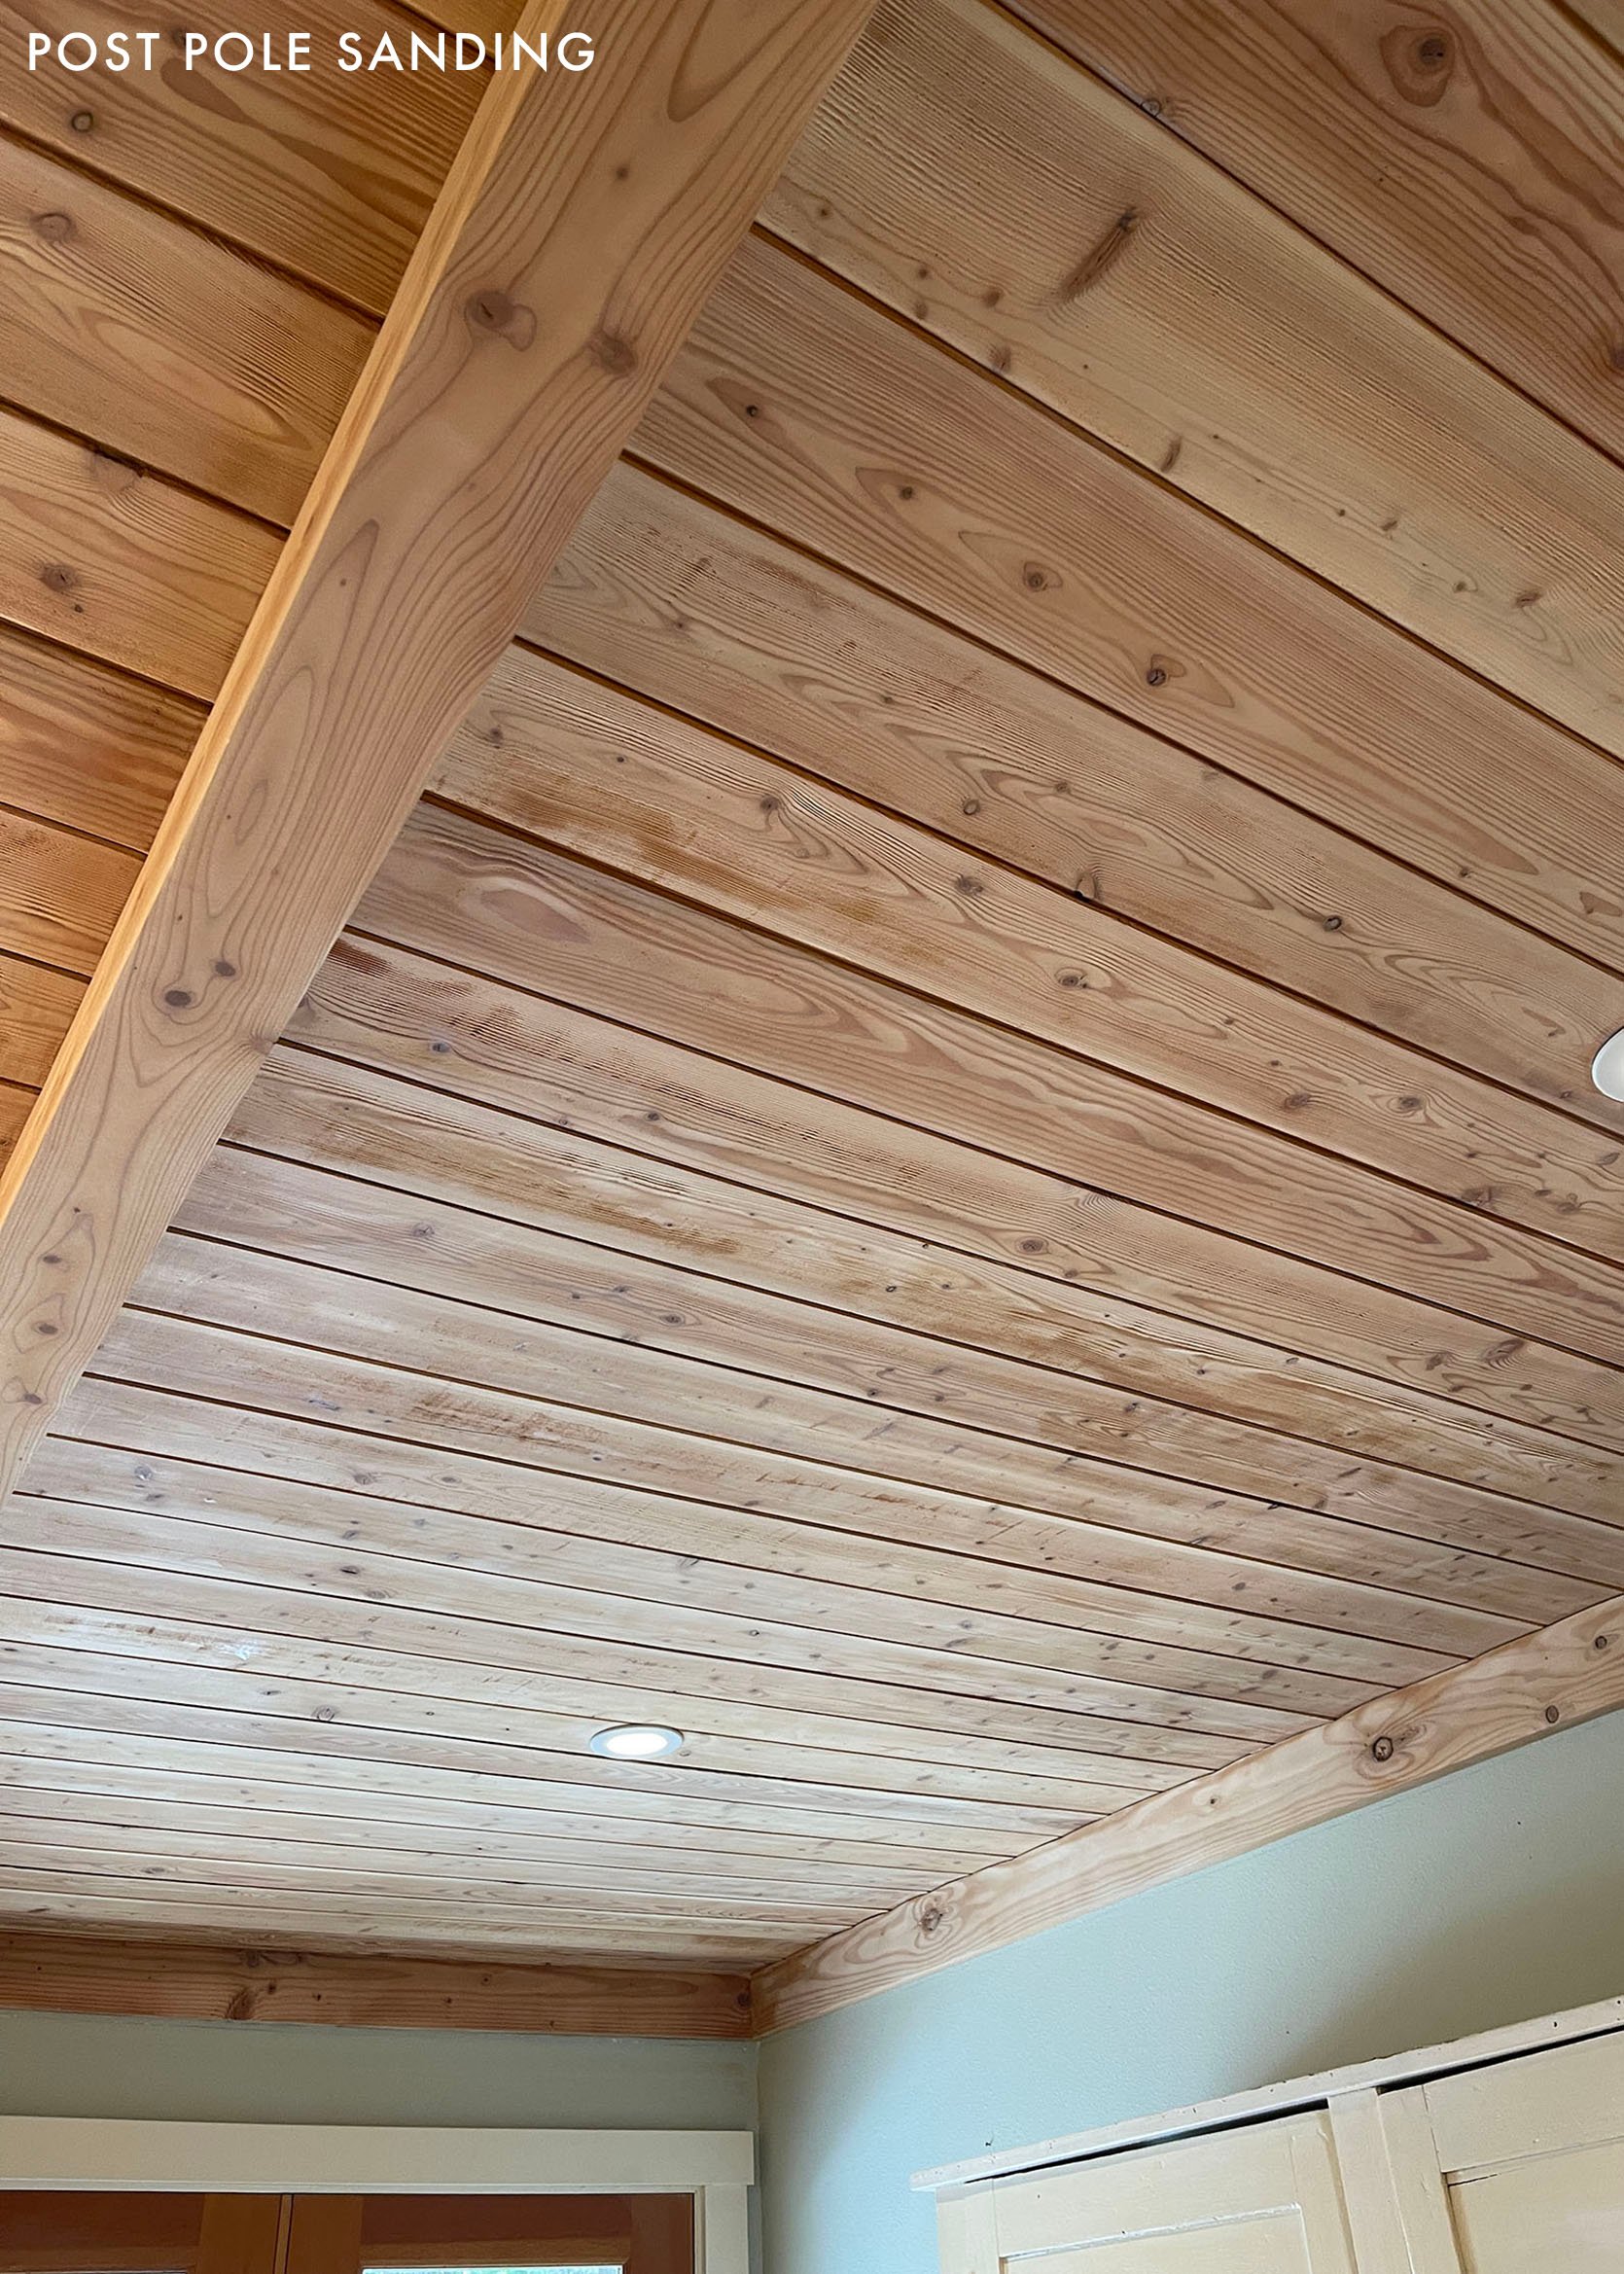
Though they weren’t too happy about it, we agreed that the best way forward was to have them manually go over it all again with a pole sander. Think of a Swiffer with a sandpaper attachment instead of a dust catcher. Let’s just say I didn’t make any friends here since this is definitely rough on the body and super time-consuming to go at a ceiling this way. But had we just done this from the jump, the process likely would’ve been much faster (this all took about 3-4 days) and would’ve given us a much smoother finish. But dry-ice just was suggested by the pros and sounded COOL (pun intended) and we had to see how it worked in case it would be a good option for future, similar projects.
So…would I recommend it?
Honestly, probably not. What we realized pretty quickly is that the job should’ve been done the old-fashioned way from the start. Not even sandblasting, just sanding. The lacquer was thin enough to come off with a little back and forth (we know this because the homeowner, Julie, got up there between dry-ice sessions and sanded it herself, achieving the look we were going for from the start). I will say the blasting was great at getting into the grooves, sure. But, overall I think it just caused more trouble than it was worth.
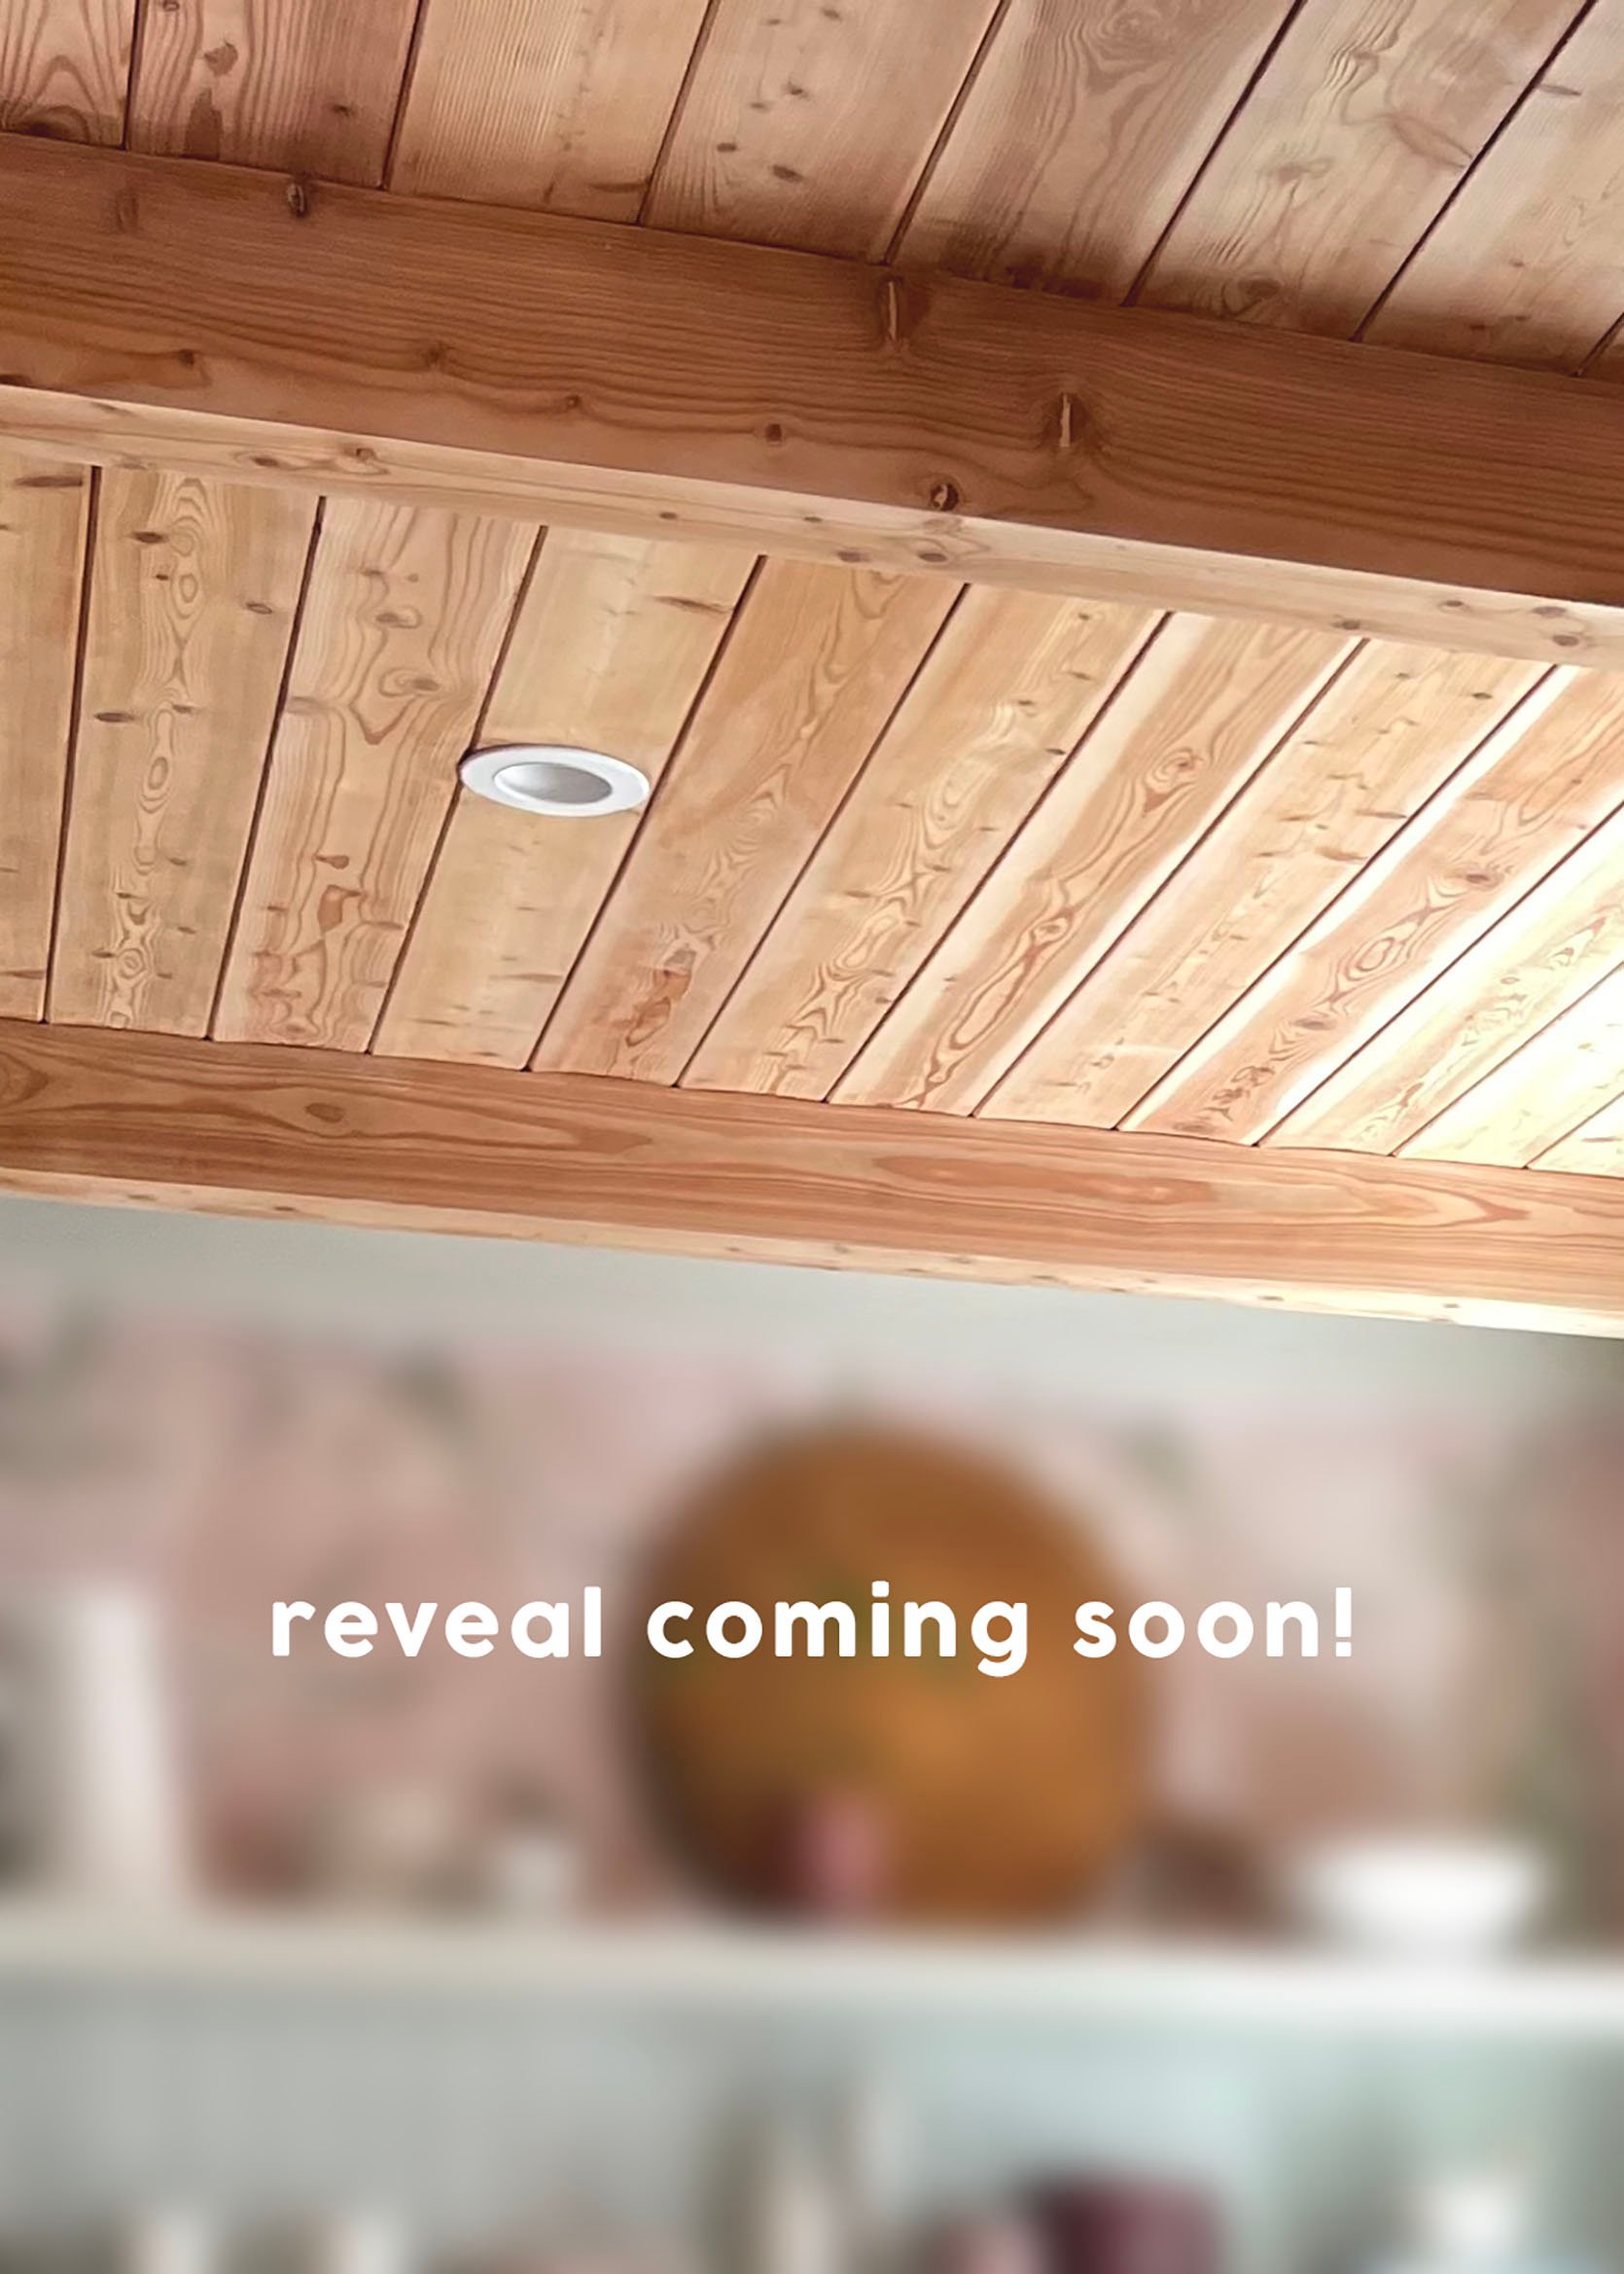
We’re not mad at the results though (Thank goodness). And we learned a lot as we usually do around these EHD parts. Ultimately we were left with a look pretty close to what we had hoped for. The new, raw wood ended up pulling a little more pink, which at first felt like an issue but actually paired really nicely with the wallpaper and paint colors we chose (that you’ll see tomorrow). So I’m happy to report the ceiling is gloss-free and so much prettier. No more light glare or orange tones. Mission accomplished, with some to be expected bumps in the road (like most design risks we take).
We can’t wait for you to see the reveal as we’re pretty darn proud of it. COME BACK TOMORROW!!!!!
THIS POST WAS ORIGINALLY PUBLISHED HERE.
