Some very exciting stuff has been happening at the farm, but I’ve been too busy with the book (and making decisions) to blog about it till today. After months of MEP (mechanical, electrical, and plumbing) we passed inspections and it was time to close up the walls. It’s a graduation of sorts – a proverbial moving of the tassel to never go back just staring at wood and wire. With drywall up, we can actually see the rooms, design the furniture that could go in them, and picture our lives here. So here’s what is happening…
Drywall Went Up…
I was going to do a Drywall 101 post and perhaps I still will, but you want to see the farmhouse progress so here’s what you need to know…
There are five wall finish levels – “1” being basically just sheetrock with gaps and “5” being a smooth wall, like baby butt smooth. The higher the scale the more expensive and time-consuming it is. These days most new construction stop around “3” so they can spray orange peel, which is super forgiving, and can mask the seams really well. This is far faster and therefore cheaper, but it’s not most of our desired look. The whole thing sucks but it aligns with all of life – high quality/well done/refined anything…costs more. Cool!
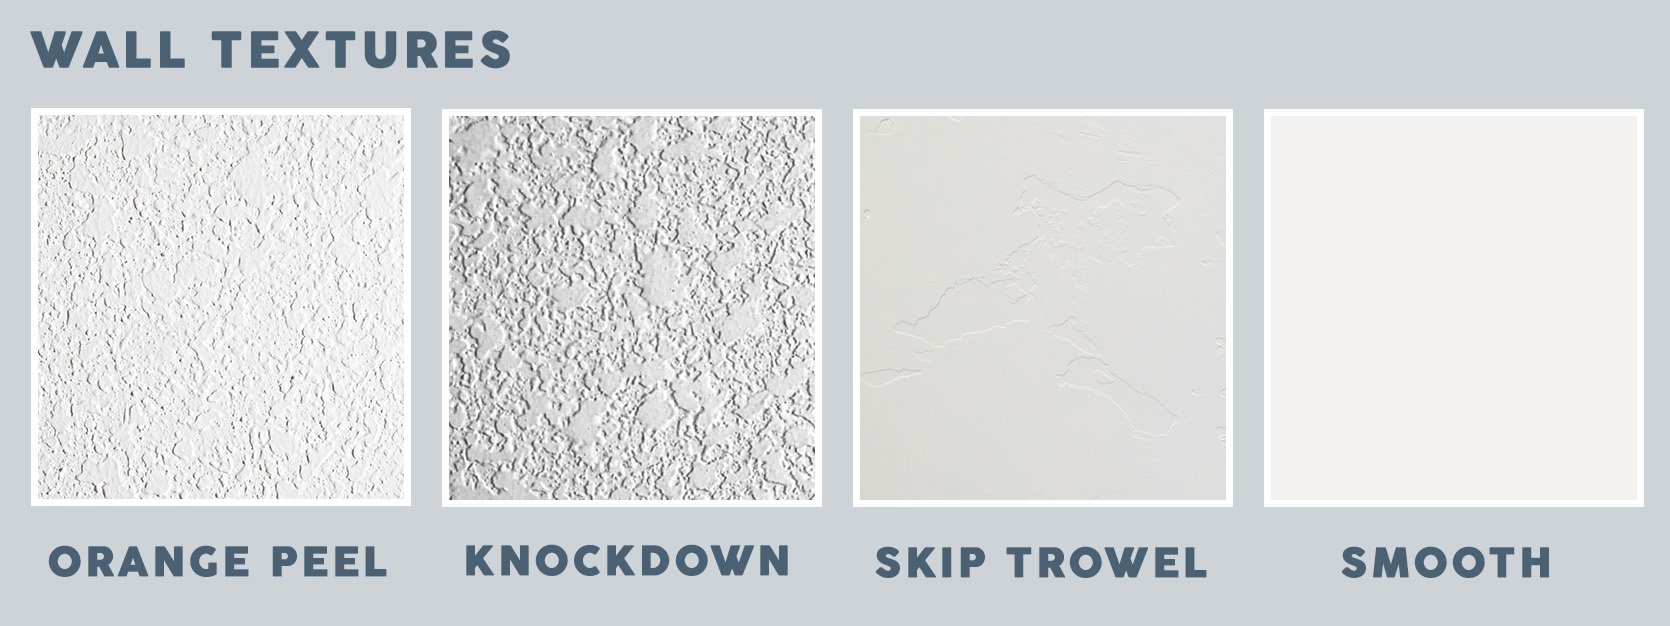
Now what we’ve realized is that doing a simple, subtle “skip trowel” look is regional…and it’s not a thing in Portland. We did it at the mountain house and loved it. It’s a bummer they don’t do it here because it’s such a subtle look that is so much cheaper both in the application and in maintenance – it’s extremely forgiving for dings and future touch-ups. But you only want to do this if the drywall contractor actually knows how and their team is trained in this method. In our case, ARCIFORM, hadn’t worked with a drywall contractor who had done skip trowel – it’s not a thing in this region – so they weren’t willing to take the risk in a high-profile project. You can imagine if done wrong and heavy it would look bad. I wish I had reached out earlier in the process and found a drywall contractor that did do this in Portland – if they exist – but by the time we got around to this conversation, we were locked in and frankly needed to get going. So that’s all to say that this “skip trowel” subtle texture over a level 4 is regional. If your area does it, like at The Mountain House, it can be far cheaper than smooth walls. However, in our case, it was going to cost us more with a lot more risk, unknowns, and variables because our high-end contractor specializes in smooth wall finish.
Before you start or even get a quote you should be sure about what walls (or portion of walls) you actually need a smooth coat or what can just be “fire taped”. When you can just “fire tape,” you don’t need to go through the laborious, messy process of “mudding” (more on that below) if you are putting anything substantial over the top of it – like paneling or tile. So walk through the house and mark them. Otherwise, you are spending time and money on walls that just need sheetrock and fire tape. Do keep in mind wallpaper requires smooth walls in case that may be a “someday” want. Arciform did say that some areas or homes might not even require fee tape so just talk with your contractor!
After you have made your decision here’s what they’ll do:
The Step By Step Of Drywall
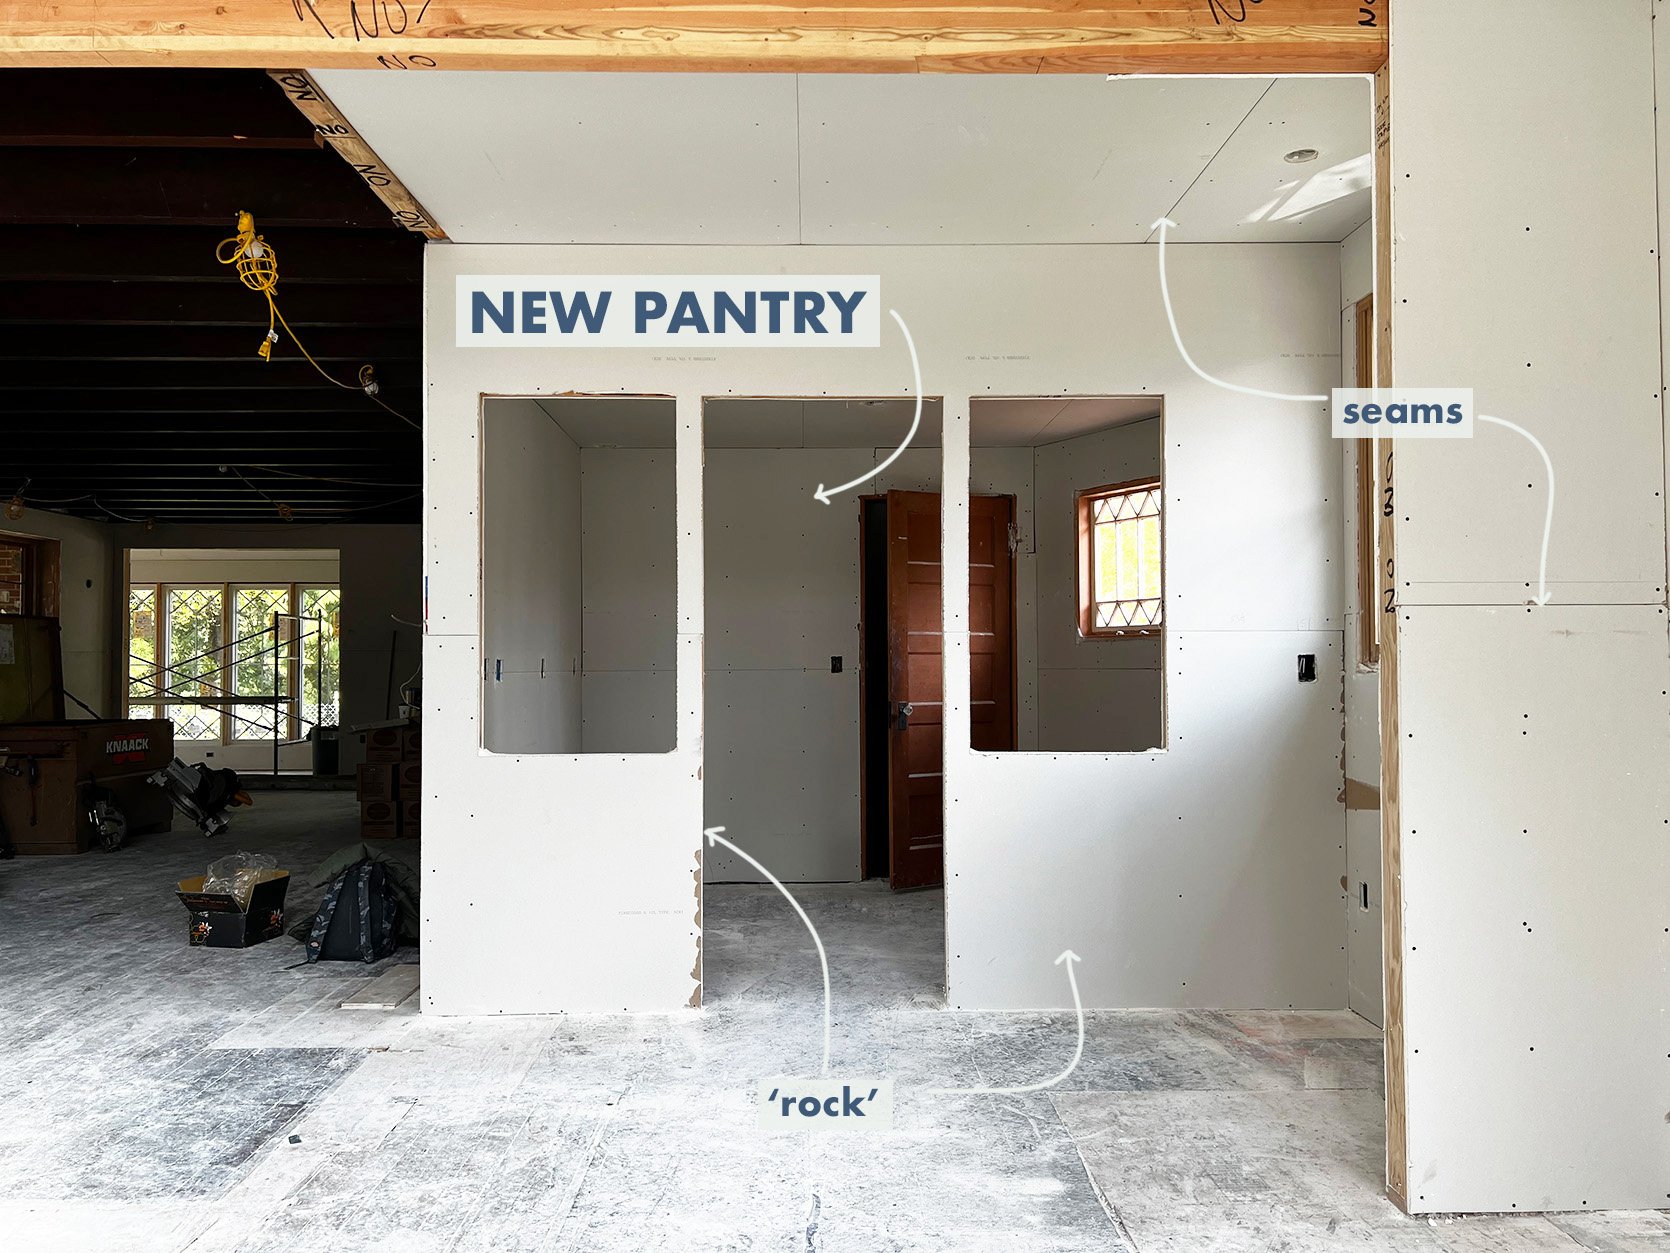
1. They hang sheetrock (just say “rock” if you want to be cool) – also sheetrock is just a brand name of drywall – like Kleenex to tissue.
2. They tape and mud the seams, essentially spackling them with mud to make the seams disappear.
3. They sand the mud down flat, this makes a big-ole mess…
4. They mud again.
5. They sand again, more mess…
6. They use flashlights and black lights to make sure that they are super, super flat and smooth.
7. They prime the walls, ready for paint in like 3 months 🙂
All the fine particles that are created during the sanding can really clog your HVAC system, so it is wise to turn it off during this process and then to have your ducts cleaned and filters replaced when it is all done.
Our house took 2 weeks for this process and I’d say that 30% of our house is paneling or tile (or windows – ha). So of our 3800 square feet, not all of it is sheetrocked.
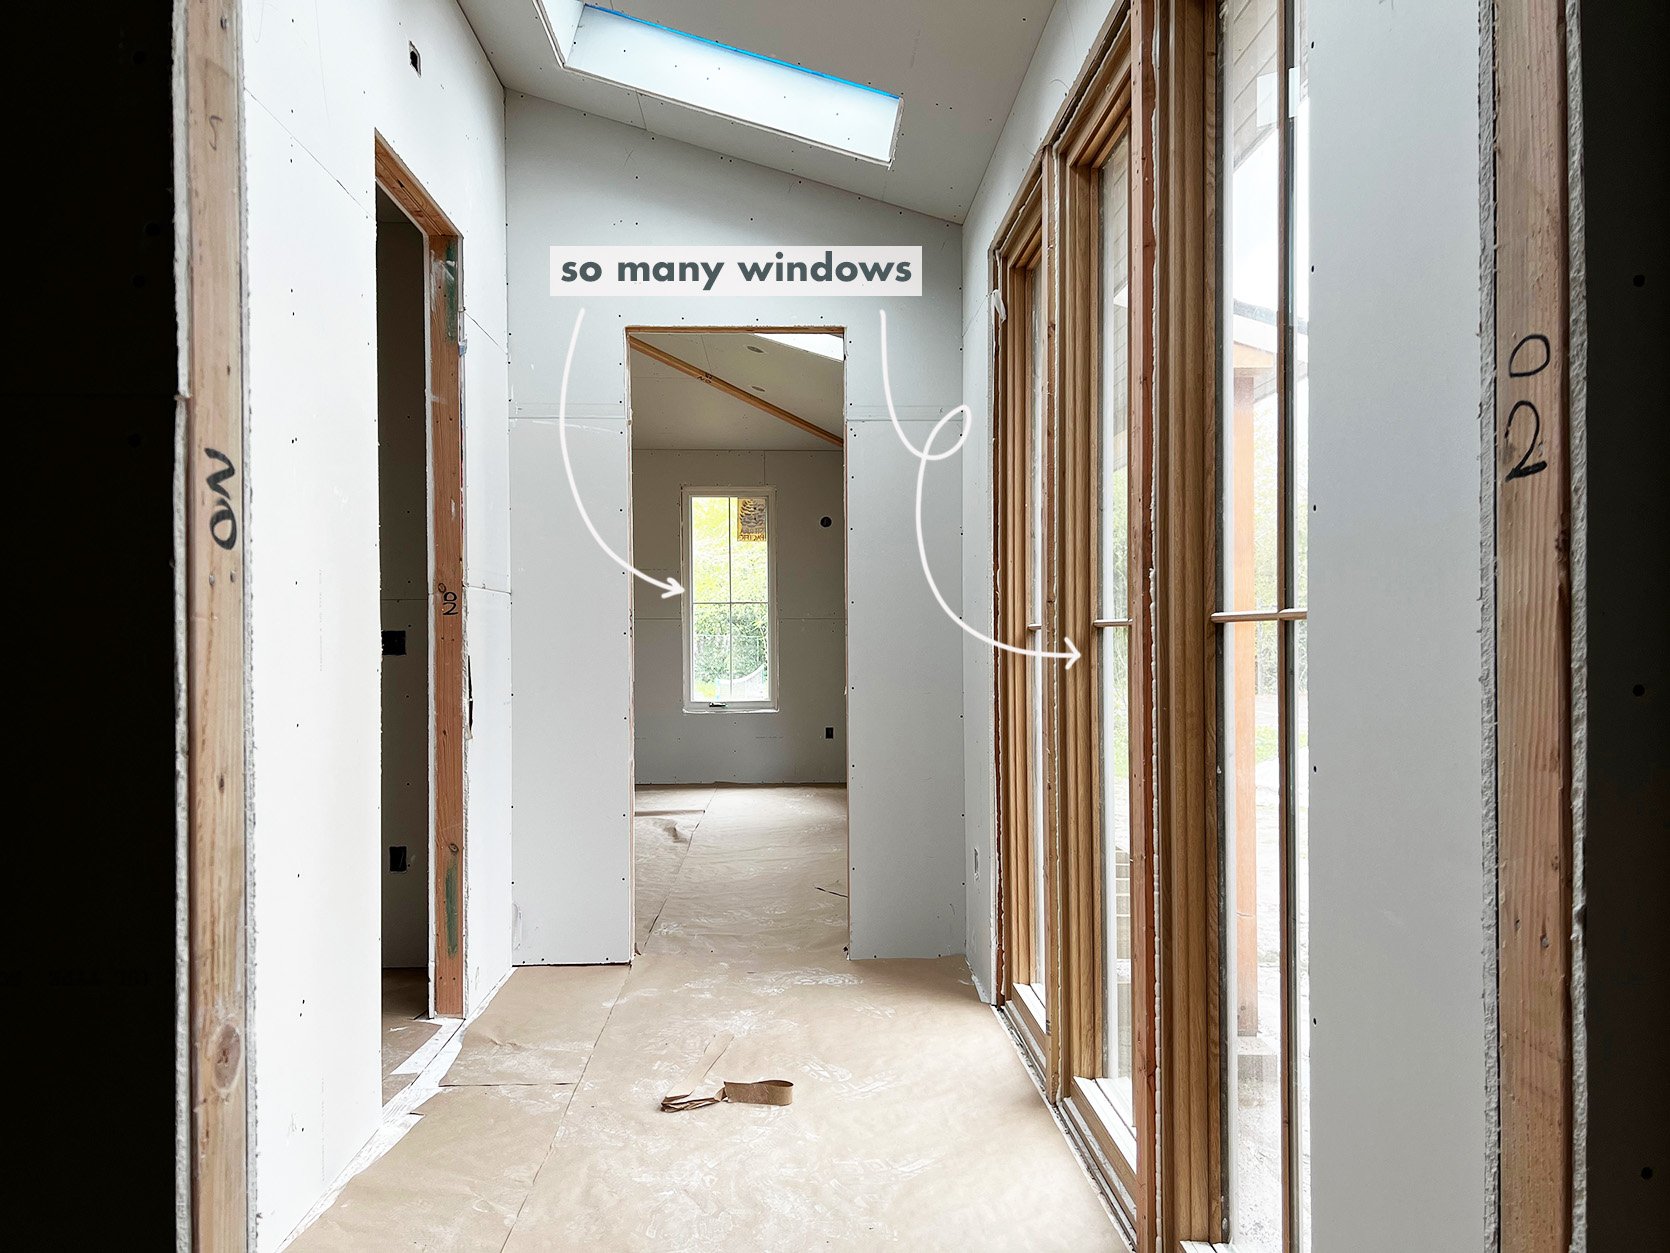
The sheetrock totally transformed the house – we now have rooms! We can imagine the space. It is so exciting and relieving.
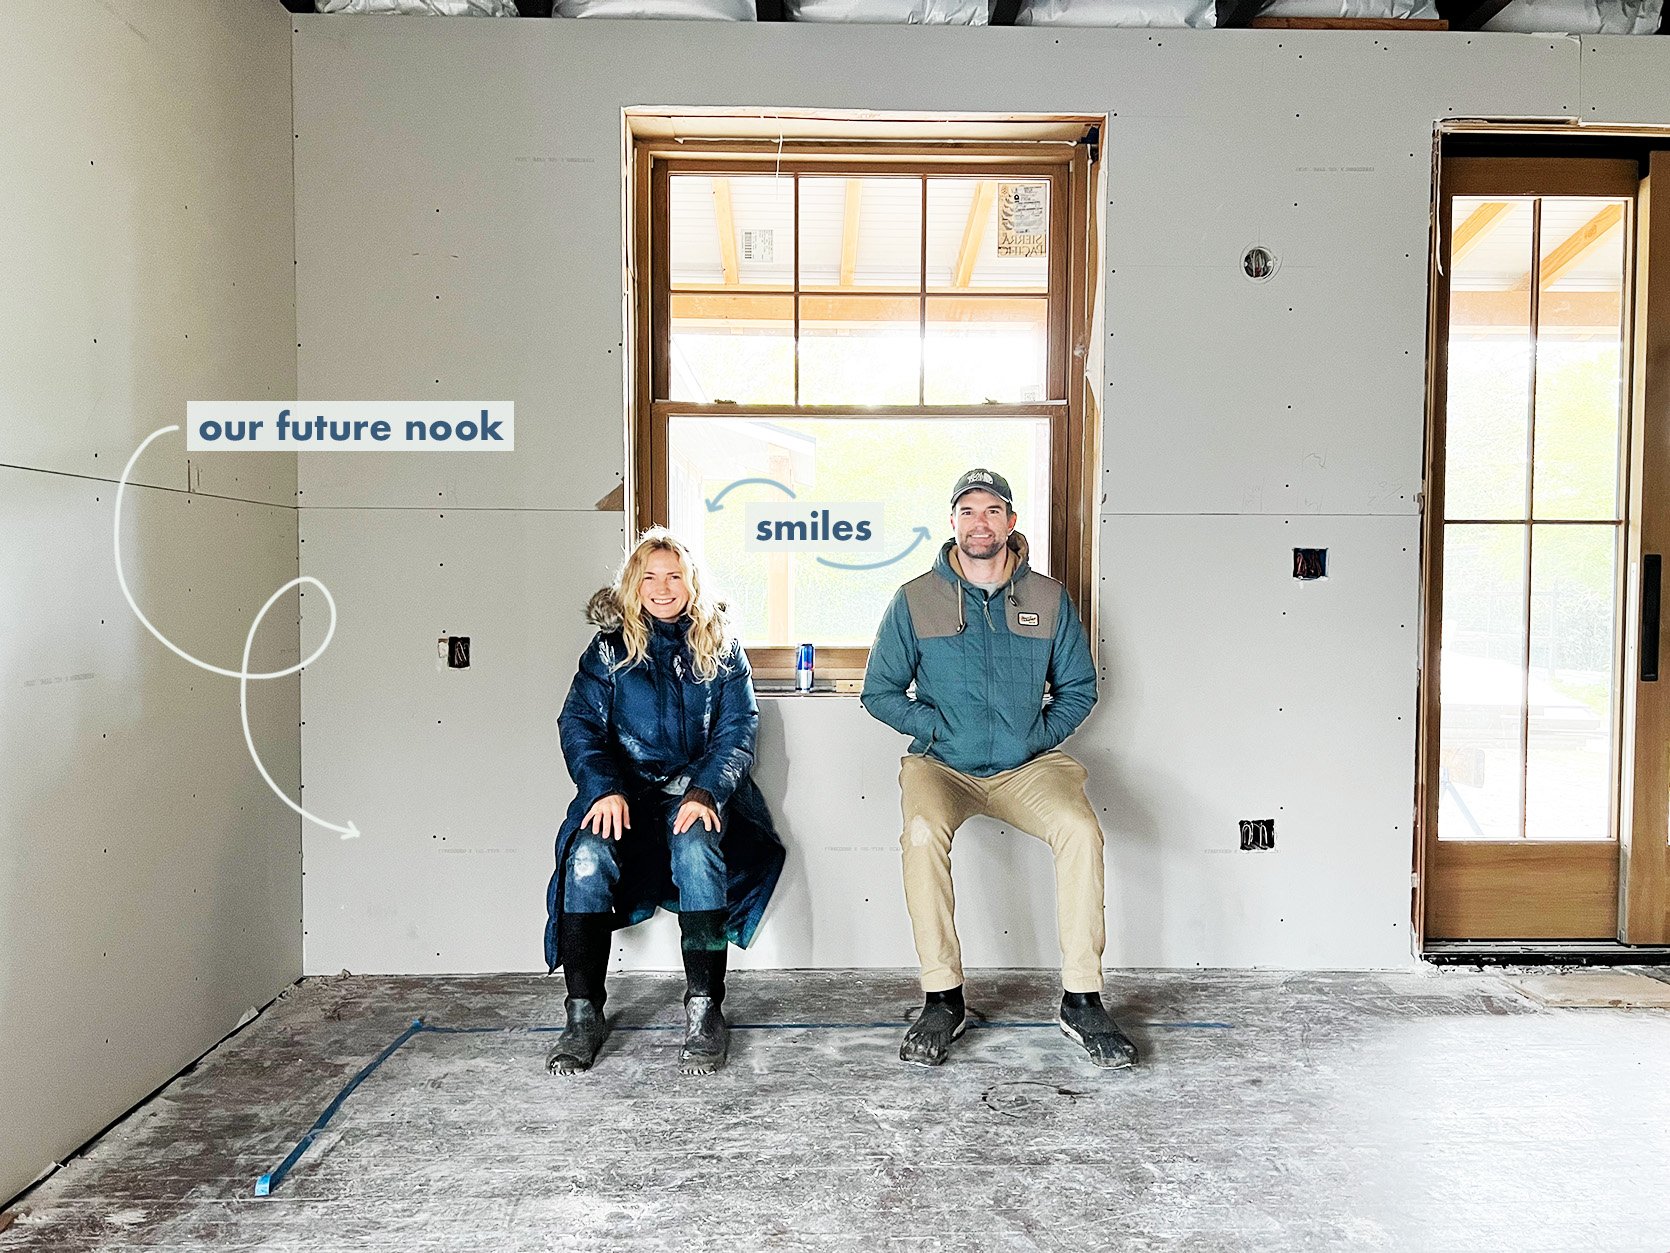
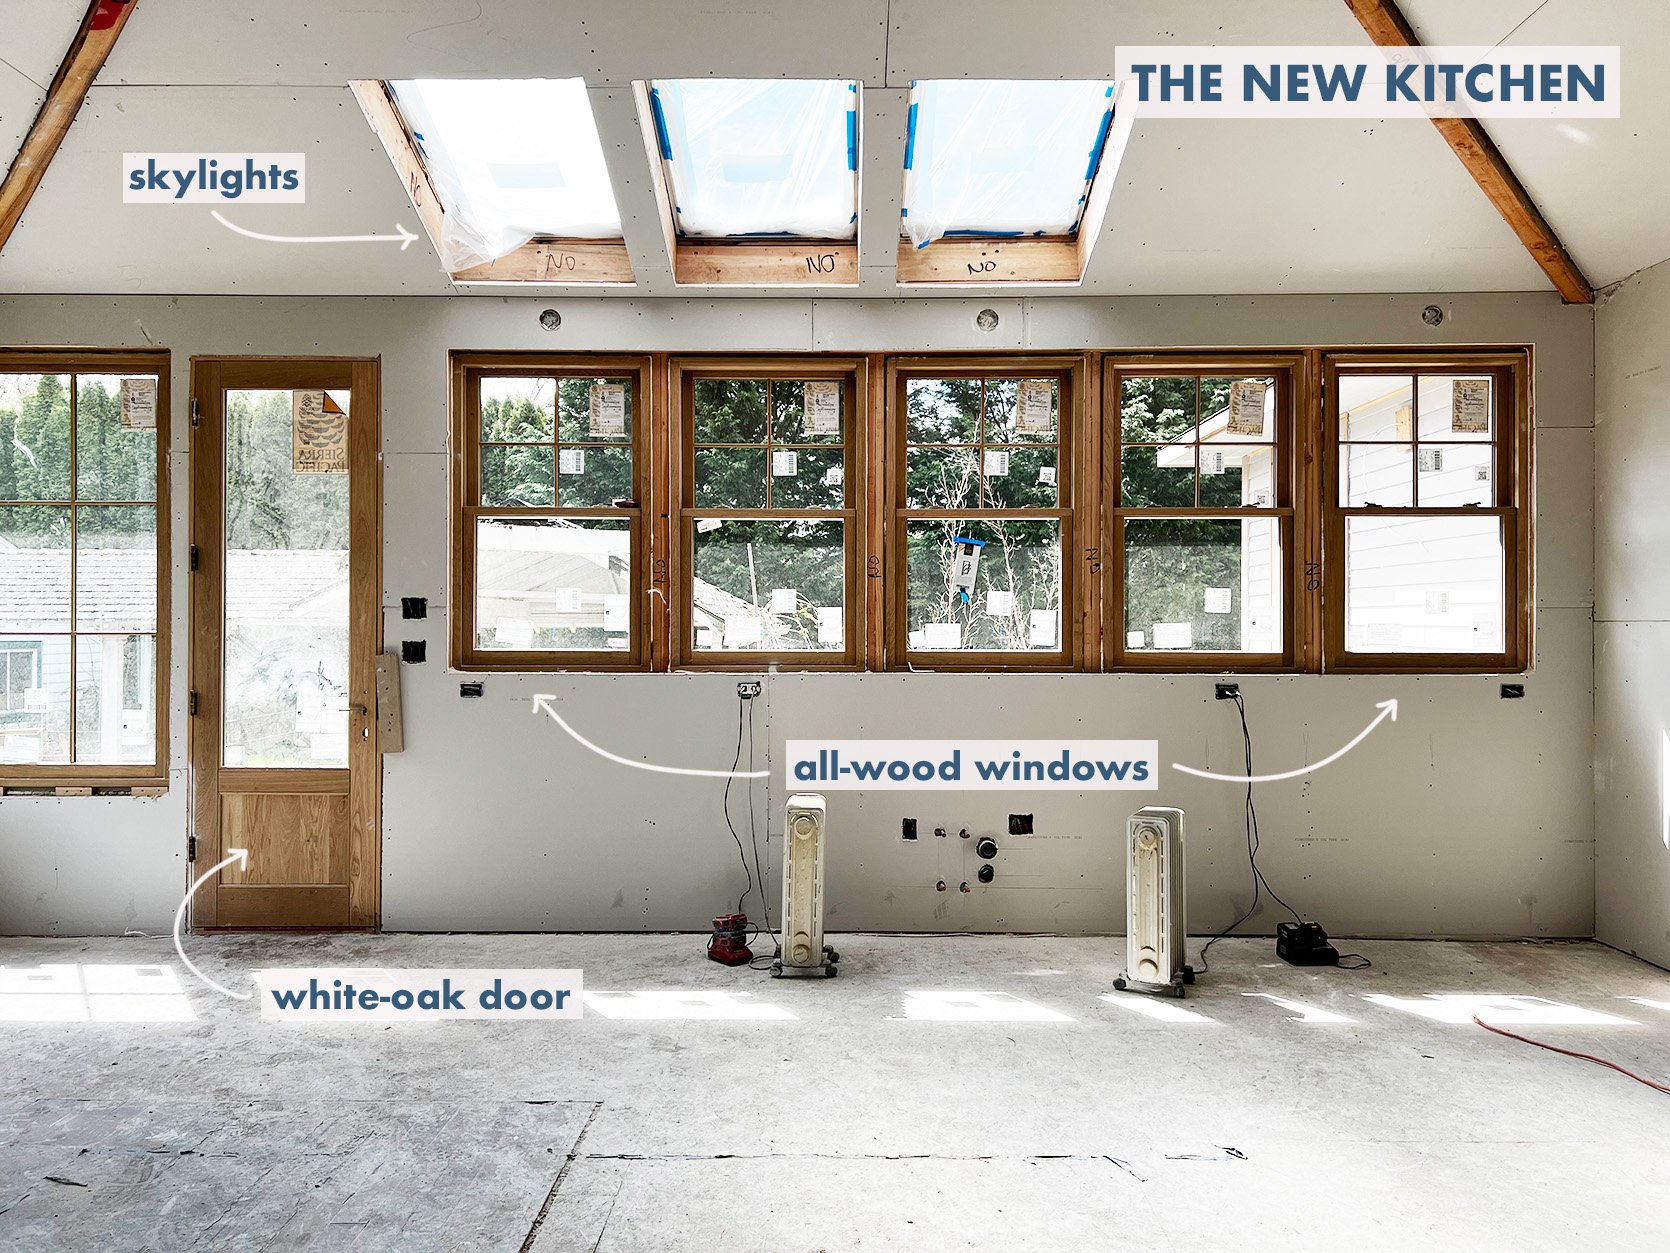
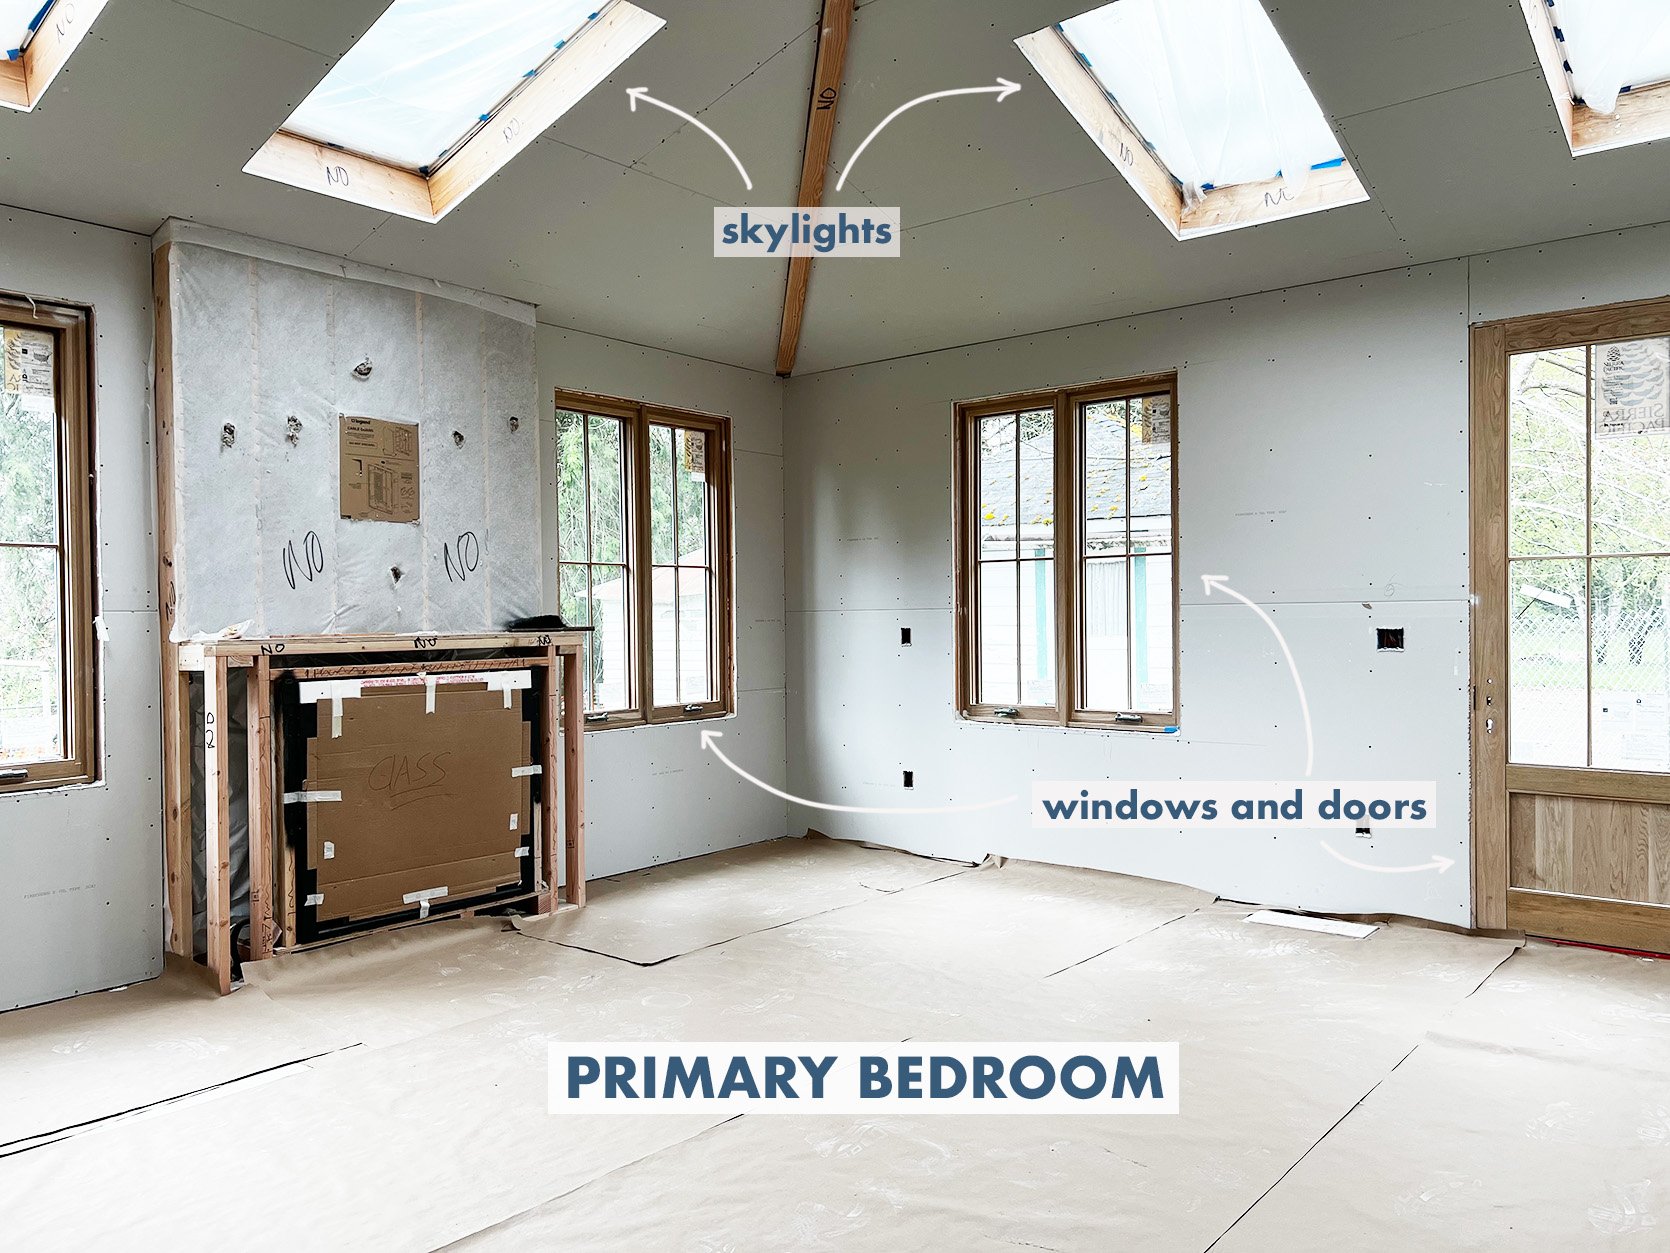
OOH MY. The white oak interior Sierra Pacific Windows and doors are basically the more traditional version of the farmhouse that we love – that wood on the inside is everything.
Windows And Doors
Skylights
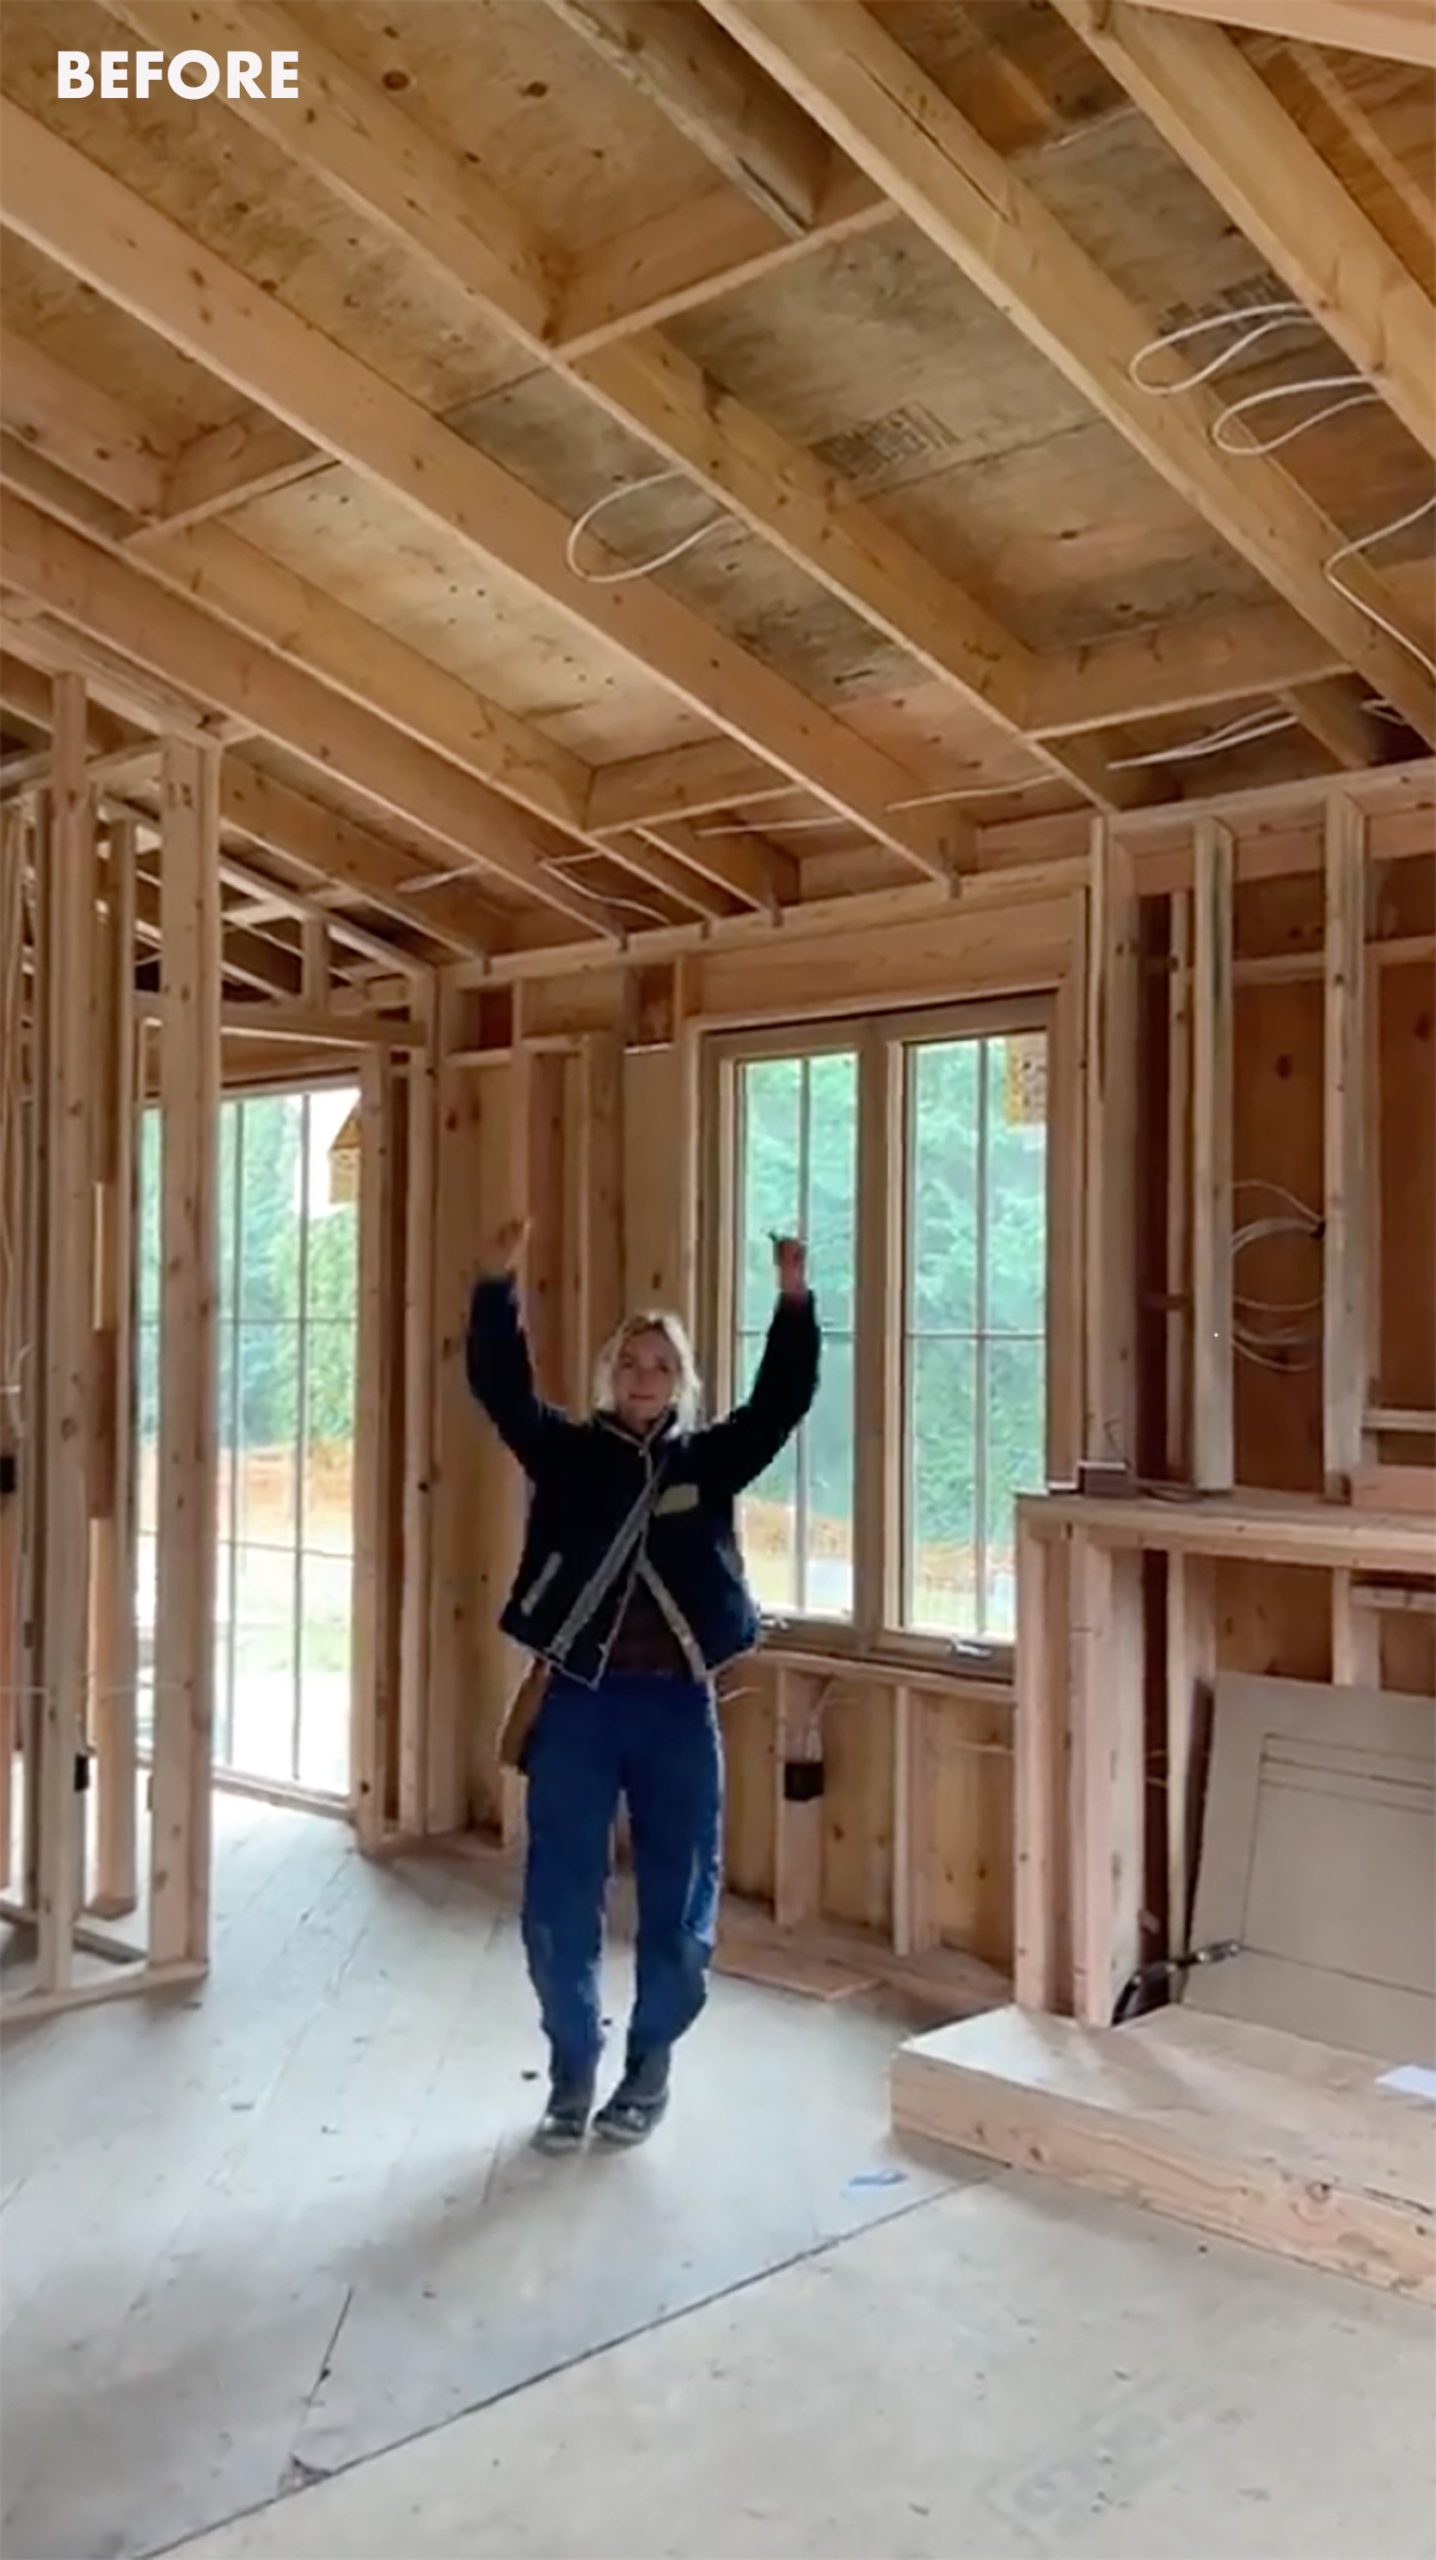
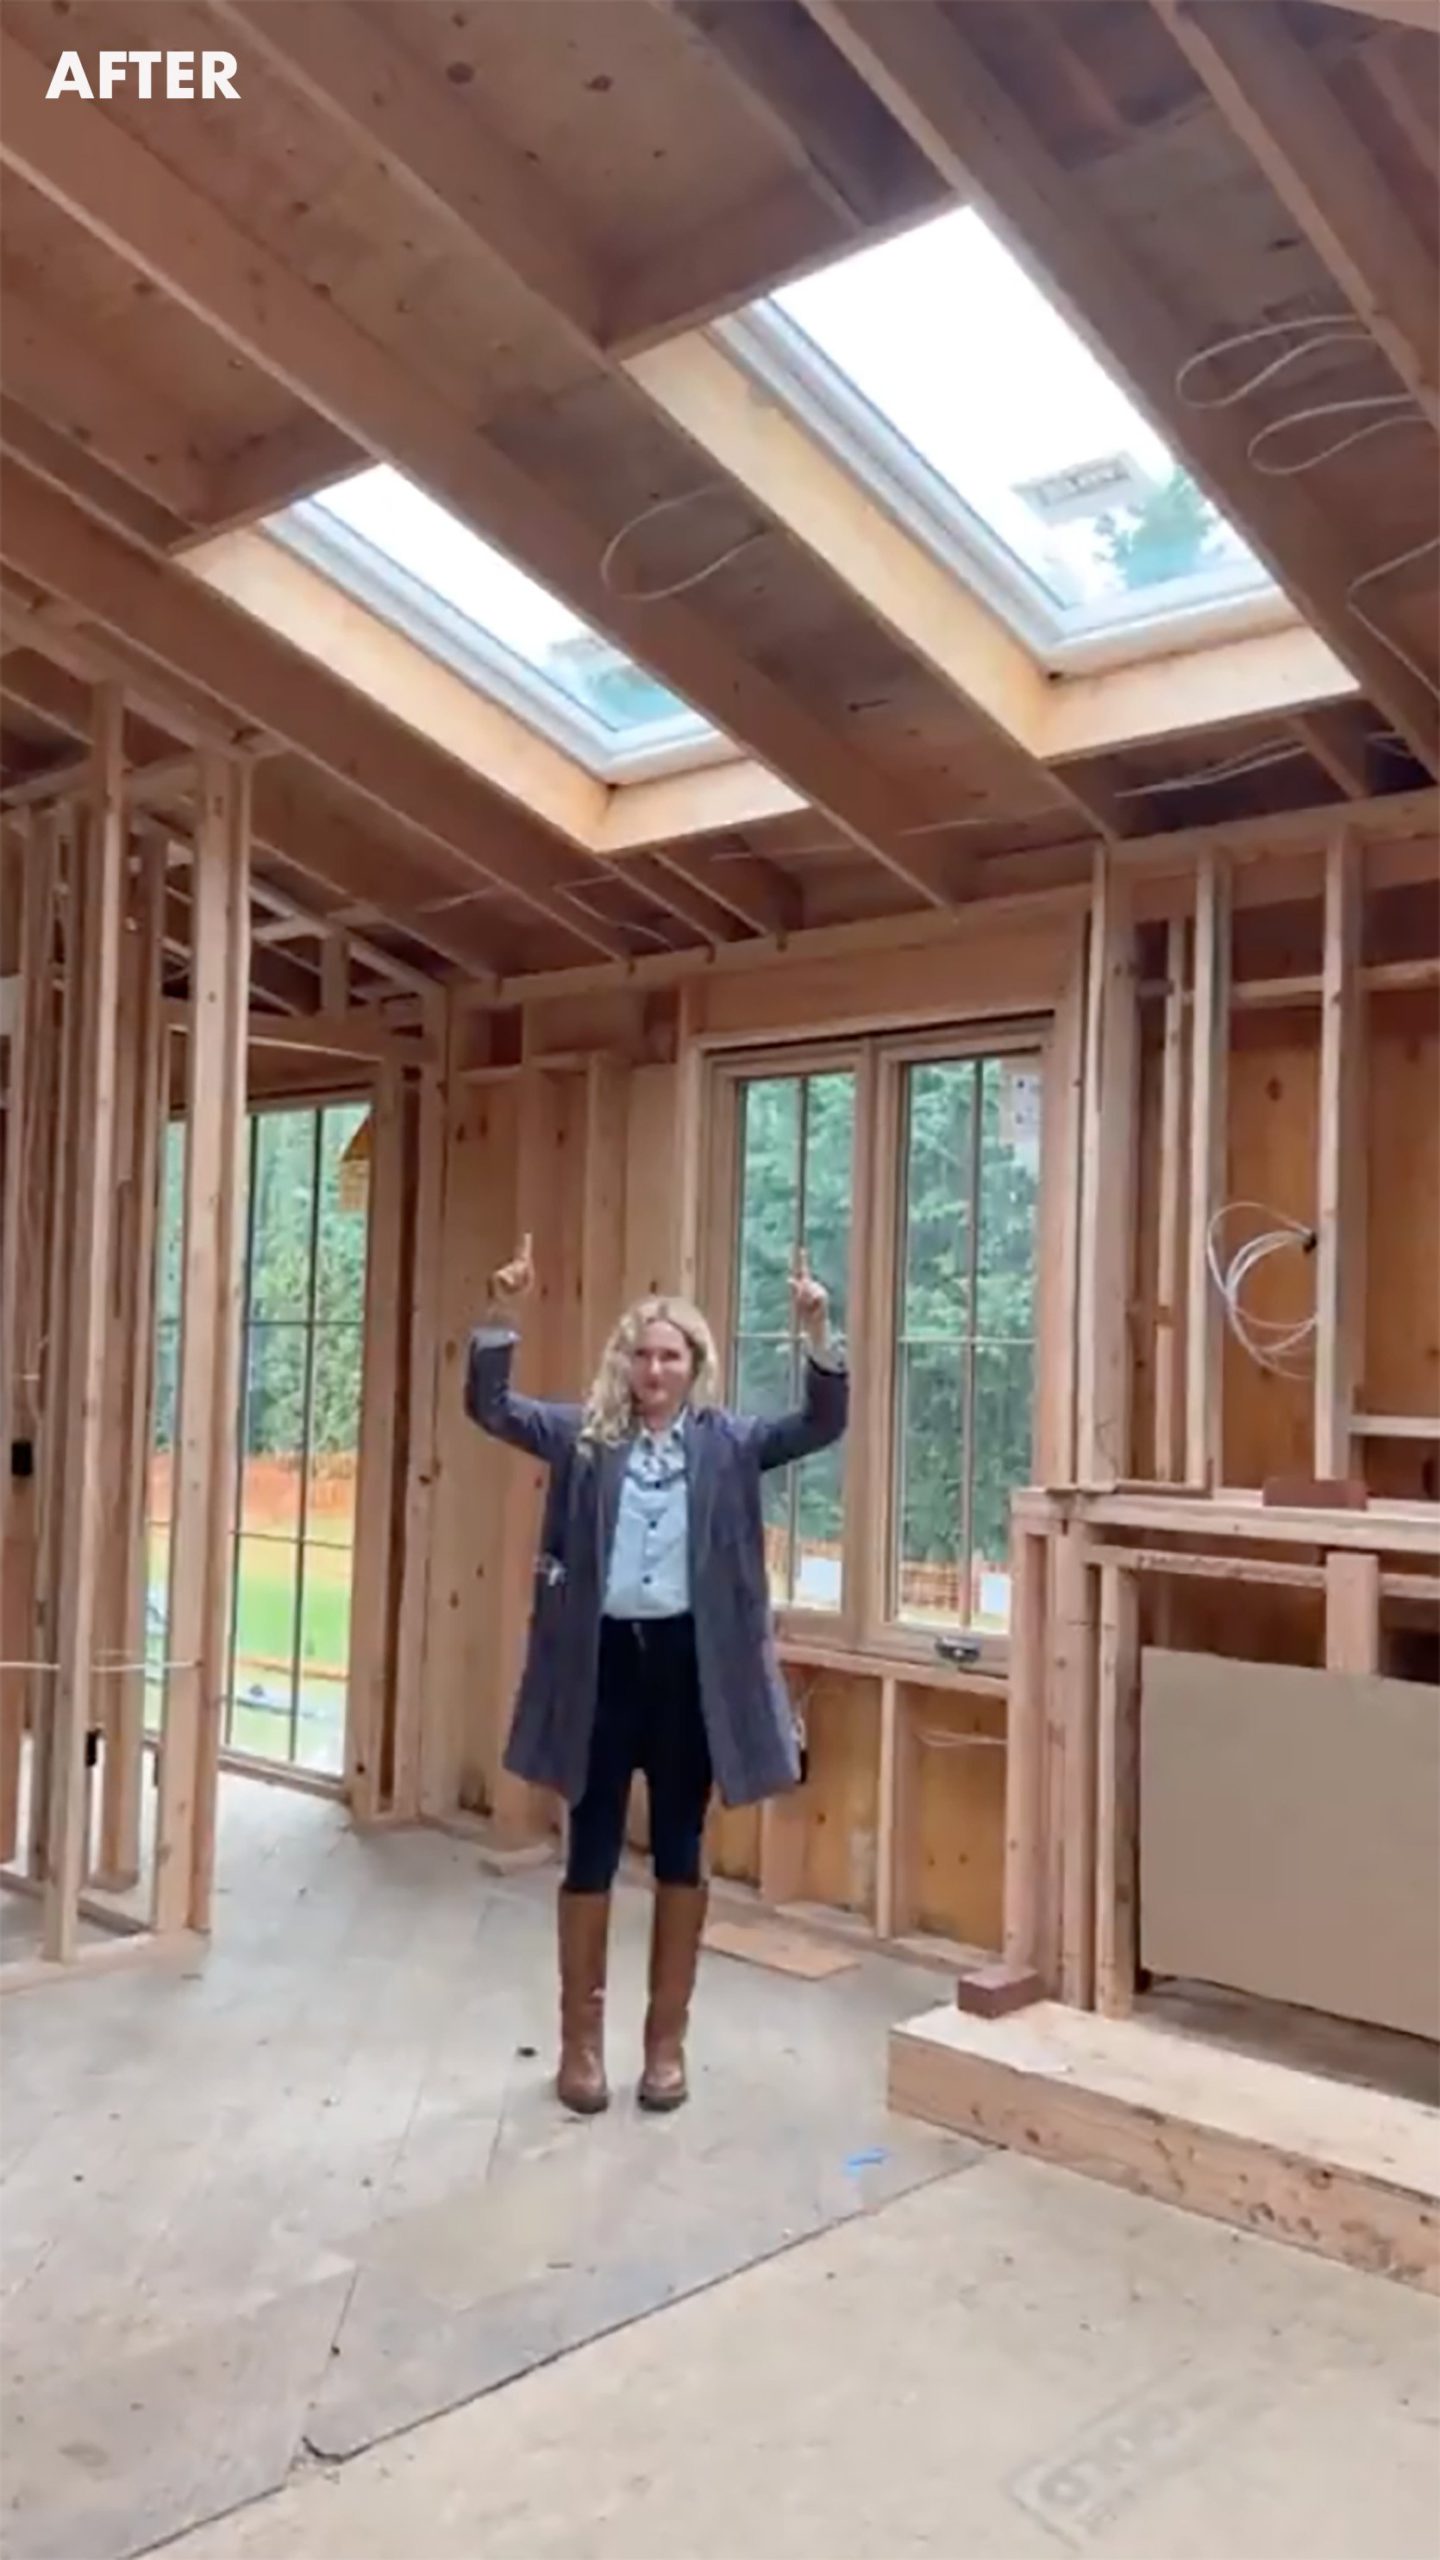
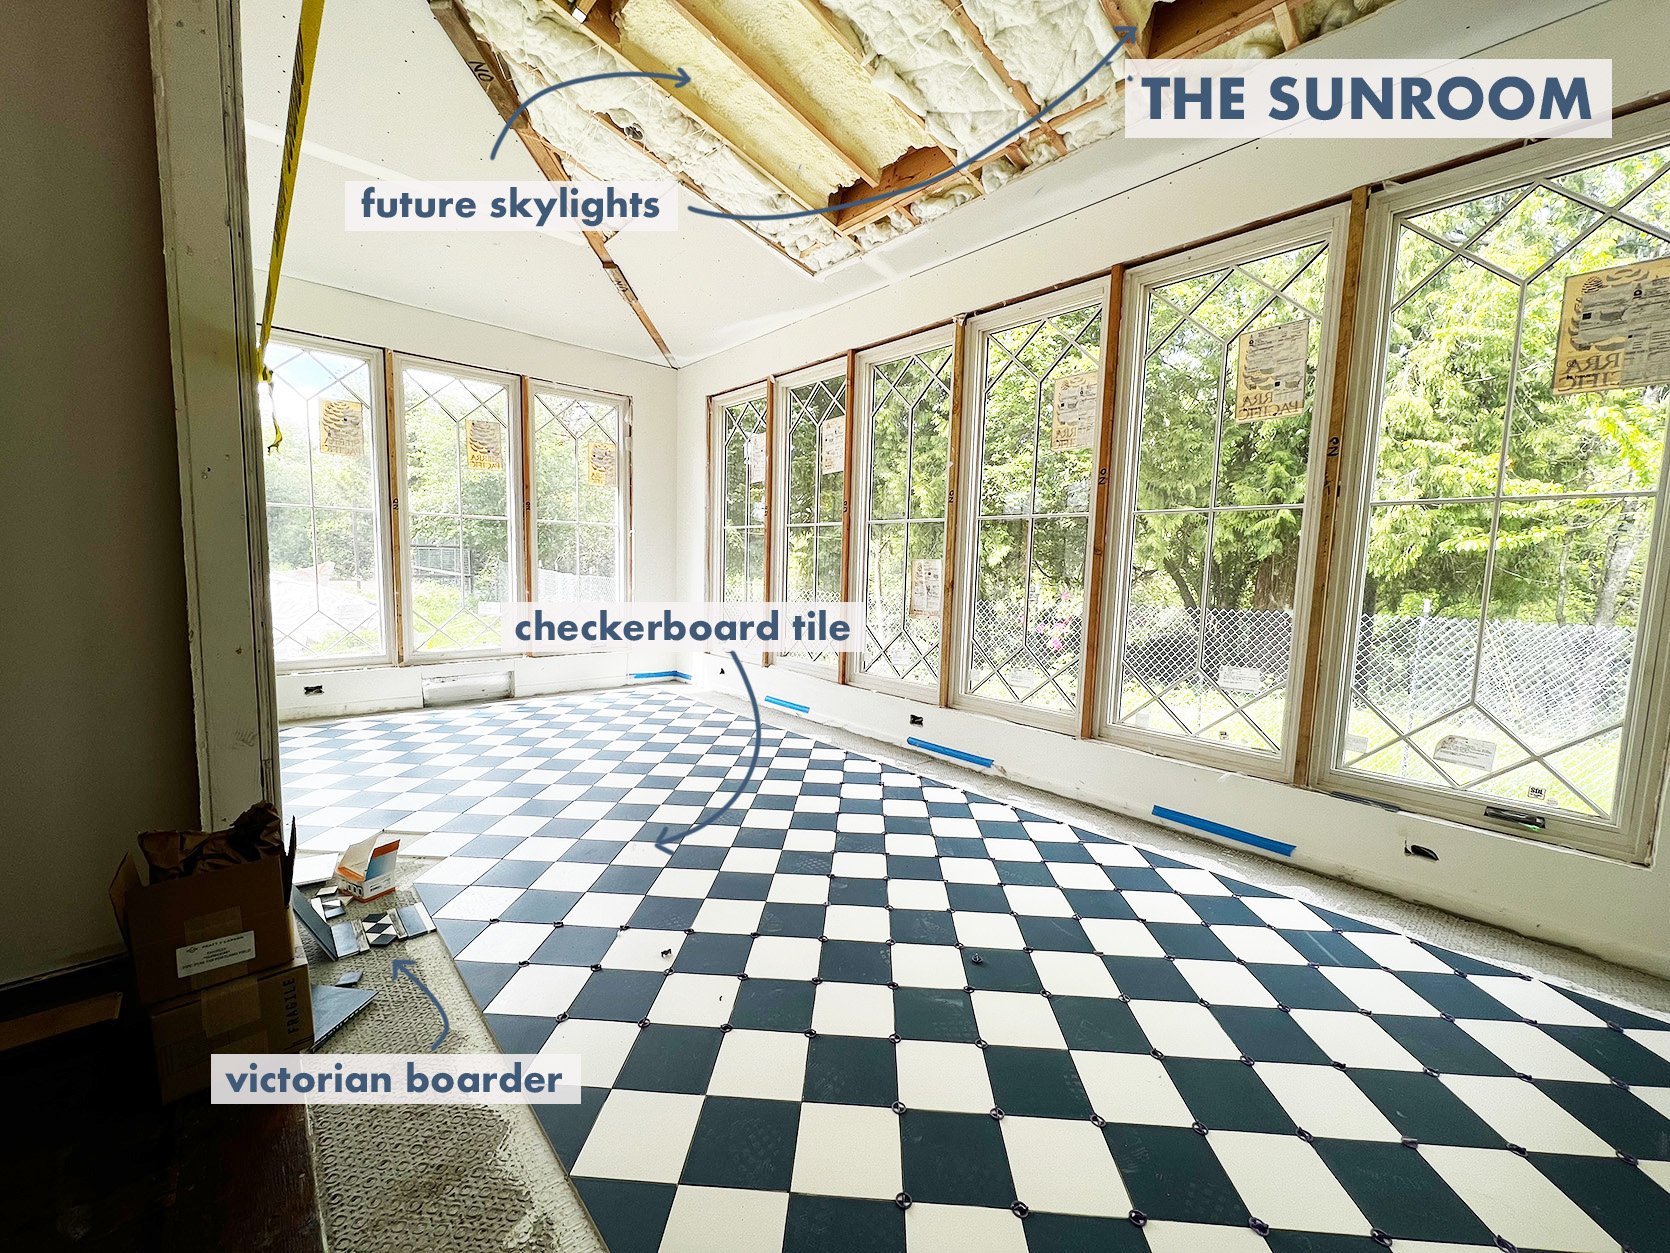
The kitchen and primary bedroom specifically are so bright it’s incredible, thanks to the Velux Skylights. Hilariously, we decided to not put them in the sunroom because we thought it would be bright enough, but due to the way it’s facing and the fact that the doors open to a covered porch it’s not as bright as we had hoped so we are putting in two skylights post-drywall (not ideal, but it’s only a day’s work since the framing worked with the size of the skylights). Lesson learned – ALWAYS put in skylights (and we have been using Velux for years). I was scared that you’d drive up and see them on the exterior of the sunroom and it would distract from the charm of the brick and windows, but the grade is so much lower that you don’t really see the top of the roof even up close.
Primary Bedroom
Cabinets Are Going In!
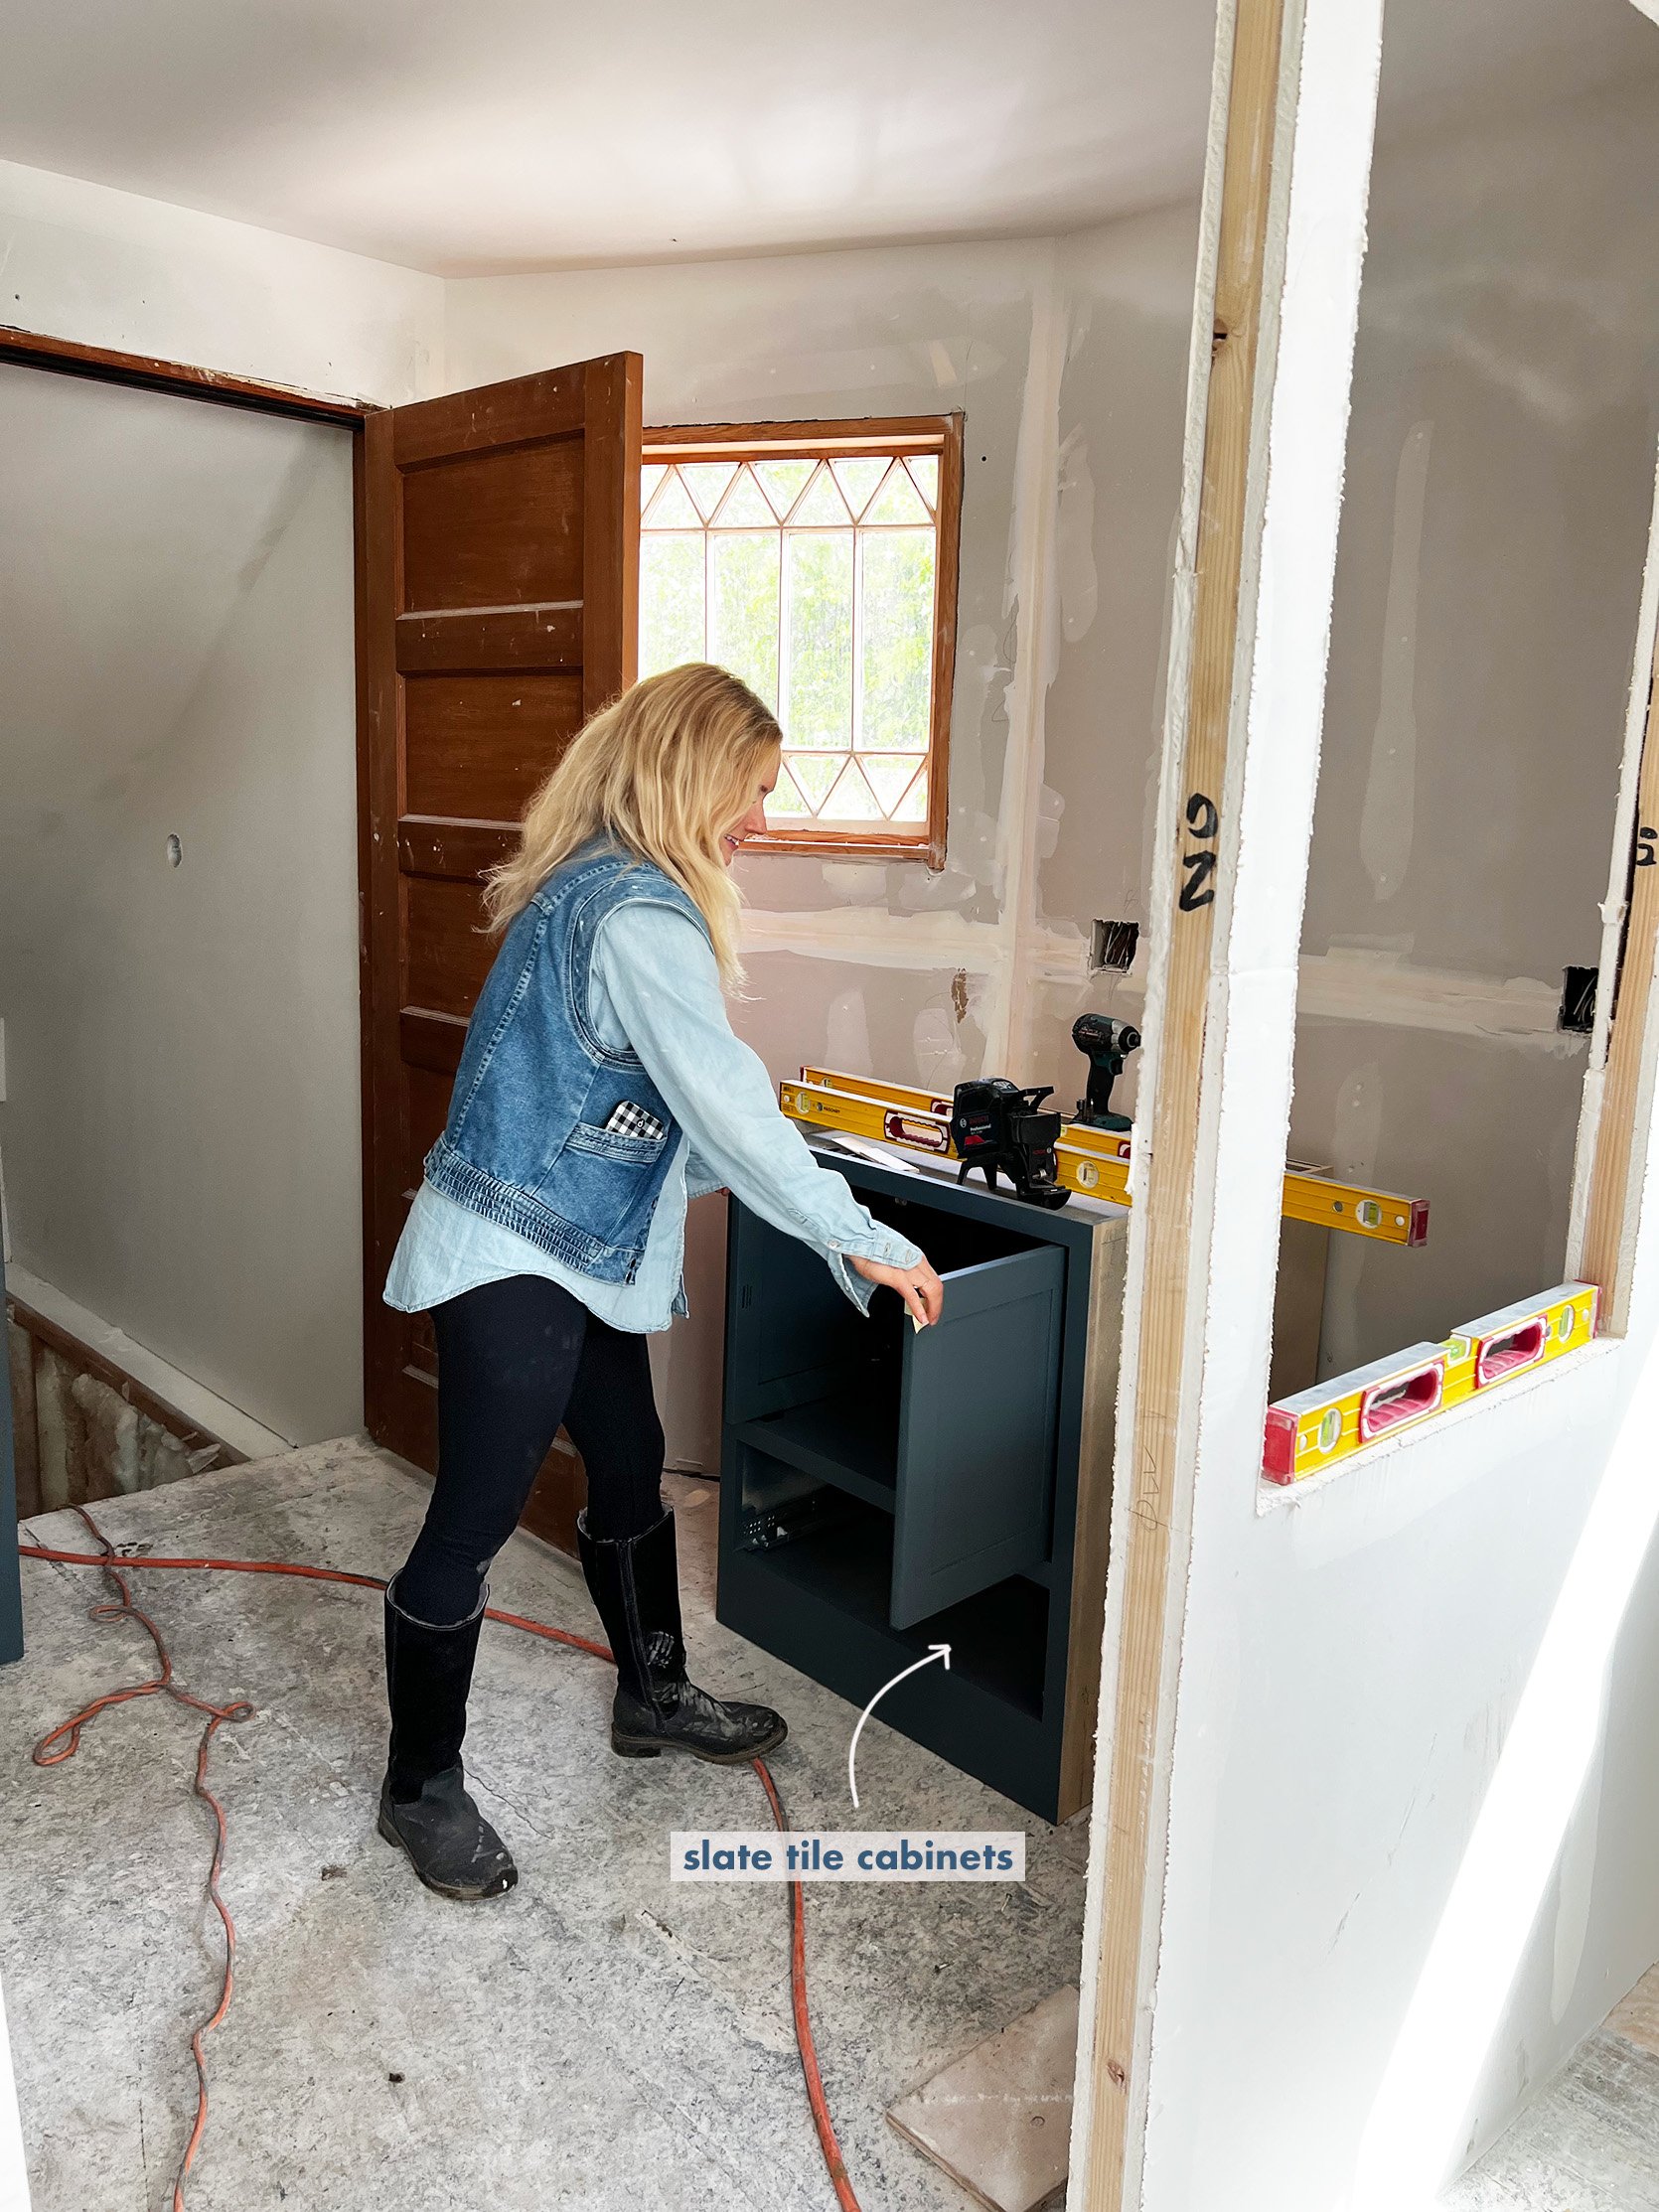
The cabinets arrived from Unique Kitchens and Bath and they are SO BEAUTIFUL. I’ve only seen the mudroom and the pantry thus far – they are waiting on the flooring to be installed before doing the kitchen cabinets, but they are solid, high quality, and just beautiful. The mudroom is white oak and the pantry is painted Slate Tile by Sherwin-Williams.
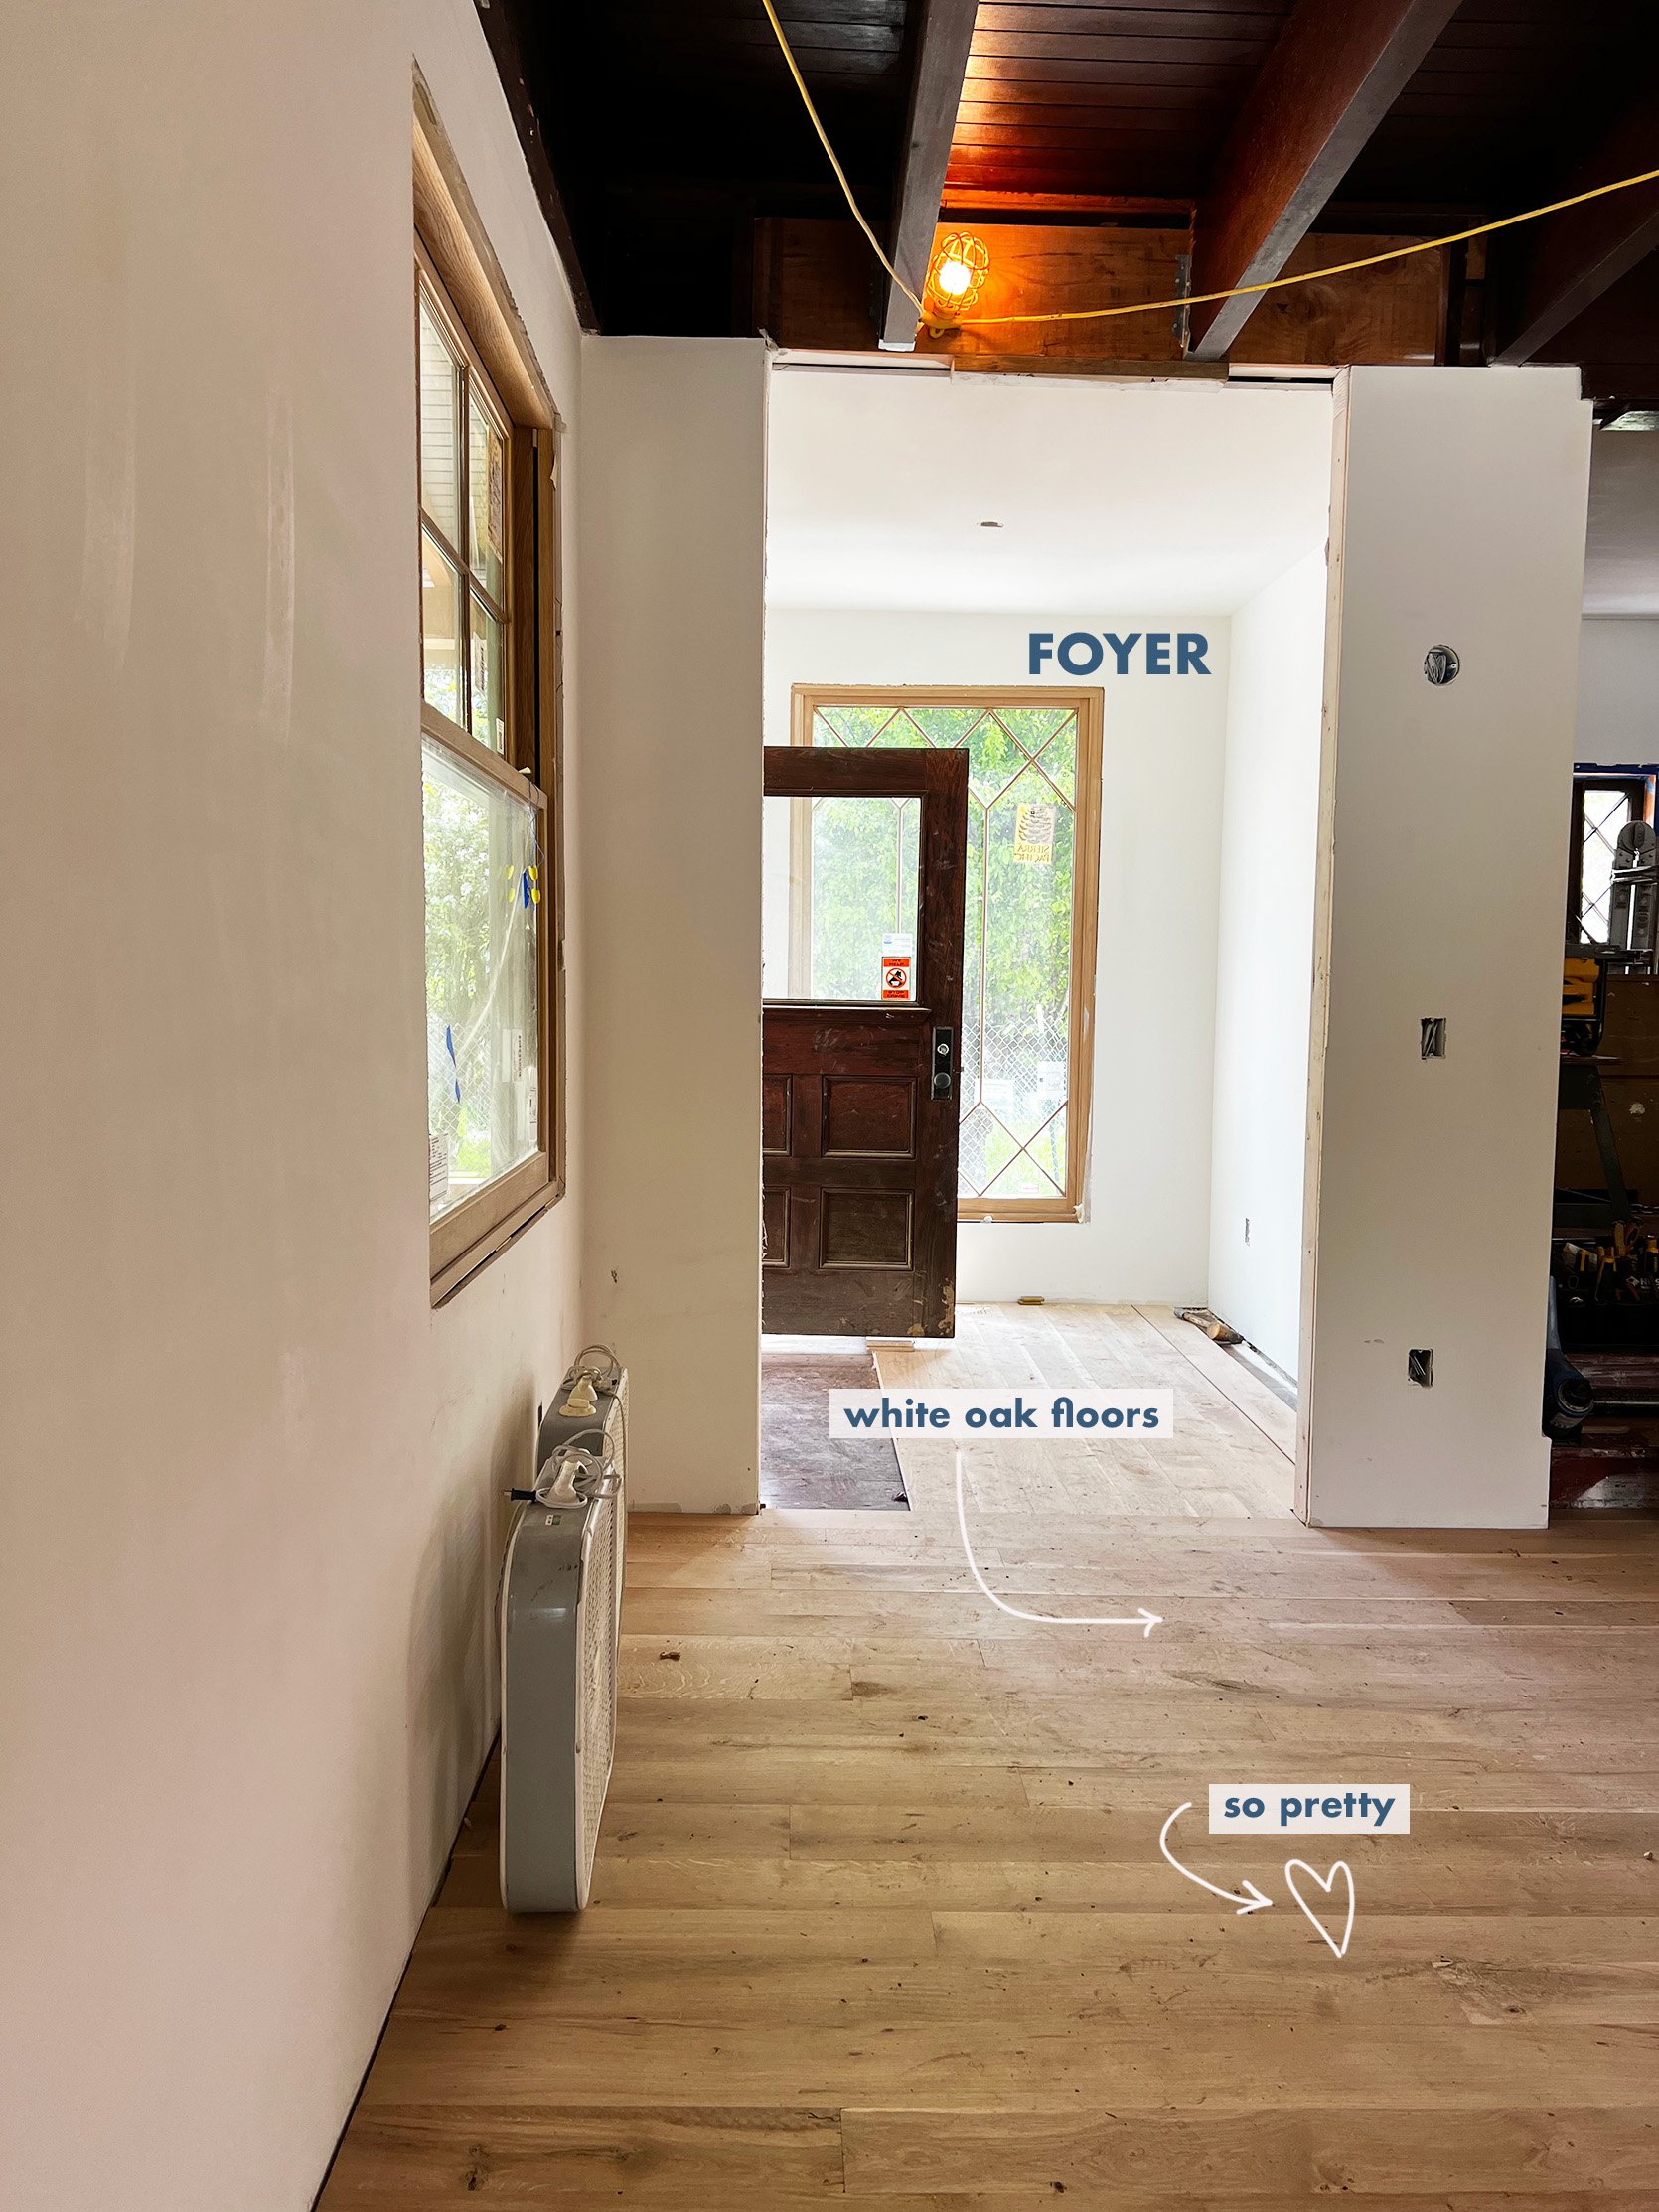
Wood Flooring Has Acclimated
We have our Zena Forest floor that had to acclimate for 10 days in the house, post drywall, to ensure that it doesn’t expand and contract with the weather. It is now being installed and looks SO PRETTY.
Tile Installation Has Begun
The tilers came in and as soon as the drywall was done, they were in pouring the subfloor, putting in radiant heat in the first floor tiled areas, and prepping all areas. It’s the eye candy we’ve been waiting for and is extremely satisfying in every way.
The sunroom tile needed some troubleshooting with the victorian border but oh my goodness it’s going to be so insane. It’s happy and bright and while it is busier than the rest of the house, it feels quarantined into this space – like it were a conservatory addition that feels special in its own right. Once we get some natural wicker, a big wood dining table, and plants in there it will be this fantasy indoor/outdoor year-round happy room that I’ll work out of.
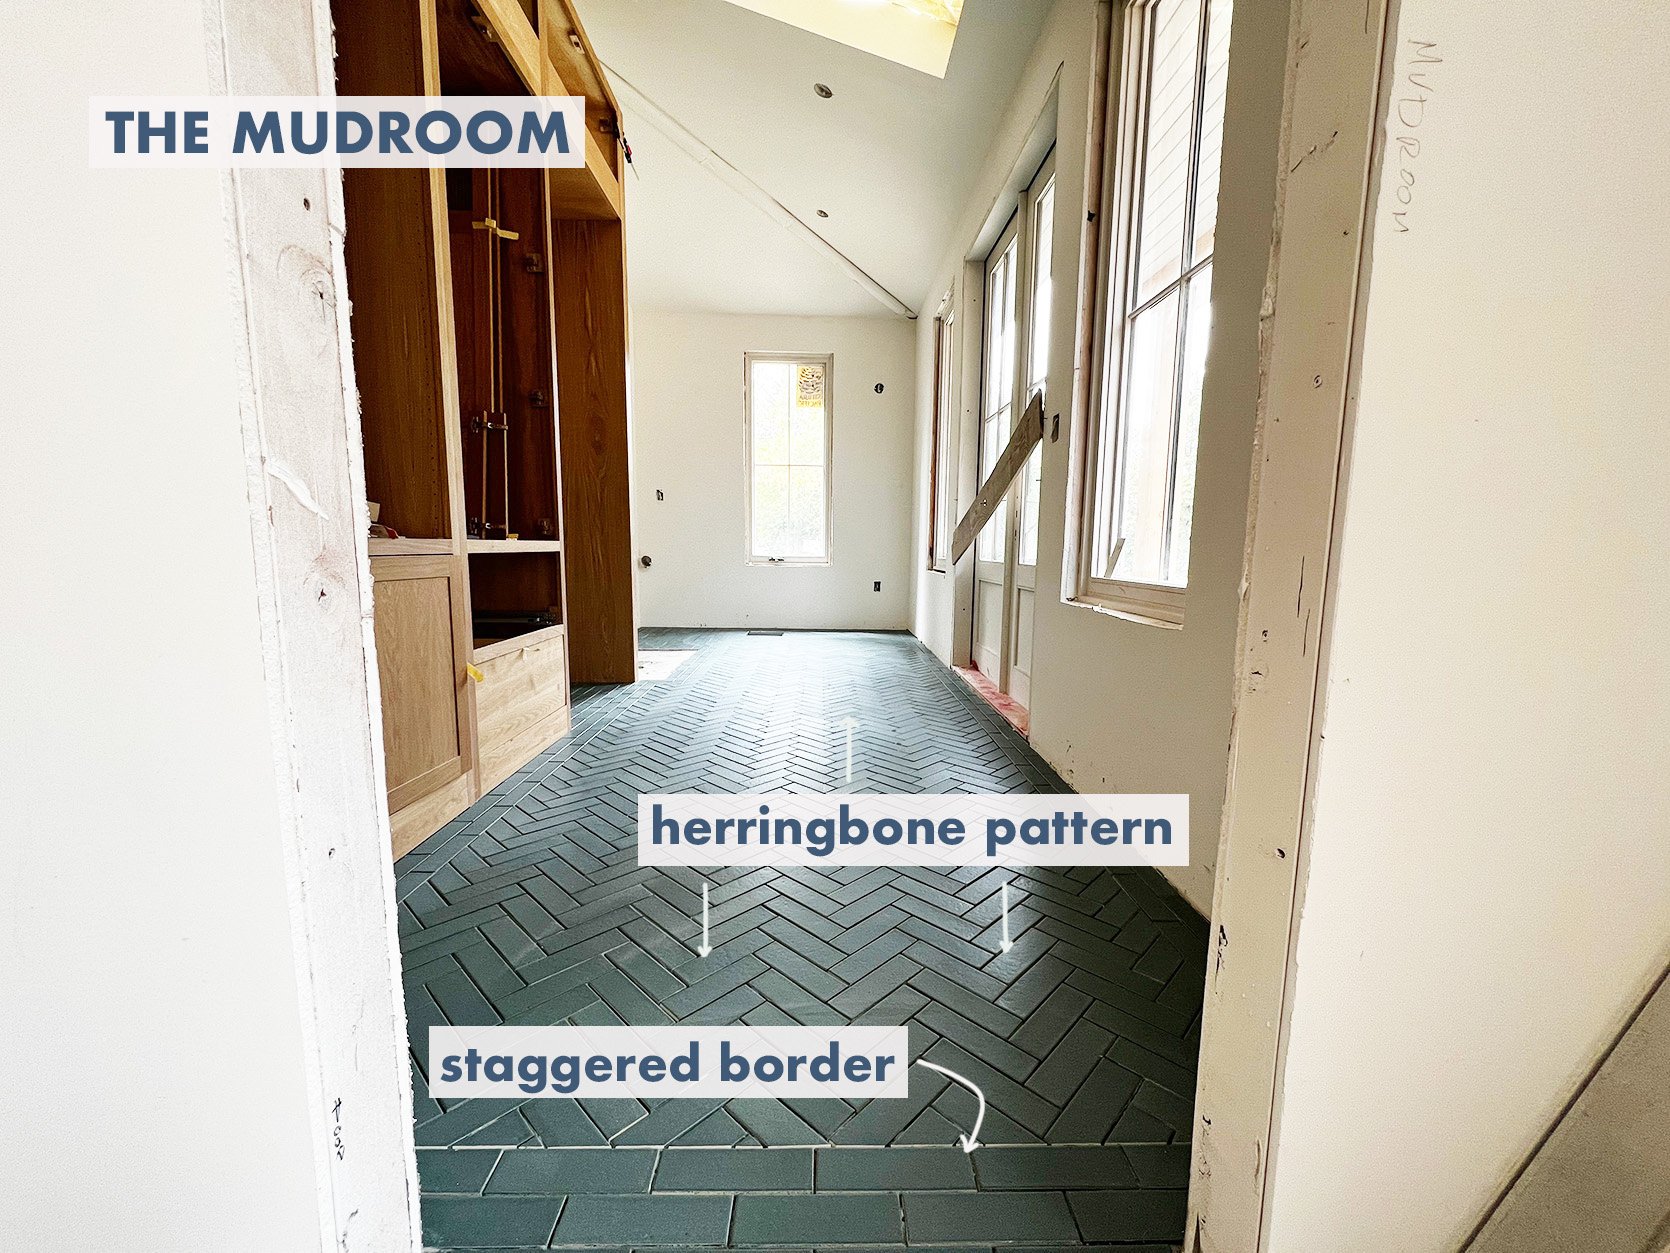
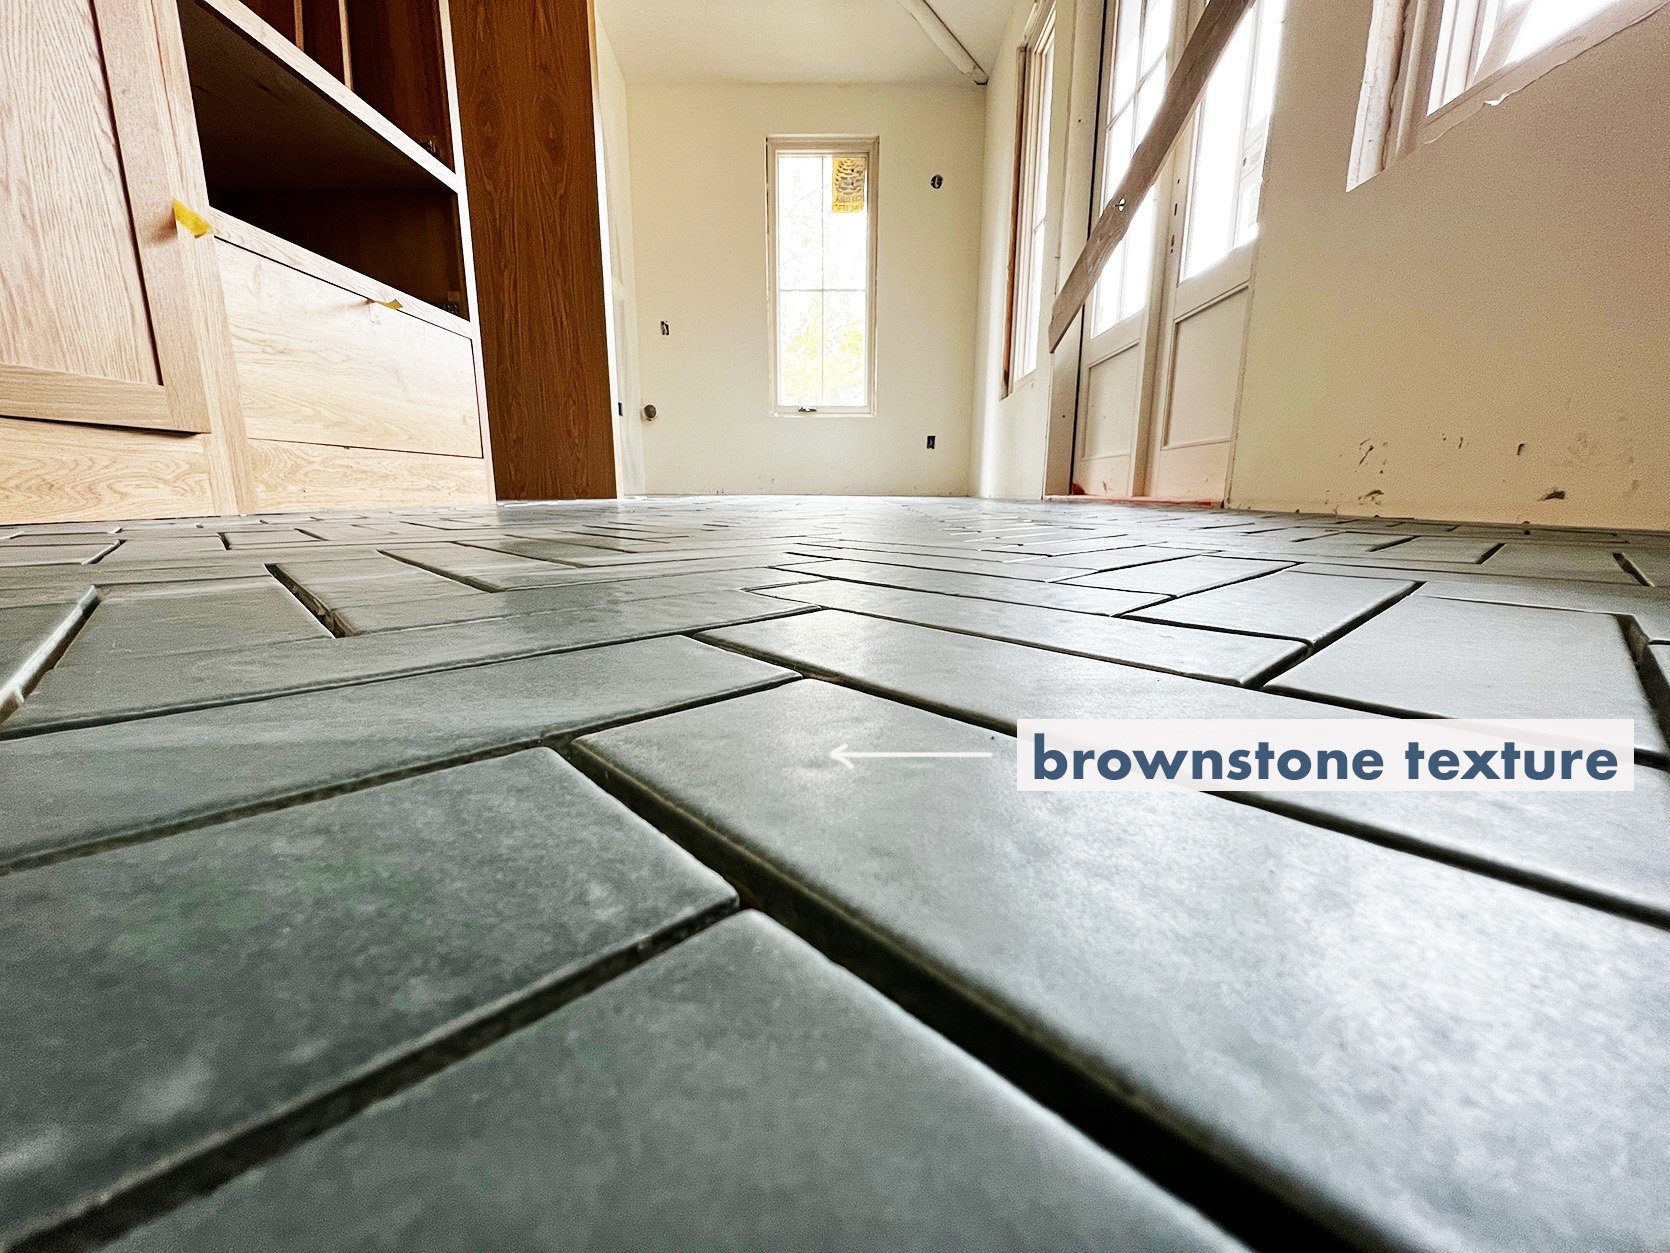
The mudroom tile is so awesome – you can see the brownstone texture that Pratt + Larson does so well – which feels more utilitarian than a smooth finish.
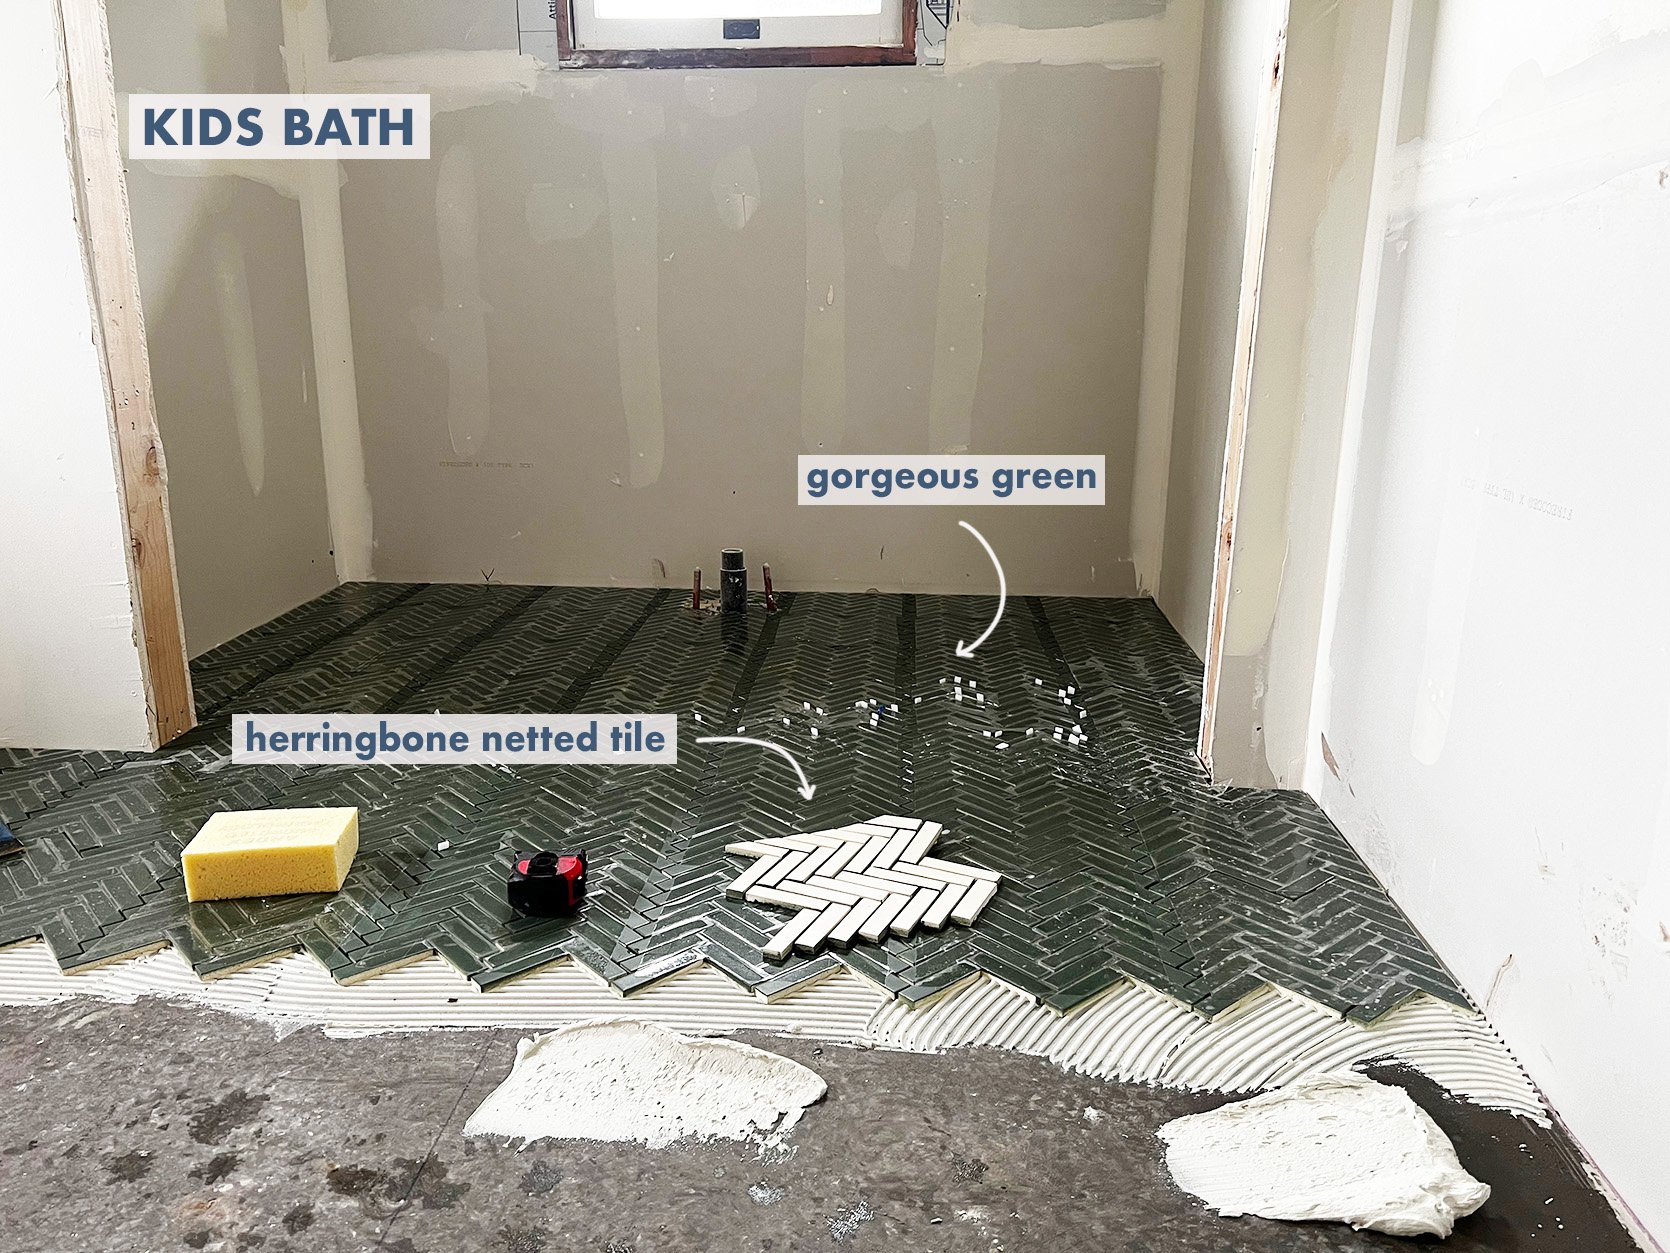
The Kids Bath Tile
The kid’s bath (whose design plan I haven’t even shown you yet) is the only one that came on a net so it was a bit easier to install – the kids collectively chose the green and I love it. Just wait till you see the wall tile.
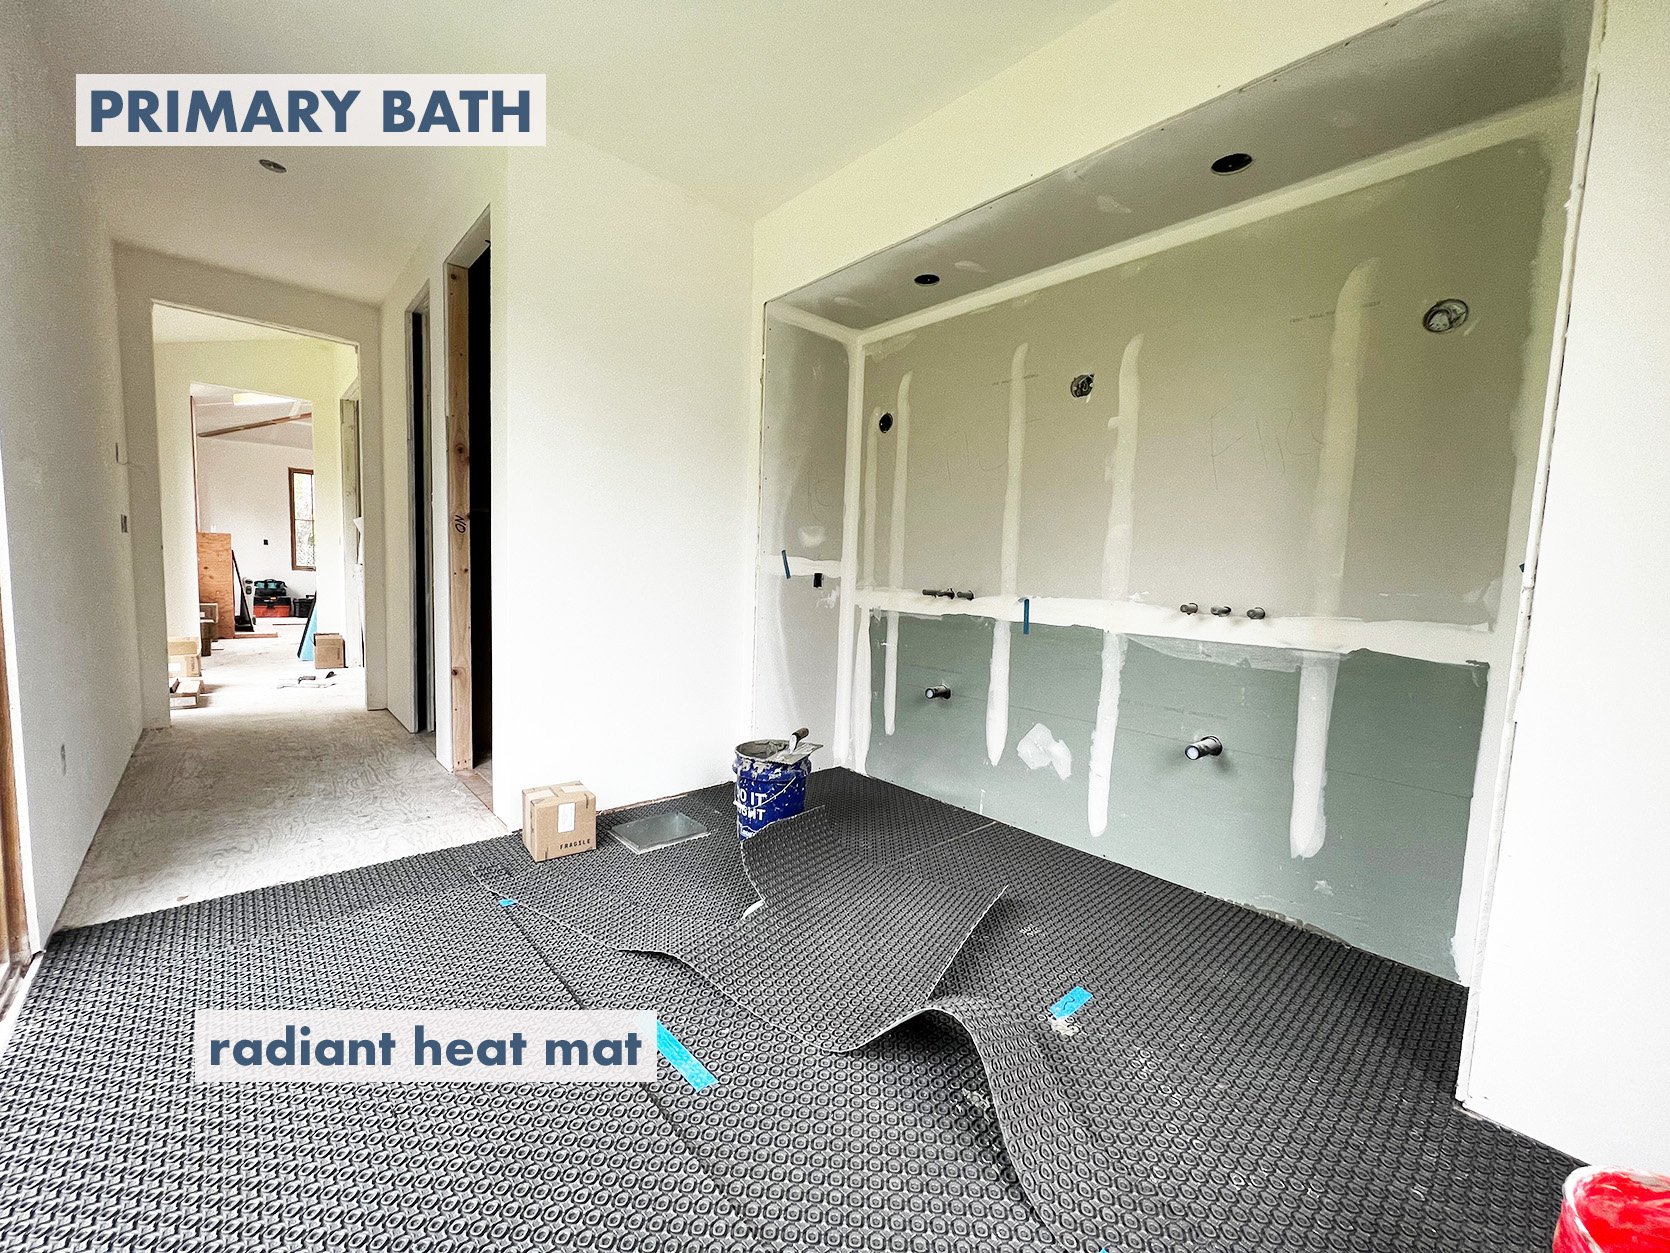
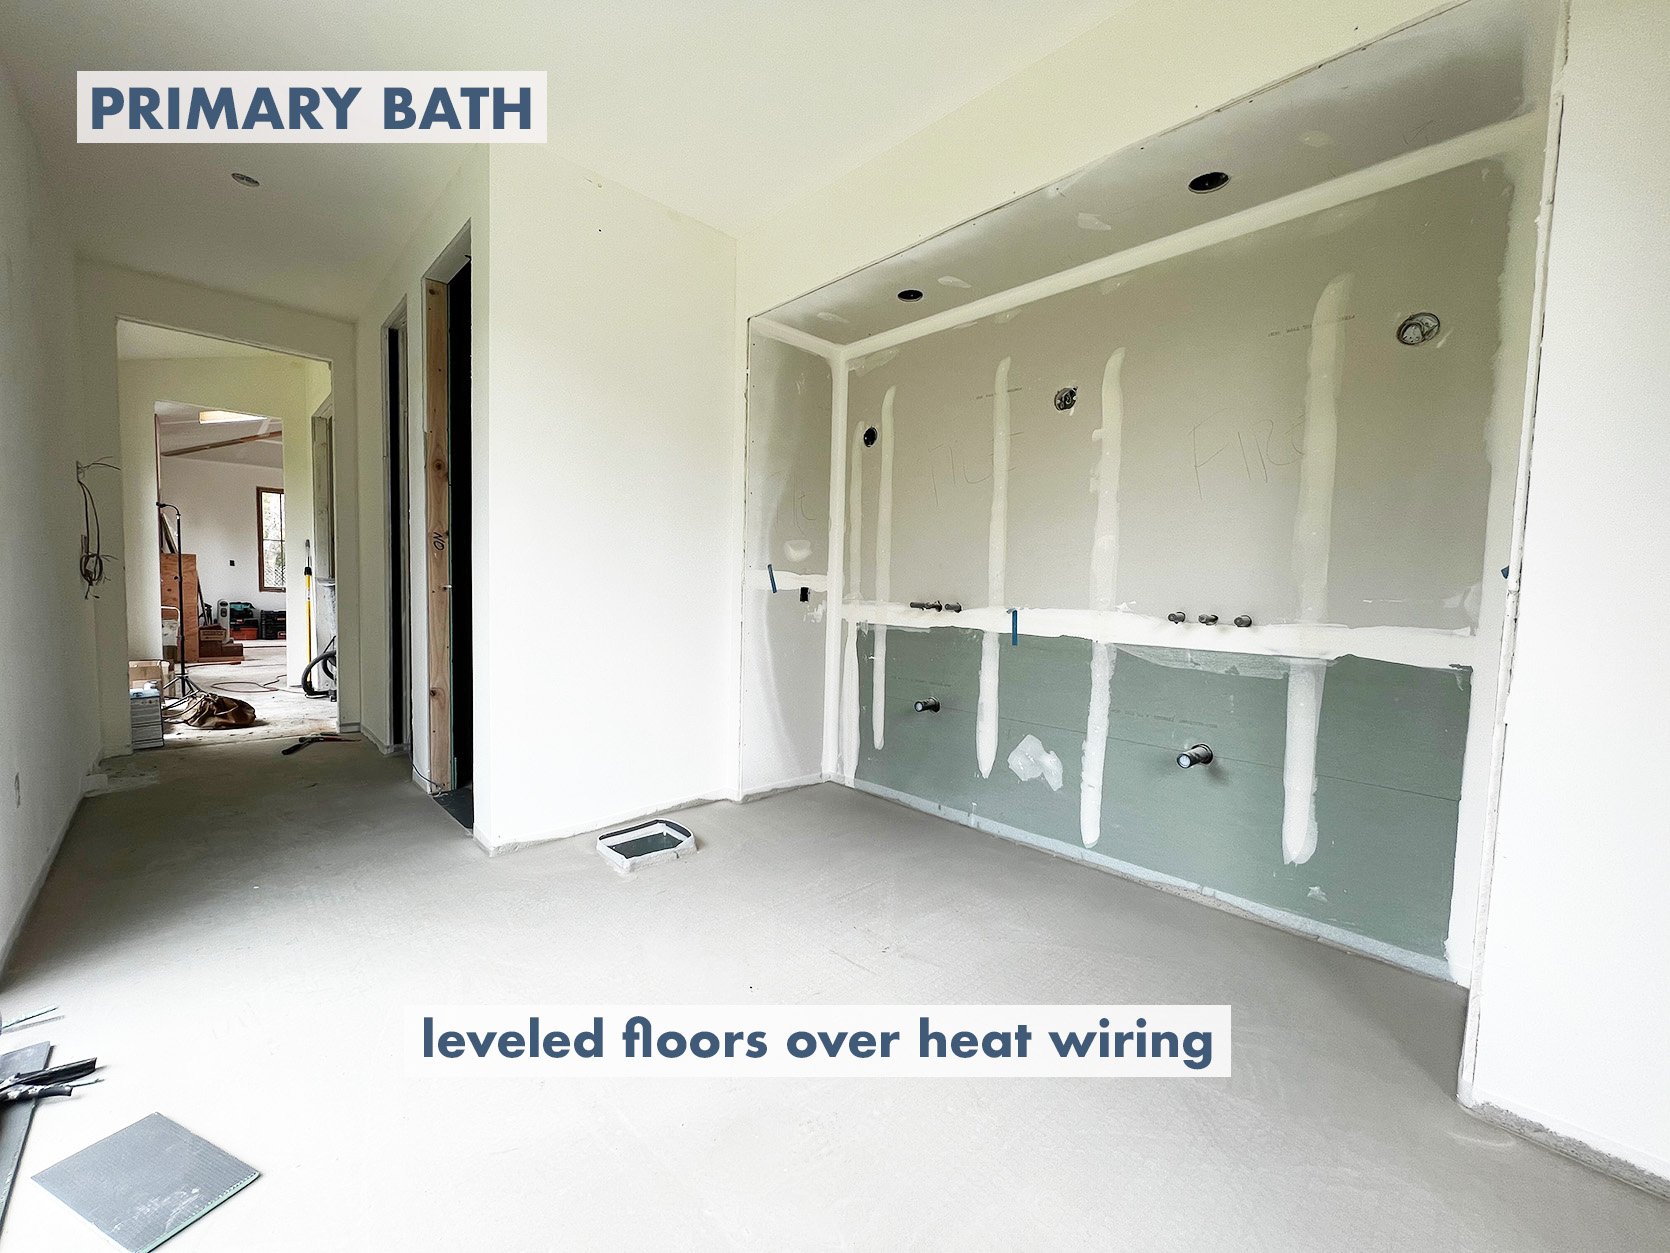
The main bath has yet to be started with the tile but they prepped and leveled the floors, laid the radiant heat (we are doing electric not hydro), and we showed the tile setters what we are doing and he said, “I have two gray hairs right now, I’ll have 40 by the time I’m done with this.” And YET…he was super excited!
How Are We Doing??
I’m feeling ready to move in, trying to manage my impatience, dealing with decision fatigue, endlessly grateful to be doing this, excited about the future, bursting with joy seeing our decisions to come life – all of the feelings. While I was in New York, Sarah and the ARCIFORM team were there troubleshooting everything which I’ll show you on stories, as it’s all happening fast now. It’s amazing and yet we are still a few months out from living there. I want to publicly thank Jamie, our site lead, Adam and the rest of the build team, for dealing with the insanity – both my border line pathologies as well as managing all the subs. We are at the mutual frustration point in the renovation process that is inevitable. The months near the end where the client/homeowner is like “wait, it’s going to be how much longer?” and then proceeds to manically push and push, questioning the timeline, desperate to find the “off” nozzle for the firehose that is just shooting out cash so hard it could knock over a tree. And as a result, the GC and building teams are frustrated right back at the client (not us of course, we “get it”, we promised them we’d be “such good clients” – hahaha), because there are so many moving parts to renovating a house. Things take a lot longer than they look, high quality costs a lot and rushing the process isn’t good for the quality of the result. For those of you mid-construction or about to be – just remind yourself daily, “it is a privilege to be renovating, it is a privilege to be renovating”. It can be so hard, long and feel never ending. I see you. But it’s going to be worth, I promise and we are so lucky to be doing it. More to come soooooon. xx
THIS POST WAS ORIGINALLY PUBLISHED HERE.


